QuickBooks Application Access
The first time you run entrée.QB you will need to authorize the application in QuickBooks. This is a security measure enforced by QuickBooks to prevent other applications from accessing or modifying sensitive accounting data without your consent.
How to Add Application Access
|
|
| 4. | At the login screen, enter your entrée username and password. |
| 5. | The QuickBooks Application with No Certificate dialog box will display. Because the application is attempting to access the open company file without a certificate. It is strongly recommended that you select "Yes, whenever this QB company file is open". |

You can however, choose "Yes, prompt each time", but it is not recommended as the operator will have to do this step for each QuickBooks session when entrée.QB accesses the company file for the first time.
6. Once you have selected the access type, click Continue.
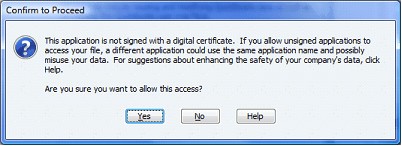
7. The Confirm to Proceed dialog box will display to confirm your selection, click Yes.

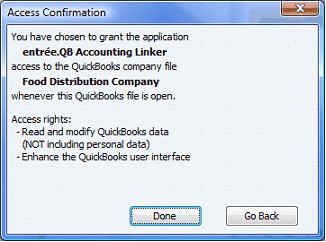
8. Then the Access Confirmation dialog box will display click Done.

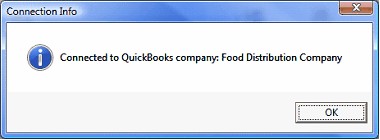
9. Finally, you should receive a message from entrée.QB that the connection to QuickBooks has been established. Click OK.

 If you are posting into more than one QuickBooks company, you will need to do the following for each additional QuickBooks company that you will be posting to:
| • | Close entrée.QB. |
| • | Close the open company file in QuickBooks. |
| • | Repeat the above procedures, beginning at step 2. |
How To View / Remove Application Access
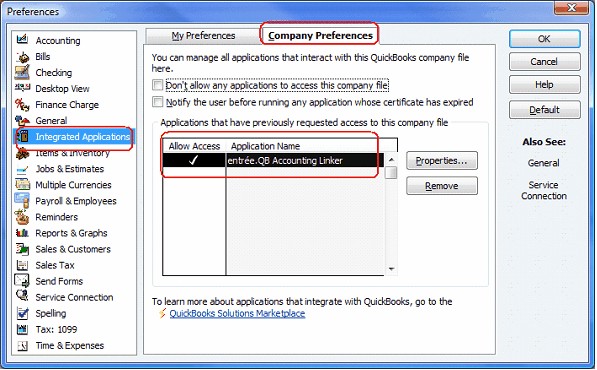
When you need to view or remove applications that have access to the open QuickBooks company file following these steps:
| 1. | From the QuickBooks main menu select Edit > Preferences. |
| 2. | In the menu bar on the left, select Integrated Applications. |
| 3. | Select the Company Preferences tab at the top of the dialog. |


