entrée.DOC
The entrée.DOC icon is activated in the Add-Ons ribbon menu for customers who have purchased the entrée.DOC add-on module for our document scanning software.
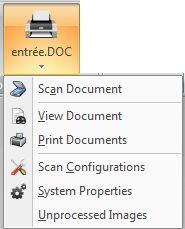
Accessing entrée.DOC Menus 1. Go to the Add-Ons ribbon menu.
2. Click the entrée.DOC drop down menu.
3. Make your selection from the Scan Document, View Document, Print Documents, Scan Configurations, System Properties or Unprocessed Images options. |
|
System Properties
This is where you will set up entrée.DOC options and configurations for the module to run with your entrée V4 system. The system properties information will be covered here. Information about other topics for entrée.DOC can be found in the system guide resources mentioned above.
•Options tabs are: System, Scanning Defaults, Default Configurations, Misc and Import.
Multi-company Installations - entrée.DOC provides support for distributors with multi-company installations of the main entrée system. When entrée.DOC is accessed from the main entrée system it will be configured to use the company which is currently active in entrée.
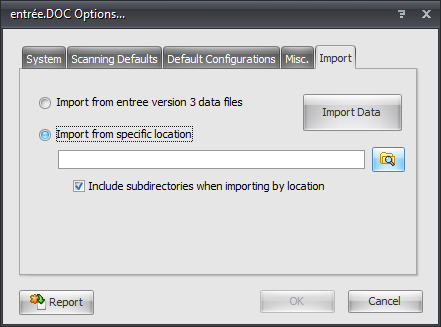
 The Import tab is a critical tool for you to import your scanned document images from entrée V3 or any other location on your network.
•entrée.DOC Options...
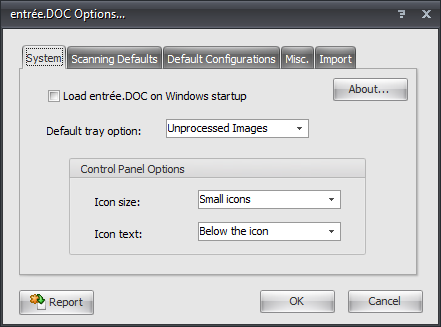
System Tab Load entrée.DOC on Windows startup |
|
Default Tray Option - specify which task will be invoked when the system tray icon is double clicked.
▪Scan Document ▪Unprocessed Images ▪View Document ▪Print Documents ▪Restore Control Panel |
|
Icon Size
Default values are small icons with the caption displayed below the icon. |
Icon Text
|
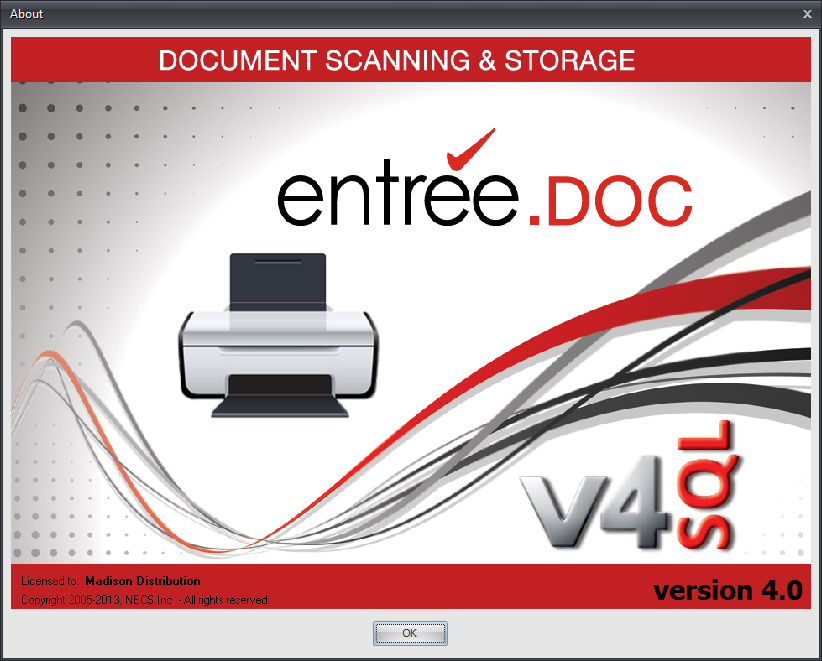
About - Click the About button to see the information about the entrée.DOC version installed.
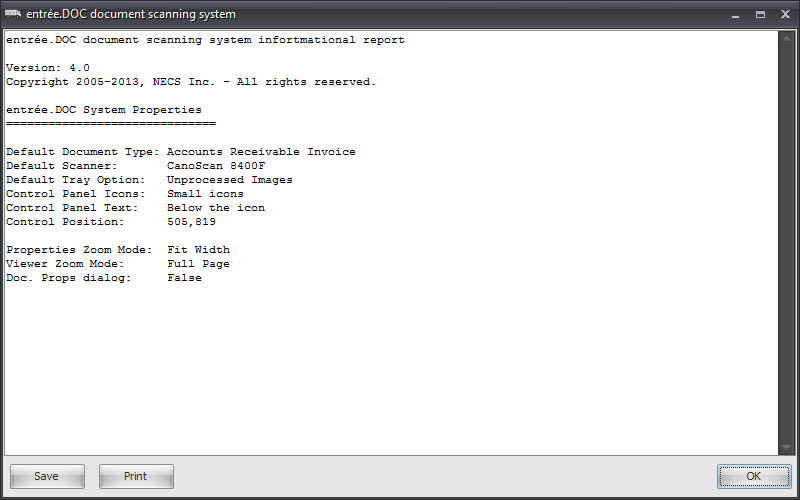
Report - Click the Report button to see the entrée.DOC properties that have been saved in entrée.
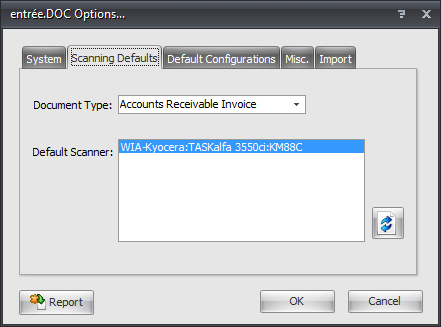
Scanning Defaults Tab Default Scanner - Lists each of the scanning devices connected to your computer.
Click the Refresh Devices button to search for additional scanners. |
|
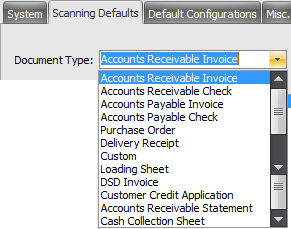
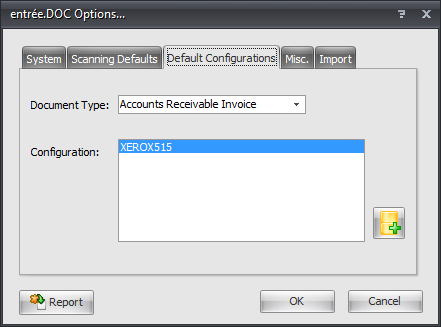
Document Type - The options in this menu are the same for the Scanning Defaults Tab and the Default Configurations Tab. |
|
Default Configurations Tab Configuration - Select a scanner configuration from the list or use the Green Plus Sign button to add a new scanner configuration.
|
|
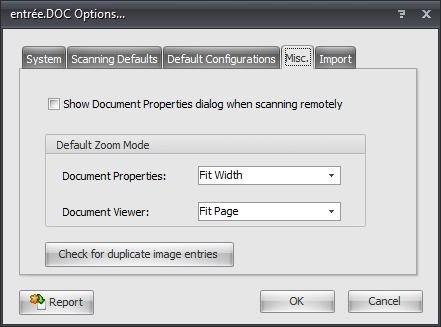
Misc Tab Show Document Properties dialog when scanning remotely - If this option is enabled (default), the Document Properties dialog will be displayed after a document is scanned from the main entrée system.
Useful if you would like to verify the document scanned properly or wish to crop the image size.
Check for duplicate image entries - Click this button to run a process to check for duplicate images. |
|
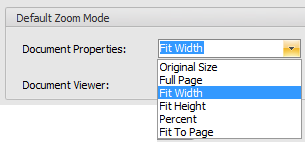
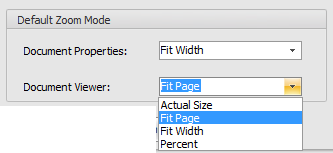
Default Zoom Mode Options -
Document Properties
|
Document Viewer
|
Import Tab Import from entrée version 3 data files
Import Data Button - Click and the import begins to run immediately.
Progress Message - The image analysis progress bar display. |
|
Import from specific location - Select this option to import entrée.DOC data stored in a different location.
Use the Browse button to find the desired folder containing your data.
Include subdirectories when importing by location |
|

