Using the Mapping Feature
The Assign Routes Utility, located in the Customer ribbon menu, includes an advanced Google mapping feature. The Mapping feature gives you the ability to map and organize multiple routes for the daily deliveries and backhauls quickly and dynamically.

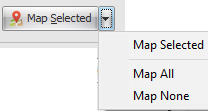
Mapping Menu Use the arrow menu to select a mapping option.
•Map Selected - Select a route or document in the grid then click the arrow and choose Map Selected to show a simple map with markers for the stop location(s). •Map All - Select Map All to view a multi-route map with all routes selected for plotting. If there are many documents to plot this process can take some time. •Map None - Select Map None to open a multi-route map with no routes selected for plotting. It will open the map quickly when there are many documents to plot. It can also be used for plotting specific routes individually or in any combination. |
|
•A new green marker will designate your home location in the maps using your business address. |
|
•The Map None feature (seen below) allows you to start mapping with a blank map. You can then select a single route from the list and map it. Then select another route and map it without closing the mapping window. This allows you to visualize each route individually and make adjustments in the order of the invoices if required.
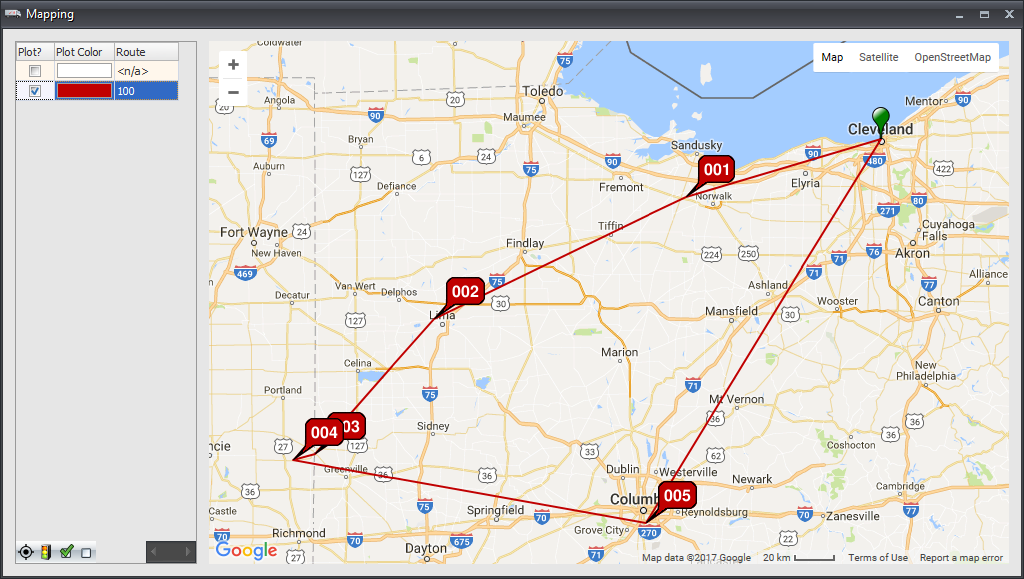
•"Select ALL" and "Select NO" buttons allow the plotting of all routes to be quickly turned on or off.
When first displayed the map is set to "Select All Routes" and automatically plots all routes for the day.
|
|
To quickly reconfigure the map to view a specific route hit "Select No Routes" and then check off the one route you want to see |
|
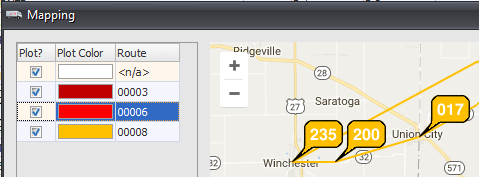
•Map Stop Markers The plotting of the stop markers has been changed to use a labeled click-able marker. |
|
Mapping Feature
1.Use the “Map Selected” button in the Assign Routes screen to map the invoices for a specific route. Mouse-over a stop to see the stop detail information.

 a. Only one map can be displayed at a time. b. The “Selected” map will need to be closed to display the “All” map.
2.Click the “Map All” button to map all your routes for the day. Each route is automatically color coded.
3.The multi-route map shows the delivery order for each route, clearly designated by straight lines.
4.The multi-route delivery order map can be kept open on your desktop while invoices are dragged and dropped to routes in the Assign Routes screen.
5.The map will change dynamically and display the changes to the routes as you drag invoices to new routes.

Mapping Options: •Map - Show street map. Terrain option sub-menu. •Satellite - Show satellite imagery •Open Street Map •Zoom In / Zoom Out |
|
•Re-Center Map •Show Traffic Overlay |
|
 Terrain
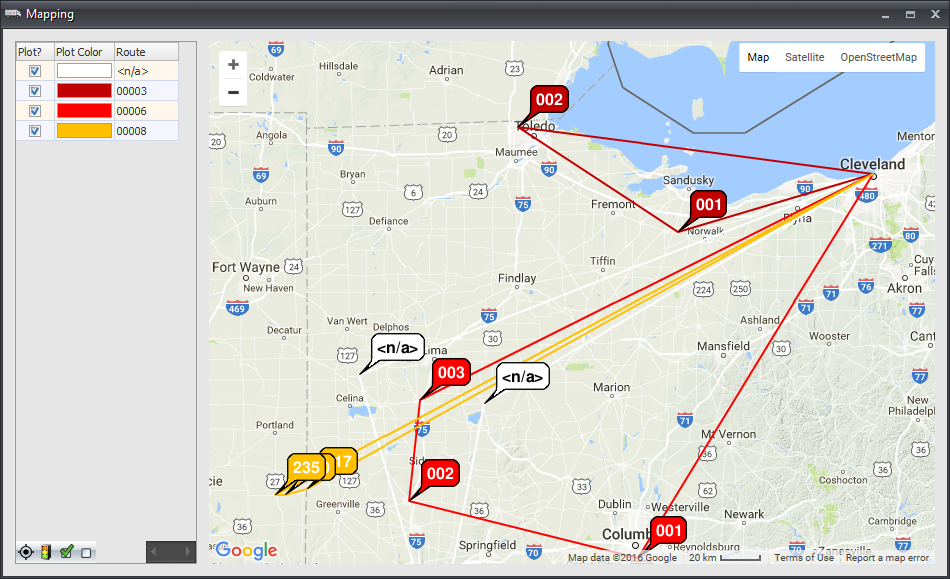
 Satellite

 Traffic Overlay

 Open Street Map
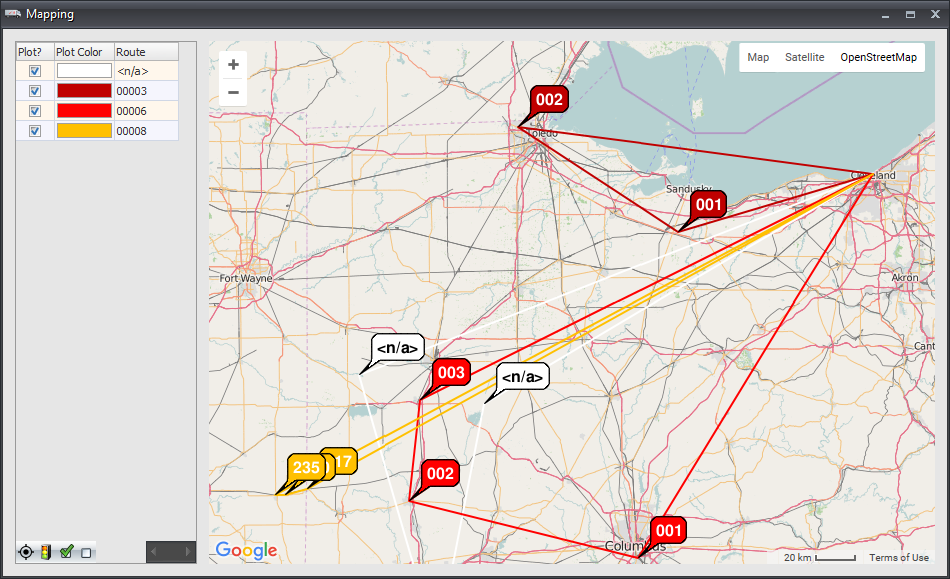
6. In Map All mode the Map Stop Markers are "click-able"
The stop detail information is displayed in a pop-up window when the marker is clicked.
|
|
7.In the route selection list, located in the upper left corner of the Mapping dialog, select your route combinations for the map by checking or unchecking the Plot? check boxes |
|
Related System Options
•System Option #190 - "Consolidate stops in Assign Routes by street address". This option will consolidate multiple invoices to a single Stop Number based on Address Line 1, City, State and ZIP Code.
•System Option #191 - "Consolidate stops in Assign Routes by map coordinates". This option will consolidate multiple invoices to a single Stop Number based on their geographic coordinates as determined by processing the Address 1, City, State and ZIP Code through Google Maps.

Stop consolidation will assign a single Stop Number value to two or more invoices that are being delivered to the "same location" as determined by the setting of the System Options #190 and #191 above.
1.If one or more invoices are selected in a consolidated group and moved WITHIN THE SAME ROUTE, the entire invoice group will move.
2.If one or more invoices are selected in a consolidated group and moved to a DIFFERENT ROUTE, only the selected items will move.
3.If an invoice is dropped into the middle of a consolidated group, that invoice (or group of invoices) will move to a position before the target group. (The same as if the item had been dropped on the first entry in the group.)
4.If active, the consolidation process will group invoices that are in the “same” location, but will not update the Stop Number assignments until changes are made.
Once the consolidation has been performed then the "# of Stops" value displayed in the status area will update to reflect any new combinations.

