entrée Scheduling Utility - TEA

Contents
The Scheduling Utility is located in the System ribbon menu. The Scheduling Utility provides savings in both time and human resources and greatly improves the efficiency with which you can automate repetitive and time consuming activities. The three areas are controlled by the Scheduling Utility: Report Scheduling, Email Alerts and Process Scheduling.
 Before you begin setting up your scheduler be aware that you must run the scheduler on a computer that does NOT SLEEP or HIBERNATE.
These states will cause the scheduler to malfunction and not run your schedule as entered.
This is how you check your Sleep settings.
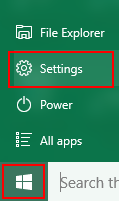
1. Go into the Windows menu (usually in the lower left corner of your screen).
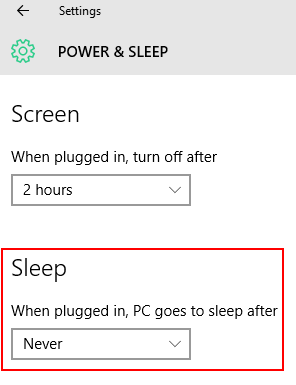
2. Click Settings > System > select Power & Sleep.
|
3. Make sure that Sleep is set to Never.
|
Report Scheduling
The report scheduling feature provides you with an automated means to generate any entrée report within a Category with any existing report configuration.
•The scheduler allows you to specify these run time options:
▪Daily Cycle allowing the specific days of the week for the report to be generated.
▪Weekly Cycle allowing the specific day of each week the report is to be generated.
▪Monthly Cycle allow you to specify a specific day of the month (ex: the 1st of each month) or a pattern such as the first Monday or the last Friday of each month.
▪Specific run time of the report, such as at 4:00AM.
•The scheduler allows you to define the destination of the report, including:
▪Report is to be printed to a specific network printer.
▪Report is to be saved to a specific location on the network.
▪Report is to be emailed to a predefined list of contacts.
▪Report to be generated as a PDF, Excel, RTF or text document.
•The scheduler allows you to define the server or workstation on the network which will generate the report, including:
▪Availability times of each possible server or workstation for generating reports.
▪Priority of each server or workstation to generate a report, in case that computer is busy processing other jobs or not available.
•Other report scheduling features include:
▪A complete Job Log History.
▪Email notifications for when each job is scheduled, pending and executed.
▪Calendar view to allow you to see all your jobs on a daily, weekly or monthly basis.
Email Alerts
The scheduler allows you to define email alerts for the following situations:
▪Customer account exceeds their credit limit.
▪Inventory item becomes low or out-of-stock.
Process Scheduling
You can now automate the processing of automatic cost/price updates. Other processes to be added in the future.
The Scheduling Utility has 5 main menu options:
1. Tasks - The Tasks option is used to add and maintain report or process jobs in the scheduler.
2. Job Log - The Job Log is where you can see all your scheduled jobs, the job details and their status.
3. Servers - The Servers option is used to manage the multiple servers you can have defined to process your scheduled jobs.
4. Contacts - The Contacts option is where you will add people and their email addresses to build a list of recipients of reports into the utility. |
|
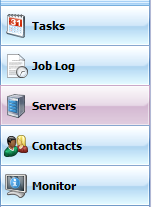
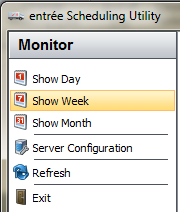
5. Monitor - Allows you to quickly review the schedule and job status for the selected time period; Day, Week or Month.
The Server Configuration option allows you to reorder your servers when multiple computers and workstations are used to run scheduled jobs.
|
|
TASKS OVERVIEW
1.Go to the System ribbon menu.
2.Click the Scheduling Utility icon.
3.The entrée Scheduling Utility window will open. |
|
The Tasks option is used to add and maintain tasks that are controlled by the Scheduling Utility.
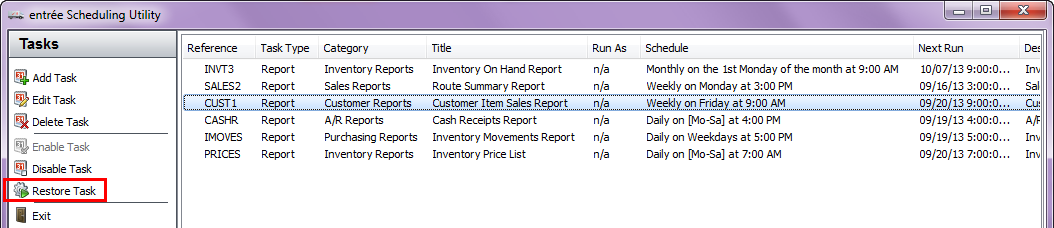
•Add Task, Edit Task, and Delete Task are used to manage your tasks.
•Disable Task will stop the submission of a job, but keep the task in the scheduler.
•Enable Task is used when a task in the scheduler is disabled and you want to resume submission of the job to the scheduler.
•Restore Task is used to reset the status of a task that has started then failed and is still in a running state. This reset action allows the task to execute normally again in the scheduler.
Restore Task will only be displayed in the Tasks menu if the selected task is in either “running” or in a “suspended” state. If a task has executed and completes with errors it will automatically be placed into a “suspended” state.
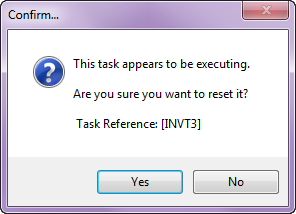
4.Select the task and click the Restore Task button. 5.A Confirm dialog box will display (right). 6.Click Yes to proceed with a job restoration or click No to cancel. |
|
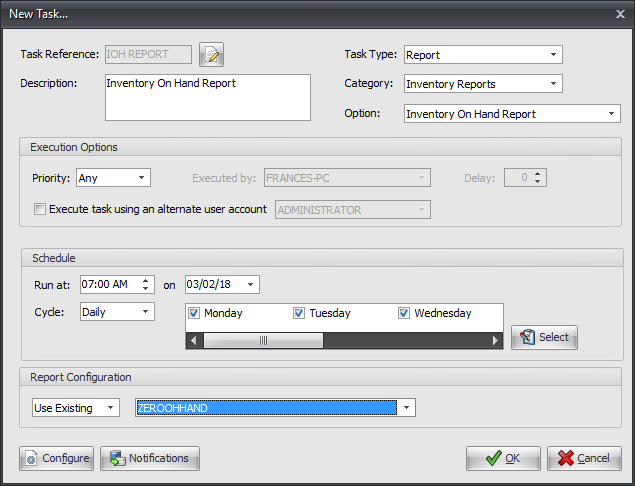
Tasks Properties Screen
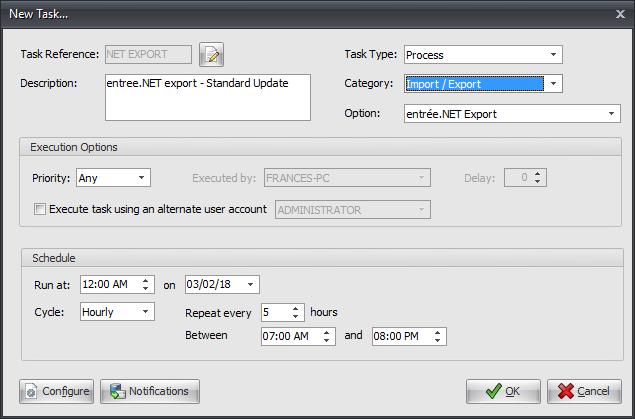
The Task Properties screen is used to Add Task (create and schedule a New Task) or Edit Task (for existing tasks). An explanations of the fields used in this screen follows.
Task Section
At the top of the screen is the area where you will define the task.
•Task Reference - This is a name you will assign to the task.
•Description - Enter a description of the task here and any customizations you have added.
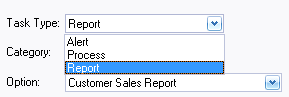
•Task Type:
▪Alert - Configure and schedule alerts. ▪Process - Schedule an entrée process. ▪Report - Configure and schedule entrée reports. |
|
•Category - Select from these entrée report areas: Inventory, Customer, Sales, A/R, GL, Purchasing, Misc and Label reports. These are the same categories you have used in the Ré4 Control Panel in the System ribbon menu.
•Option: Select a report from the category’s list of reports. These are all the reports you are familiar with in the entrée Ré4 Control Panel report system.
Execute Options Section
In this section assign a server to run the task and related options.

•Priority:
▪Any - The job has no assigned priority.
▪Preferred - The job will have preferred use of the server resources.
▪Exclusive - The job will have exclusive use of the server resources.
•Executed by - Select the server where you would like to run the task.
•Delay - The number of minutes you would like to delay the execution of the job from the Run at time.
 Before you can add a task you must use the Servers option to add your servers to the scheduling utility. You can have multiple servers defined in the scheduling utility so your tasks can be distributed amongst your computing resources.
When do you use an alternate user account?
You would select an alternate user when a higher level of entrée security access is needed to run the task.
•Execute task using an alternate user account -
If you check this option you must select the alternate user account from the entrée Security Management accounts listed. |
|
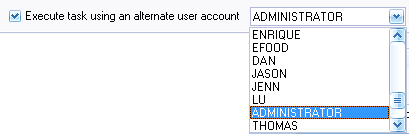
When you select a user account that is not your own you will have to enter the selected user account's password to complete the setup for executing a task with an alternate user account. |
|

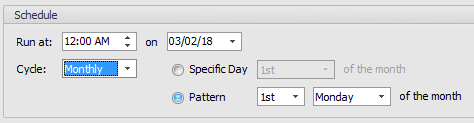
Schedule Section
Define the schedule of runs for the task.
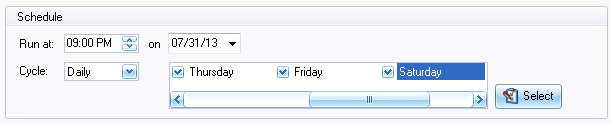
•Run at - Set the time for the job to run.
•on - Enter a date to begin the job’s run schedule or use the arrow to see the calendar.
•Cycle - Select how often the task will run and set any other required values.
▪Daily: Activates the day selection menu (above) and the Select options menu (below). ▪Weekly: Activates the Run on menu to select the day (below). ▪Monthly: Activates the Specific Day and Pattern options (below). ▪Hourly: Requires a value for Repeat every X hour option. ▪Minute: Used for these types of tasks: entrée.NET data imports and any custom modifications from entrée.EDI for imports or interfaces. ▪Once: Used to schedule a task as a “run once” job for the selected task. |
|
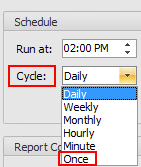
When a task is executed “Once” it will not be rescheduled, but it will remain in the task list. This will allow distributors to schedule the task to run again on a future date or make it a recurring task without the need to recreate the task.
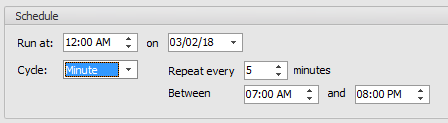
Using Between / and
For both Minute and Hourly a new timing feature has been added so you can not oly control the start of the tasks but the time of day the tasks will stop running.
•Repeat every: Used to set the timing for repetition of the task.
•Between / and: Use these fields to set your start and end time for the scheduled task.
Minute
Hourly

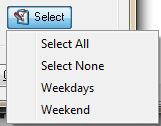
Daily •Select - Use this option for the cycle to quickly select an option for the days; All, None, Weekdays or Weekend.
|
|

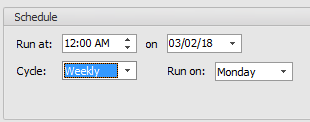
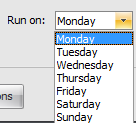
•Run on - Use this option when the Weekly cycle is selected to select the day of the week.
|
|
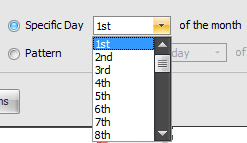
•For the Monthly cycle you have two options:
Use Specific Day to select the day of the month.
|
|
- OR -
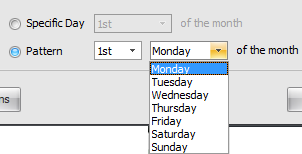
Use Pattern to assign occurrence of the day in the month for the day of the week.
For example: the second Monday or first Friday can be selected. |
|
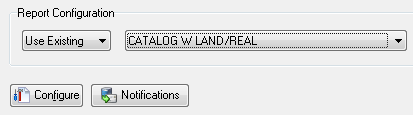
Report Configuration Options
•Use Existing - Select from a list of existing report formats saved in your system as the default report configuration in entrée.
•Use Custom - Select this option to create a new report configuration on the fly with the Configure button. |
|
You will only be allowed to run a task configured on the fly one time.
Configure Button for Reports
View, customize and save report configurations using the Ré4 Control Panel. When the Configure button on the New Task window is clicked Task Configuration Mode opens for the report. A custom report configuration can now be created and saved.
Here you see the General Tab from Task Configuration Mode which is the same as the Ré4 Control Panel General Tab.
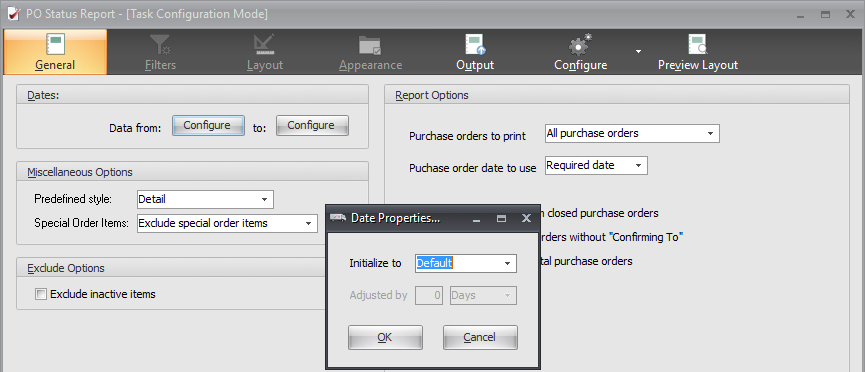
All Ré4 Control Panel features and options are available for you to customize your reports in Task Configuration Mode.
.
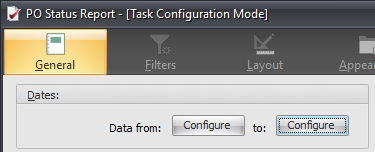
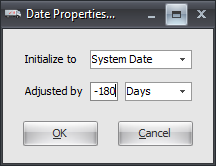
Dates The Configure buttons open the Date Properties... dialog for each date so you can customize them using the date configuration tools.
|
|
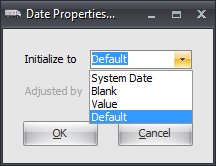
Dates Properties... Initialize to:
▪System - Uses the current System date. ▪Blank - Value will be blank. ▪Value - You must set a specific date. ▪Default - The value can vary by process. Some dates are initialized to the current working date, "tomorrow", "last Sunday" or blank. Date is dependent on whatever the control is set to initialize to if not executing under automation. |
|
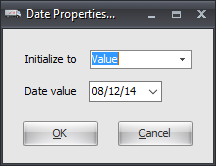
Value requires you to select a Date Value. |
|
System Date with Adjusted by The value will allow for a minimum of < -999 days >.
Use this tool to configure a task in the scheduler to run using the system date with the Adjusted by option applied to the date value.
When the Adjust By is a negative number it is subtracted from the system date to use a past date value.
|
|
Notifications Button
In the Task Notifications dialog you can check and assign notification options to contacts. Emails will be sent for each notification option checked.
Task Notification options:
•Running - The job is currently running.
•Complete - The job has completed.
•Errors - If there are errors when the server tries to run the job you will get notified.
•Pending - The job has been added to the server schedule but has not run yet.
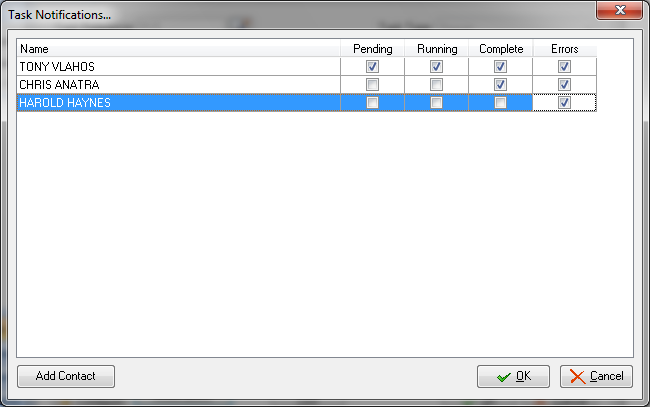
Add Contact button - Will open the New Notification Contact dialog which is used to add new people to the current Task's Notifications list
on the fly.
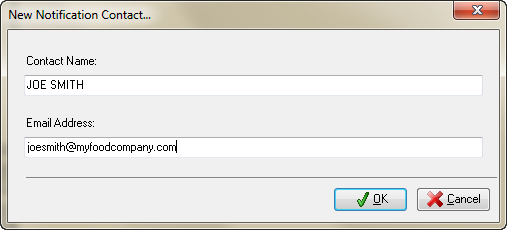
Use the Contacts option in the main menu which is covered later in this chapter, to build your primary
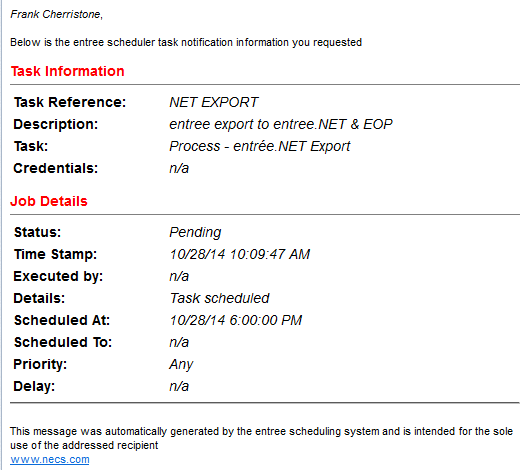
 This is an example of a “Pending” notification email sent to a contact concerning the process to export to entrée.NET.
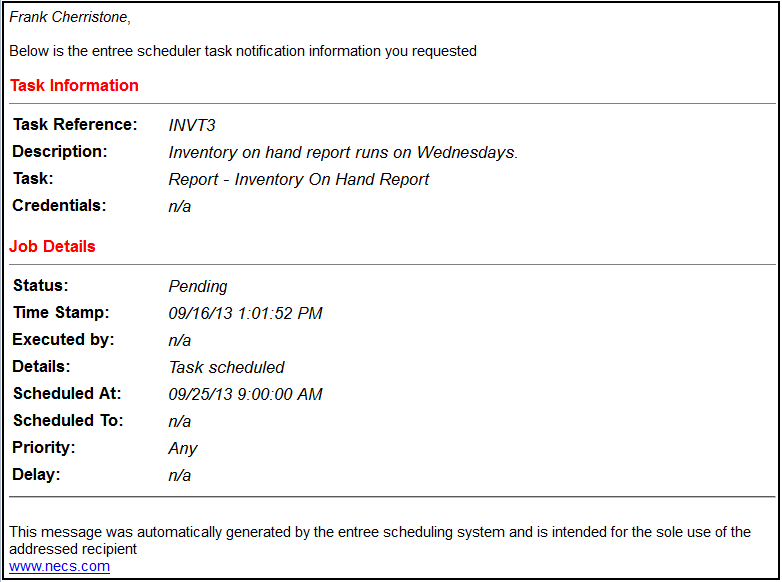
This is an example of a “Pending” notification email sent to a contact about a report.
 entrée.NET is an add-on module providing Internet based e-commerce and can be purchased to enhance entrée and expand your business presence. Only applies to customers who have the entrée.NET add-on module.
•Here we will use entrée.NET for this example of task scheduling.
1. Select a Task Type of Process.
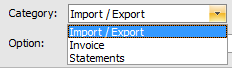
2. Select a Category from the menu.
•Here we choose Import / Export. |
|
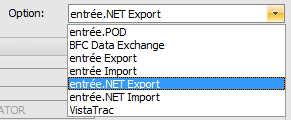
3. In the Option drop down menu make a selection that matches your task.
•The options listed here will vary depending on the modifications and add-on modules in your system.
•Here we select entrée.NET Export |
|
4. Click the Configure button (we have selected the entrée.NET Export) and the Scheduled Export Configuration dialog opens.
5. Select the Export Mode from the drop down menu you would like for entrée.NET.
•Standard Update - Exports ALL customer, item, pricing, and sales history. Use if you are using entrée.NET for order entry. Run at least once a day or after item customer or price changes. •Catalog Update - Only exports item information and NO pricing. Use if you only have a public catalog or just need to update items. •On Hand / Credit Hold Update - Only exports item inventory On Hand values and customer credit hold status. •Sales Update - Only exports pending updates to sales information from invoices. Used to quickly update print status and shortage information. |
|
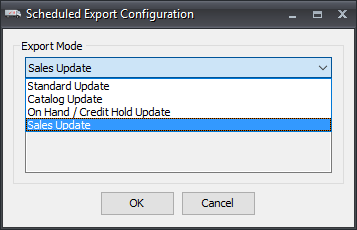
6. Click OK to save the Export Mode.
7. Now continue with setting up the rest of the process schedule using the topics that follow.
JOB LOG OVERVIEW
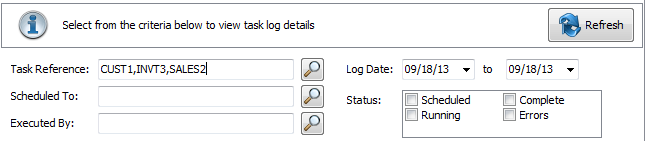
•Use the Job Log option to easily check on task details, update activities, and status.

•Quickly find log details tasks using the Search features.
▪Search by the Task Reference, or the Scheduled To or the Executed By server name.
▪String multiple Task Reference names using commas to find their job log details.
▪Search by Status type or enter specific Log Date values.
Below is a close-up shot of the Task Log details information. It starts with Reference column in the top row of the image and continues through the Description column.
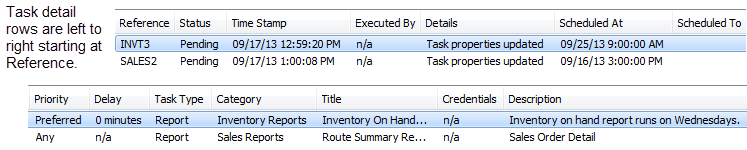
The very long image of the Job Log details screen here has been split and stacked up to show you all the columns available.
SERVERS OVERVIEW
•Easily manage your company’s server resources with add, edit, delete and availability options.
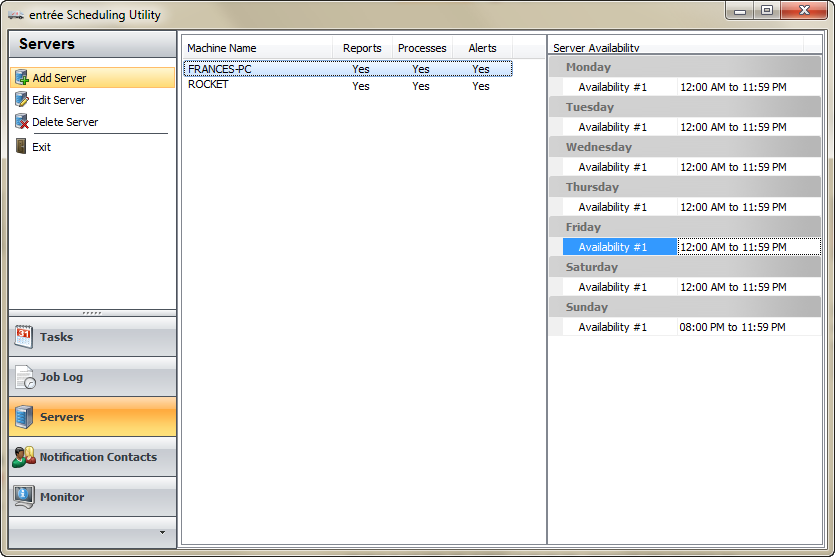
•Multiple servers can be added from your network to handle your scheduled tasks.
•Availability times for each server can be defined to fit your business schedule.
•Servers can be prioritized, so if one is busy or unavailable another can generate the scheduled report, alert or process.
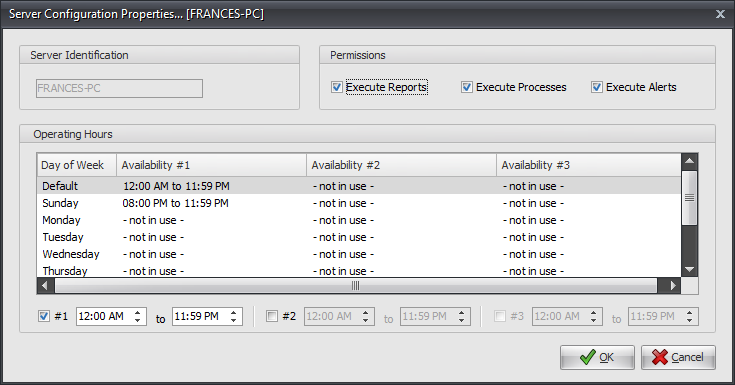
Add Server
•The New Server Configuration dialog Browse option allows you to scan your network for all available servers so they can be add for use by the scheduling utility.
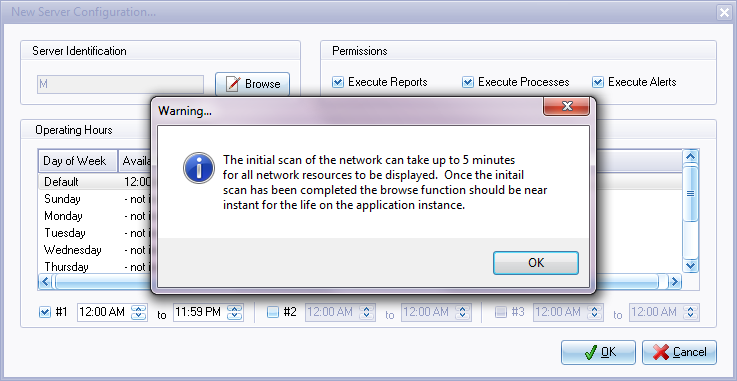
•Select the Server Identification, edit Permissions and Operating Hours.
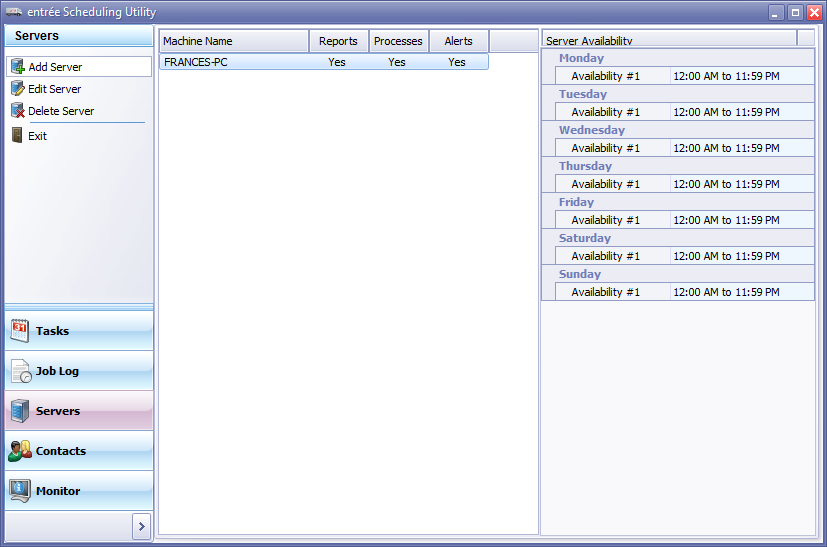
•The completed Server addition as seen in the Scheduling Utility.
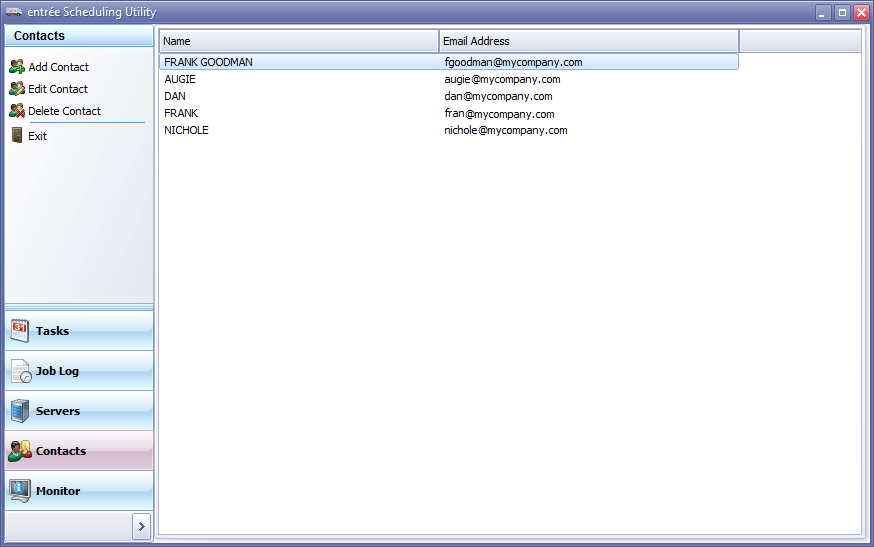
CONTACTS OVERVIEW
•Contacts added to the here are used when you set up the Notifications for your scheduled tasks.
•Contact information only requires you to have a name and email address so you can quickly build your contacts into the scheduling utility.
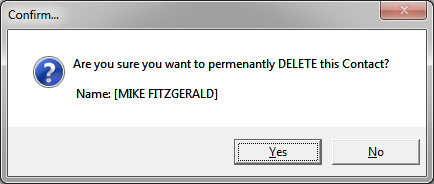
•Manage your contacts with the Add, Edit and Delete options.
•The Delete option has a confirmation dialog you need to respond to. This will help to ensure you are removing the contact you desire.
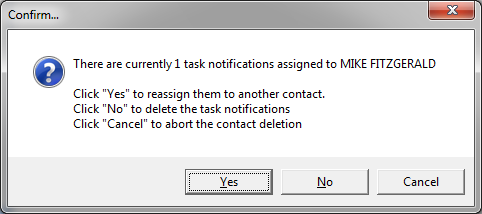
If you have Notifications associated with a Contact you want to delete you will see a message similar to this one. Follow the directions in the message to decide on how you want to handle the notifications either reassign, delete or abort the contact deletion.
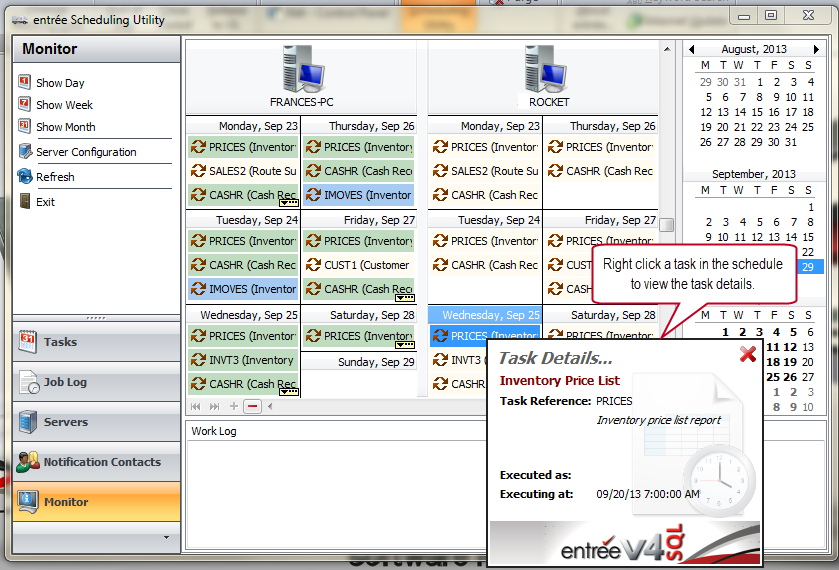
MONITOR OVERVIEW
•Easily view all your scheduled tasks by day, week or month and by server.
•Server Configuration allows you to view one or multiple server schedules at the same time.
•Refresh the screen to view the task schedules changes as the jobs are run.
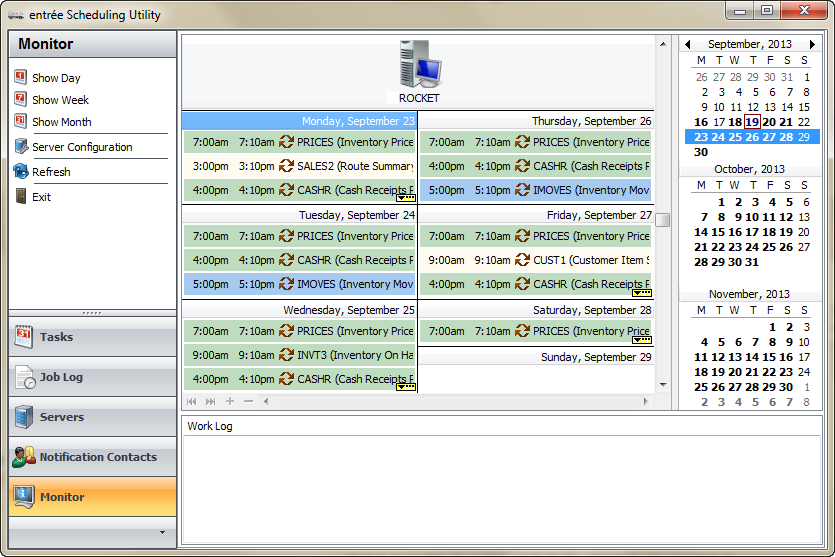
•Click on dates and ranges in the calendar to view the schedule over different time periods.
•Right click any job displayed in the schedule and view the Task Details pop up.