Mod #1078 National Produce Connection

Contents
National Produce Connection (NPC) EDI import and export.
Access: entrée Add-Ons ribbon menu > Import/Export > Import Data or Export Data > opens the import or export utility > select NPC.
Updates
V4.5.1.6 Updated the NPC export to send the Bill To customer in the Prices file.
V4.2.2 Updated to adjust fields in existing files and add a new ASN (Advanced Ship Notice) file, per version 6.1 specifications.
V4.0.40
•Updated to work with Task Execution Application scheduler (TEA) in entrée.
•Removed old National Produce Connection import/export mods #1203 and #1213 which were merged into this mod.
 The import/export can be scheduled using the Task Execution Application (TEA) in entrée V4.
 Previously the NPC Import/Export functions were performed by mods 1203 and 1213 now in the Not Used/Removed section of this catalog.
If you would like to have the National Produce Connection Data Exchange Utility run automatically you can use the Scheduling Utility in the System ribbon menu chapter of the entrée V4 SQL System Guide.
entrée Folders
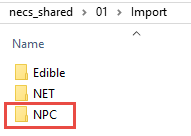
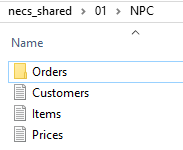
•Export: necs_shared\01\NPC
•Import: necs_shared\01\Import\NPC
•Imported Data Folder
Where "01" is the entrée company number. |
•Exported Data files & Folders
|
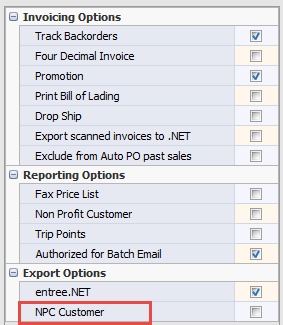
entrée Settings •Customer File:Mark NPC customers. 1.To be eligible for NPC export/import operations your customers must be flagged in entrée.
2.In the Customer Maintenance Miscellaneous tab Export Options list check the "NPC Customer" option.
3.Click Apply to save your change.
•This process must be done for each NPC customer. |
|
Configure the Import/Export
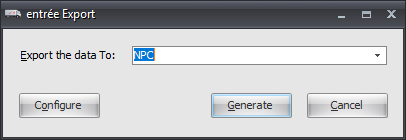
1. Go to the Add-Ons ribbon menu click the Import/Export icon. 2. Select Export Data and the entrée Export dialog will open. 3. In Export the data To select NPC. |
|
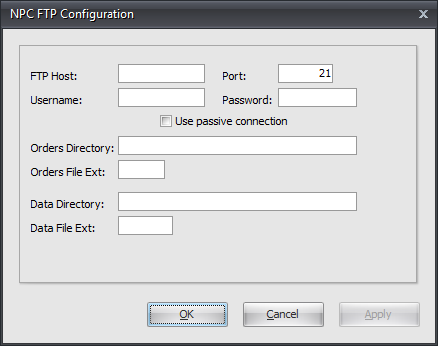
4. Click the Configure button and the NPC FTP Configuration dialog opens. 5. Enter the FTP Host IP, Username, and Password information provided by National Produce Connection.
6. Directory - Enter the location of your necs_shared\01 folder. Where "01" is the entrée company number.
▪Orders Directory ▪Orders File Ext ▪Data Directory ▪Data File Ext
7. Click OK to save your settings. |
|
Running the Data Exchange Export Manually
There may be times when you want to run the export manually to get data out right away. Follow these steps.
1. Go to the Add-Ons ribbon menu click Import/Export icon.
2. Select Export Data and the entrée Export dialog will open.
3. In Export the data To select NPC.
4. Click the Generate button.
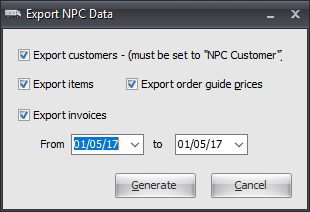
5. Next in the Export NPC Data dialog update the options for your manual data export.
•Check which files to export.
•Set your From and to dates.
6. Click the Generate button. |
|
7. The Progress dialogs will display as your files are scanned, generated and then sent via the FTP to the NPC server.