Mod #1239 Aramark Interface

Contents
Aramark Interface Order import and Sales export.
Access: entrée Add-Ons ribbon menu > Import/Export > Import Data or Export Data > opens the import or export utility > select Aramark Import or Aramark Export.
•entrée V4 SQL will create a data folder Aramark that will be stored in your necs_shared\01 folder.
Update V4.0.20 5/5/15 - Enabled the use of FTP for file transfers.
FTP Settings
Values are supplied by the Aramark when setting up your account.
entrée Folder
necs_shared\01\
Where "01" is the entrée company number.
entrée Settings
•Customer File: Mark all the Aramark Customers.
1.Go to the Customer ribbon menu and click the Customer option.
2.Find your Aramark customers.
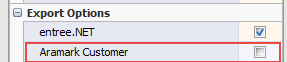
1.Go to the Miscellaneous tab on the far right are Export Options. Check the Aramark Customers option. 2.Click Apply to save. |
|
Configure the Import
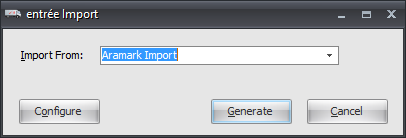
1.Go to the Add-Ons ribbon menu click Import/Export icon. 2.Select Import Data and the entrée Import dialog will open. 3.In Import From select Aramark Import. |
|
4. Click the Configure button and the Aramark Import Configuration dialog will open.
5. Aramark will provide you with the FTP server information you need to enter here, FTP Host, your assigned Username and Password.
6. Directory: Enter the location of your necs_shared\01 folder. Where "01" is the entrée company number.
•File Ext
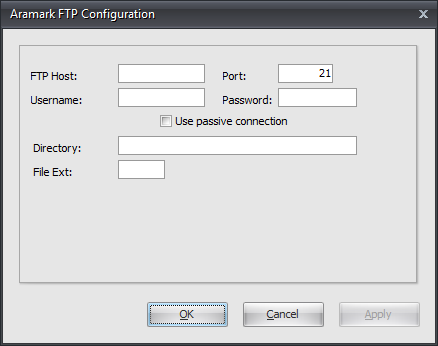
7. Click Apply to save then click OK.
Import
1.Go to the Add-Ons ribbon menu click Import/Export icon.
2.Select Import Data and the entrée Import dialog will open.
3.In Import From select Aramark Import.
4.Click the Generate button and the import process will run automatically. A file will be imported from the Aramark FTP server.
5.Once completed the Order Import window will open displaying all the orders from Aramark.

Configure the Sales Export
1. Go to the Add-Ons ribbon menu click Import/Export icon. 2. Select Export Data and the entrée Export dialog will open. |
|

3. In Export the data To select Aramark Sales.
4. In the entrée Export dialog box click the Configure button.
5. The Aramark EDI Configuration dialog will open. Enter your assigned Distributor ID for your vendor.
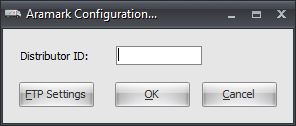
6. Now click the FTP Settings button.
7. Aramark FTP Configuration dialog will open. Aramark will provide you with the FTP server information you need to enter here, FTP Host, your assigned Username and Password.
8. Export Directory: Enter the location of your necs_shared\01 folder. Where "01" is the entrée company number.
•Export File Ext
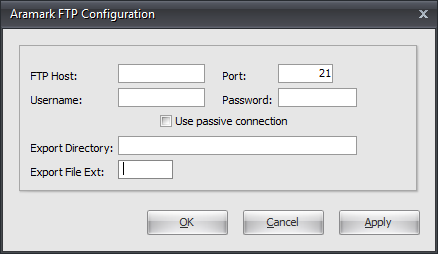
9. Click Apply then click OK to save the configuration.
Running the Export
1. Go to the Add-Ons ribbon menu click Import/Export icon.
2. Select Export Data and the entrée Export dialog will open.
3. In Export the data To select Aramark Sales.
4. Click the Generate button.
5. The Aramark Export dialog will open. Set your Export data from and to dates using the arrows.
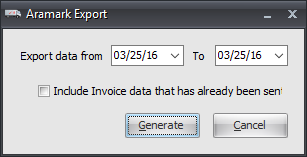
6. If you need to you can check the box for the Include Invoice data that has already been sent option.
7. Click the Generate button and the export will run automatically and transfer via FTP.