Mod #1651 Itasca EDI

Contents
Itasca’s CDS product outputs purchase orders to a flat file on a per-vendor basis. This file has fixed fields and is comprised of header records and Detail line-item records.
Entree will be configured to Import this file format and use a similar format for Invoice Export back to the Itasca CDS system.
Imports/Exports can be manually executed as well as automated through the TEA Scheduling utility.
Import/Export Configuration
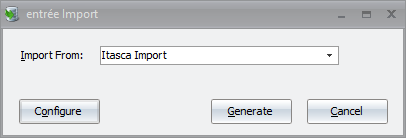
1. Go to the Add-Ons ribbon menu click Import/Export icon. 2. Select Import Data and the entrée Import dialog will open. 3. Select Itasca in the drop down menu. 4.Click Configure to enter in your FTP connection settings. |
|
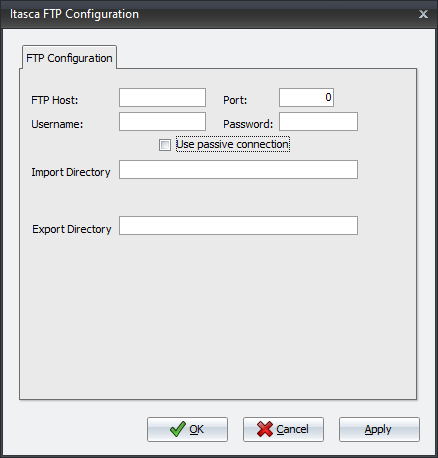
5.Enter the FTP credentials supplied by Itasca when setting up your account. 6.Import Directory: Enter the name of the directory on the FTP site where the purchase orders will be imported from. 7.Export Directory: The name of the directory on the FTP site where the invoices will be exported to. 8.Click Apply |
|
entrée Folders
•The import staging: necs_shared\01\Itasca\Import\
•The import archive: necs_shared\01\Itasca\Import\Archive\
•The export staging: necs_shared\01\Itasca\Export\
•The export archive: necs_shared\01\Itasca\Export\Archive\
•
•xx in the above paths is a place holder for the entrée company number
entrée Configuration and Settings
Utility |
Section |
Field |
Value |
Customer File Maintenance
|
Miscellaneous Tab, in the Export Options section
|
Itasca
|
Checkbox |
Customer File Maintenance
|
Miscellaneous Tab, in the DEX Setup group
|
Store ID |
Distributor Specific |
Customer File Maintenance
|
Miscellaneous Tab, in the DEX Setup group
|
Dept ID
|
Distributor Specific |
Files Exchanged
Document |
Import/Export |
Naming convention |
Send/Receive Frequency
|
Format (edi/flat/csv) |
Purchase Order |
Import |
Po_***_877.dat
|
Configurable via Scheduling Utility entrée Import Task |
csv
|
Invoice
|
Export |
sss_ASN_mmddyyhhmmss_xxx_yyy_zzz.dat
|
Configurable via Scheduling Utility entrée Export Task |
csv
|
sss = Itasca Store ID
xxx = Dist ID
yyy = PO Number
zzz = Itasca Department ID
Transfer Type
FTP
Import
1. Go to the Add-Ons ribbon menu click Import/Export icon.
2. Select Import Data and the entrée Import dialog will open.
3. Select Itasca Import from the drop down menu.
4. Click Generate.
Export
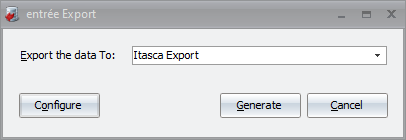
1. Go to the Add-Ons ribbon menu click Import/Export icon. 2. Select Export Data and the entrée Export dialog will open. 3. Select Itasca Export from the drop down menu.
|
|
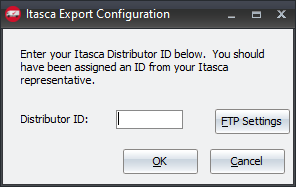
4. Click Generate once the entrée Export dialog opens 5. Once set click "OK" 6. .You can access the Distributor ID setting by clicking on Configure.
|
|
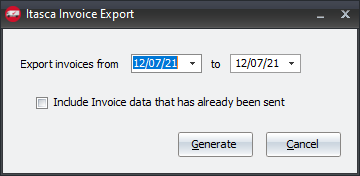
7. Select your invoice date range. 8. Click Generate.
|
|
Updates
V4.6.2 Updated so that multiple Purchase Orders can be imported via the same file.
V4.6.1 Updated the Itasca Import process so that multiple files can be imported at the same time.
V4.6 Updated the Itasca Export form to add an Only send invoices with an Itasca Order Source checkbox option.
V4.5.4.1 Updated the Itasca Export to calculate the invoice total using extended Base Cost.
V4.5.4 Updated the Itasca EDI to allow for six-digit Itasca Store and Department numbers.