EWM Sign-In

Contents
Each operator that uses EWM must sign-in using their assigned Username and Password. This allows the EWM application to track each user, how long it takes to pick each order, and other information related to productivity.
The Sign-in process provides these benefits:
• Menu-item-level access controls similar to entrée and new Miscellaneous options feature.
•Use of the entrée Security Management System - This familiar interface will be used to create and change individual user accounts and assign permissions. •System Activity Saved to a Central Log File - With individual user accounts in EWM the basic activity in the system, including: all scan data, people sign into and out of the system, opening and closing documents for scanning, will now be tagged with the identity of the person who performed the action and saved in a central log file for use in reports. The Warehouse Manager Dashboard in the main entrée system is where you can view the current activity of your warehouse employees. See the Warehouse Manager Dashboard chapter for more information. |
|
•Easily Monitor System Activity - You can generate reports which will combine the data in the activity log with the data in the scan detail files to monitor system activity.
The Sign-In Process
1. Tap the EWM icon on the tablet desktop to run the application.
2. You will see these messages displayed:
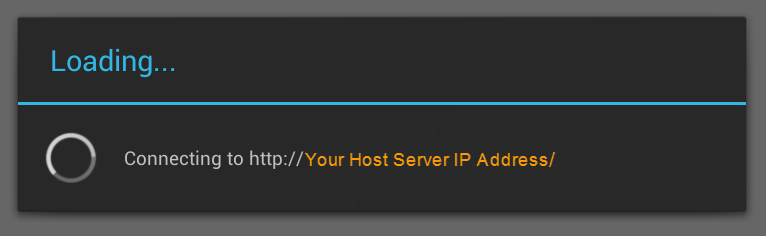
•First the "Checking for updates..." message is displayed which means EWM is checking your Host Server for new versions of the EWM app software. |
|
•Next you will see a "Loading..." message as the tablet loads EWM from your Remote Server. The Remote Server IP address is displayed in the message.
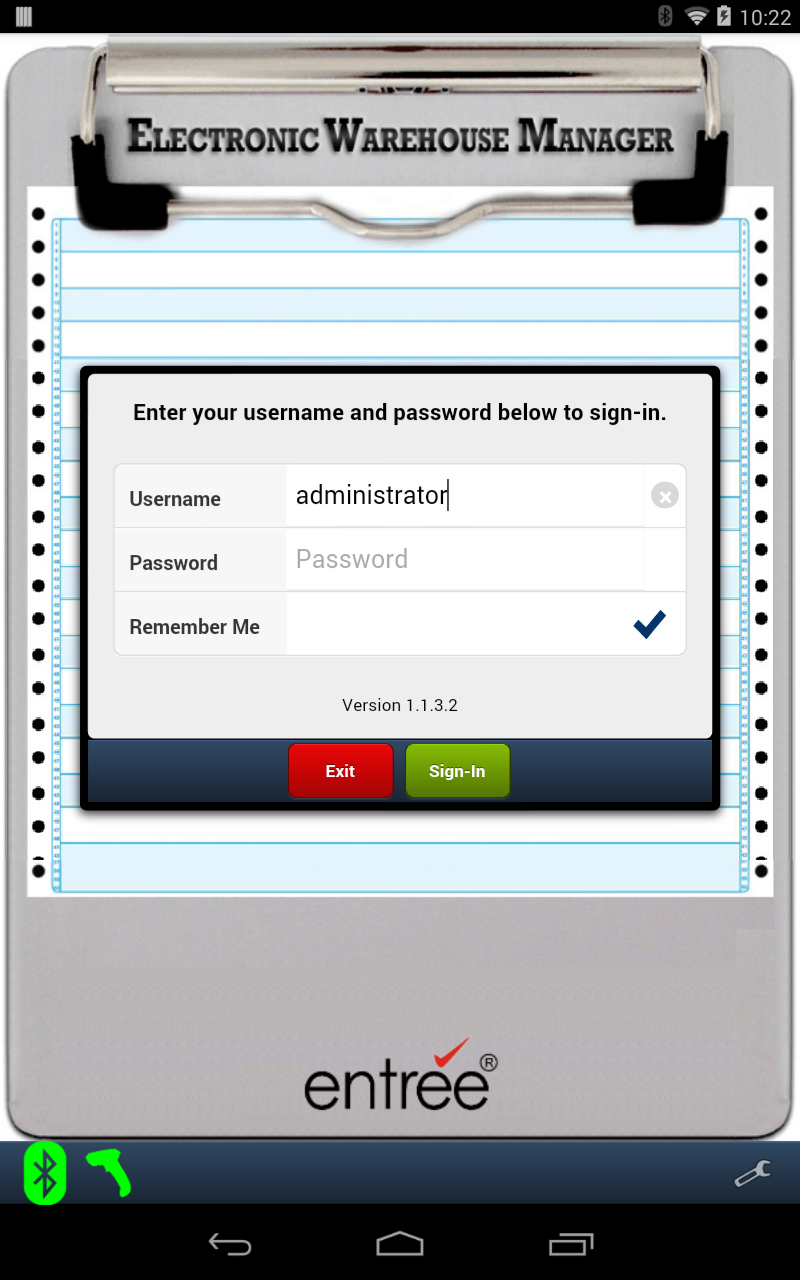
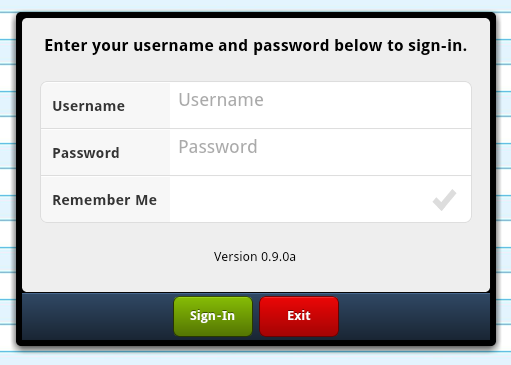
3. The Sign-In dialog box will display once the app is fully loaded.
4. Enter your assigned Username and Password.
5. To save your sign-in information tap the Remember Me option to check it.
6. Tap the green Sign-In button |
|
7. Then the EWM main menu will display.
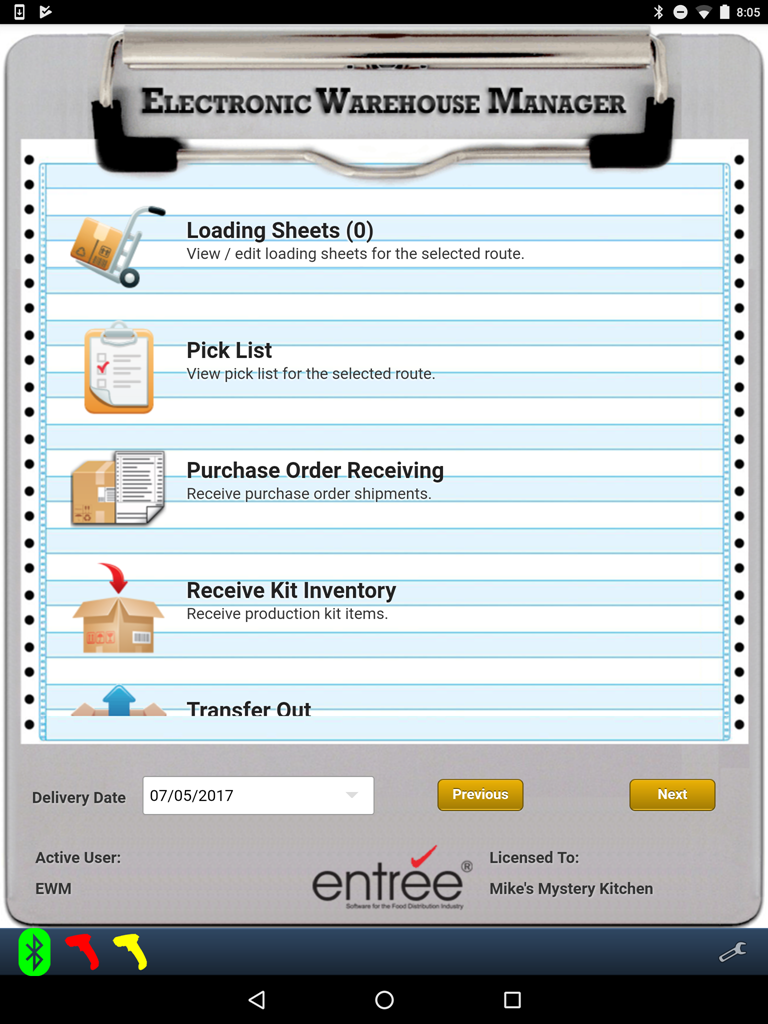
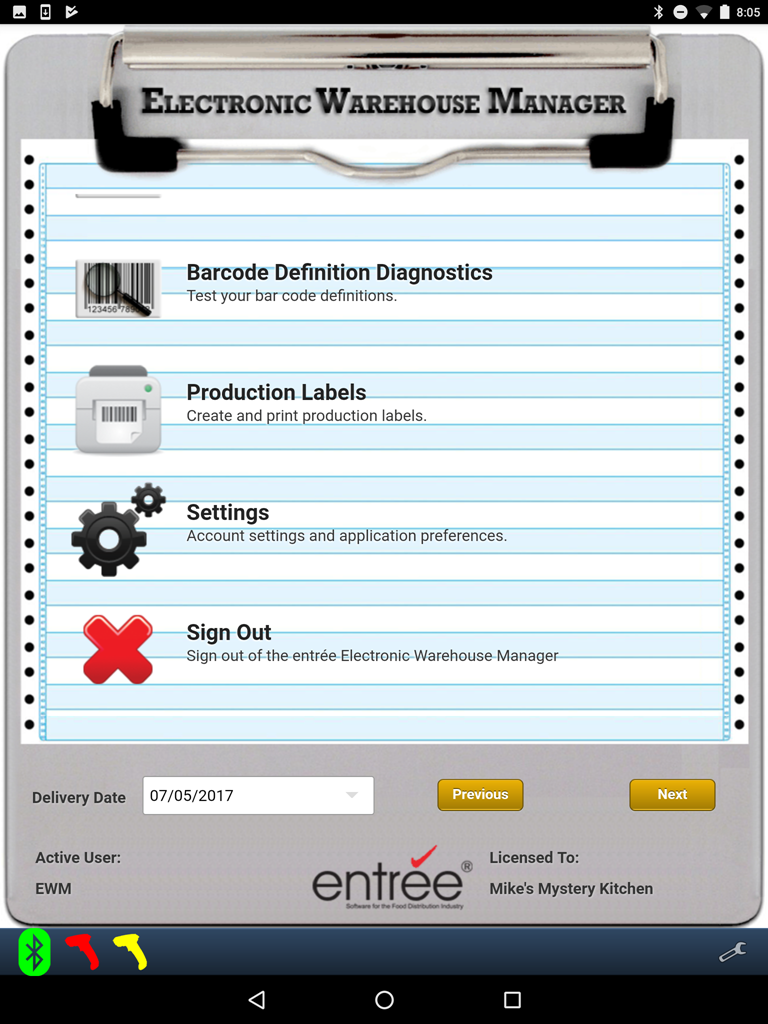
Tap the screen and drag up to scroll to see the rest of the main menu options.
|
|
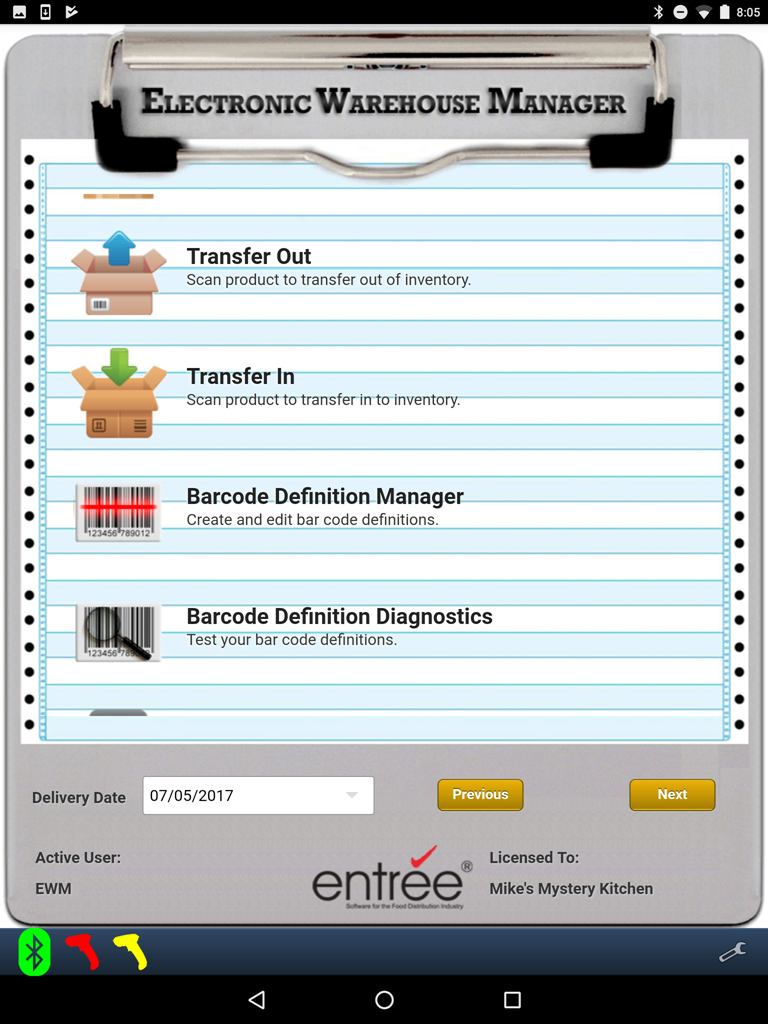
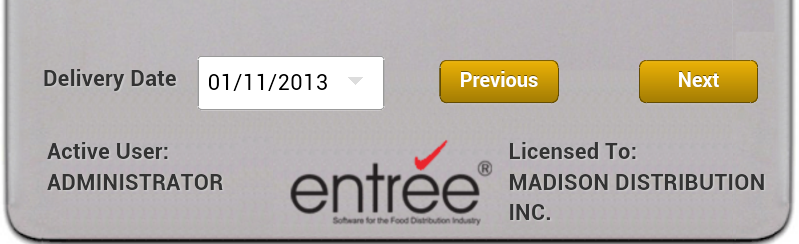
8. At the bottom of the main menu screen enter the Delivery Date you are working with.
•The Delivery Date will always default to the current date when you first sign-in.
•To change the Delivery Date tap the date box area and tap a date in the calendar feature then tap Done.
•The number of loading sheets that have not been picked for each Delivery Date are displayed in (red text) on dates in the calendar. |
|
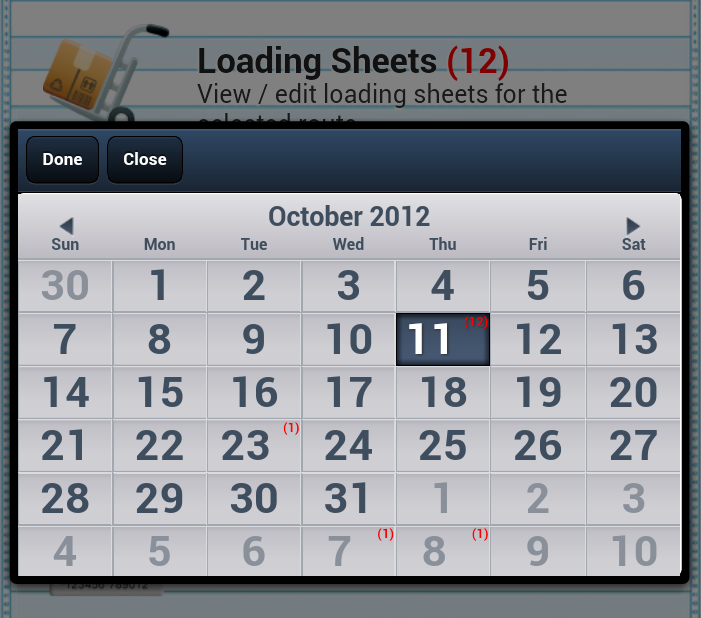
•Or use the Previous / Next buttons to advance the date in either direction. These buttons will also provide you with a number in a red circle representing how many loading sheets have not been picked on the previous or next day.

Informational fields at the bottom of the EWM main menu screen include:
•Active User: Displays the username of the person logged into EWM on the tablet.
•Licensed To: Displays the company name that owns the license for the EWM application on the tablet. |
|
What is next?
If you will be using the touch screen to enter all your information then you can begin using EWM now. Proceed to review the Common Features chapter will provide you with an overview of key features found in the EWM application. The chapter includes: Item Information Panel Setup, screen buttons, Number Keypad Tools and Item Display Controls.
If EWM will use barcode scanners and/or Bluetooth enabled scales and printers then proceed to the Bluetooth Setup - Adding Scanners & Scales chapter. This step must be done so that your Bluetooth devices are defined and paired with the tablet to create the connections for scanning, printing and weighting.