Transfer Out

Contents
Transfer Out / Transfer In features will manage inventory for items you use in the processing or manufacturing of products and the new items that are created.
The Transfer Out feature allows producers of food products to quickly scan items to remove them from inventory so they can not be sold. Then these items can be brought to be processed into new products.
Once all the items are processed and used to make the new product that item will be scanned using the Transfer In to add the new item to inventory so it is available for sale.
Buttons
•Back - Takes you back to the previous screen.
•Remove Scan - Tap this button then scan the item to remove the previously scanned item from the list on the screen.
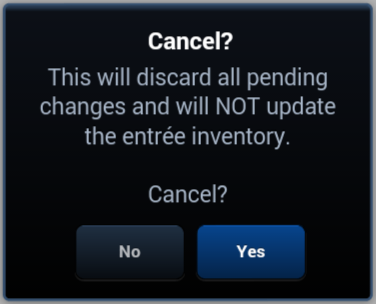
•Cancel - Aborts the current activity without saving changes. |
|
•Hold - Saves the current screen data for retrieval so you can come back later to complete the work. Then returns you to the main menu.
•Finish - Updates the entrée system Inventory File on the server.
•Tap the Tool icon ![]() to open the Information Panel Setup tool to change the data that is displayed in the bottom section of the screen.
to open the Information Panel Setup tool to change the data that is displayed in the bottom section of the screen.
Using Transfer Out
1. Tap the Transfer Out option in the main menu.
2. When the Transfer Out screen opens you will see the Scan an item to start message on the screen.
3. Scan the item and it will be displayed in the scanned items area of the tablet screen.
•You can tap the Hold button to save what you have scanned and finish your work at a later time.
•Tap Cancel to cancel the transfer.
4. The item details will be display in the item information area at the bottom of the tablet screen. |
|

5. Scan any other items that must be transferred out at this time.
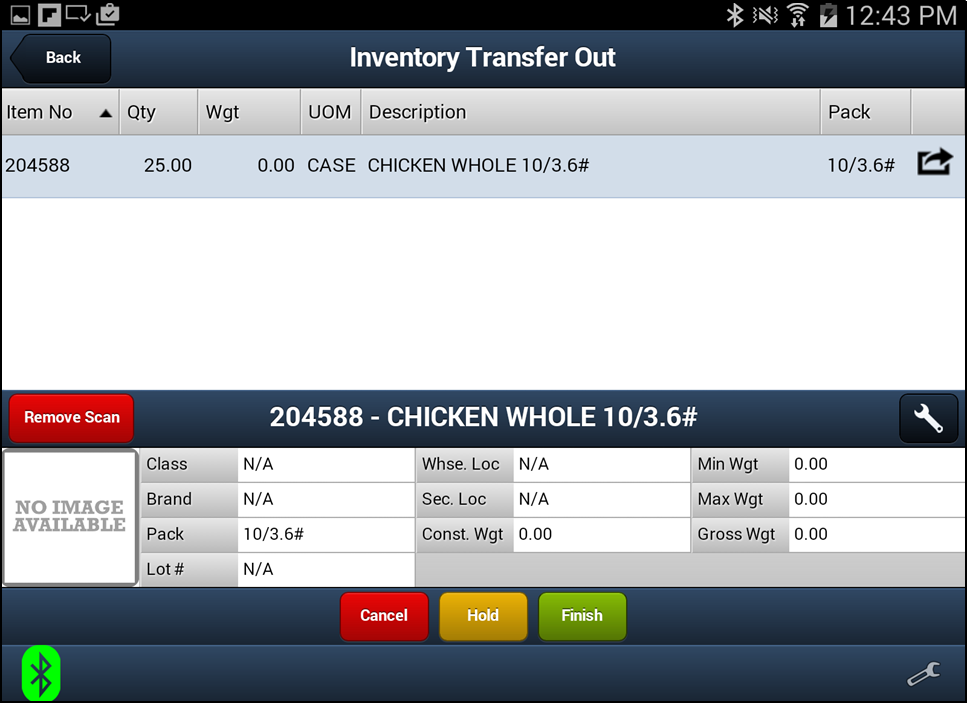
6. Tap Finish to save the changes to the Inventory File and update the entrée system server.