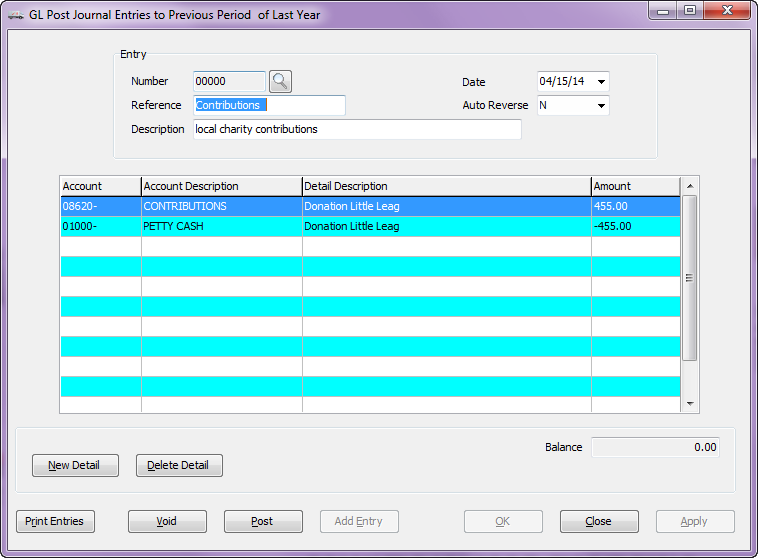
Adding a Journal Entry
Reminder: A journal entry consists of the entry header (Entry Number, Reference, Description, Auto Reverse, and Date) and one or more entry detail items (Account, Description, and Amount).
When a journal entry is posted to General Ledger, the detail items in the entry will determine which accounts in General Ledger are updated, and the amount of the updates.
•A balanced entry has at least two detail items. The sum of all the debits (positive amounts) and the sum of all the credits (negative amounts) must cancel each other out for an entry to be balanced.
 Only balanced entries can be posted to General Ledger.
•Voided entries are saved to the unposted entry file as well, but an entry that is going to be voided does not require any detail items, since any detail information is stripped out of the entry prior to saving it to the unposted entry file. An entry can be voided regardless of whether or not is has any detail.
Continued...
7. The GL Post Journal Entries to Previous Period screen will open.
▪First hit the Enter key so entrée will assign a number to the batch entry.
▪Next edit the Date (if needed) and add Reference and Description information. Auto Reverse is not available.
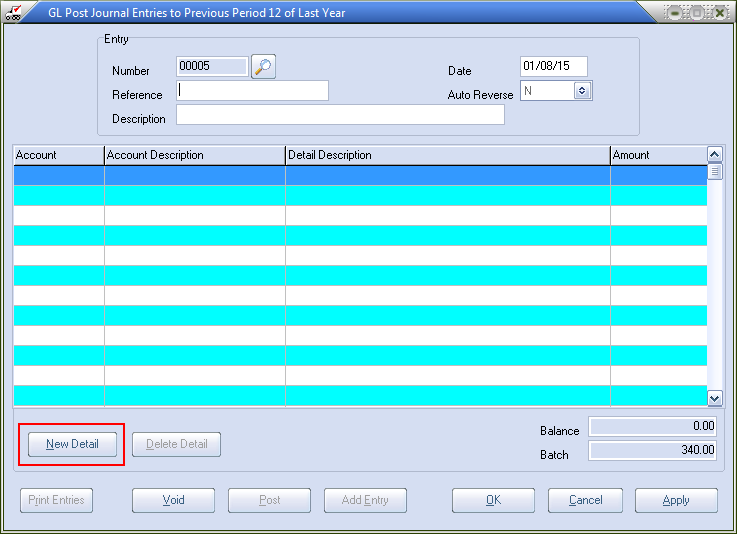
8. Click the New Detail button to open a line in the grid to add an entry.

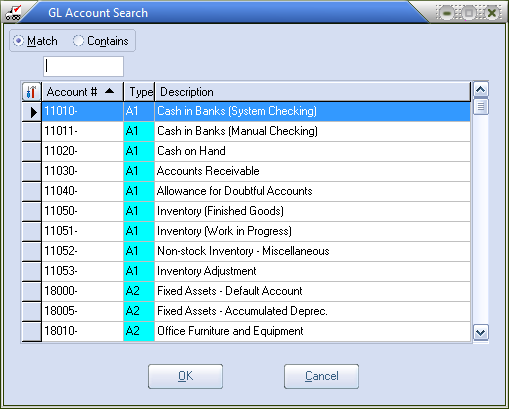
9. Click the search  tool in the detail Account field to open the GL Account Search window.
10. Select the GL Account # for the entry.
11. Press the Enter key and the Account Description will be populated from the GL Account record. Click Apply to save the current entry to a temporary entry file.
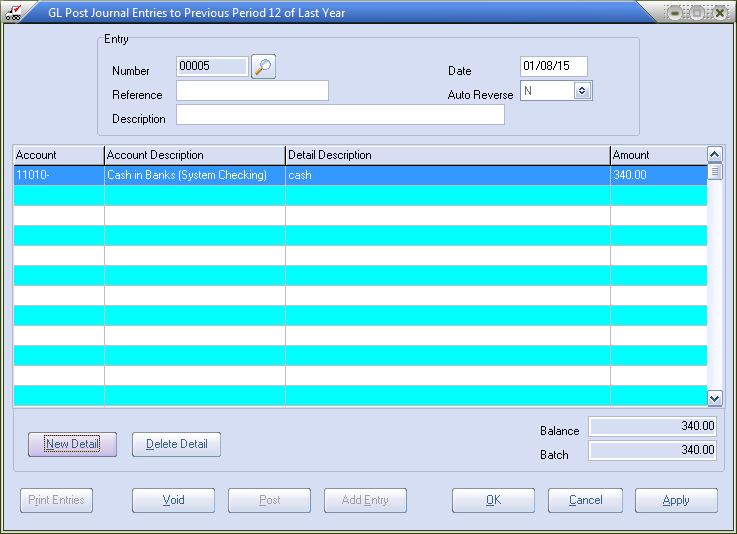
•You can select / de-select any detail entry in the grid by using one of the following commands.
Keyboard Scroll to the entry and press the Enter key.
Context Menu Double left click the entry.
12. To balance the transaction for posting click the New Detail button to add the next journal entries.
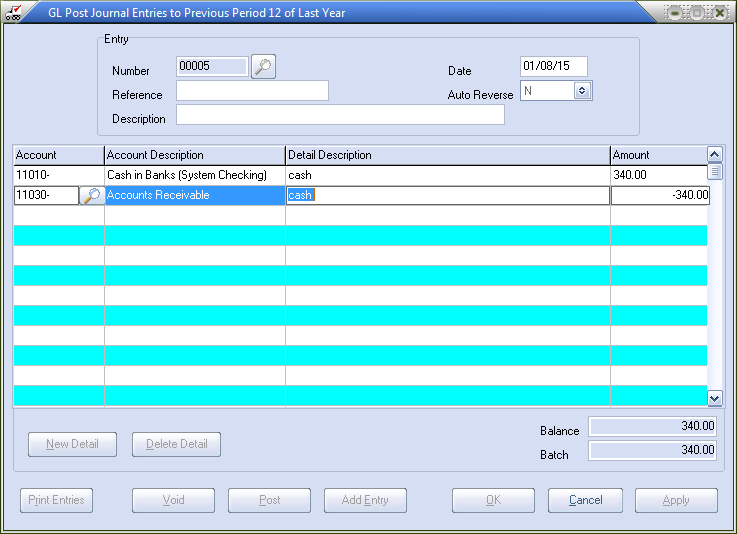
13a. Click Apply once and all the entries made are saved to the temporary file. If you have more work to do click the Add Entry button to create a new Entry or click the New Detail button to add the next journal entry in the grid.
Click the Post button to post all the saved entries and close the window. This button will only be enabled when the current entry has been saved to the temporary file.
Click OK here and the entry is saved and posted and returns you to the main menu.
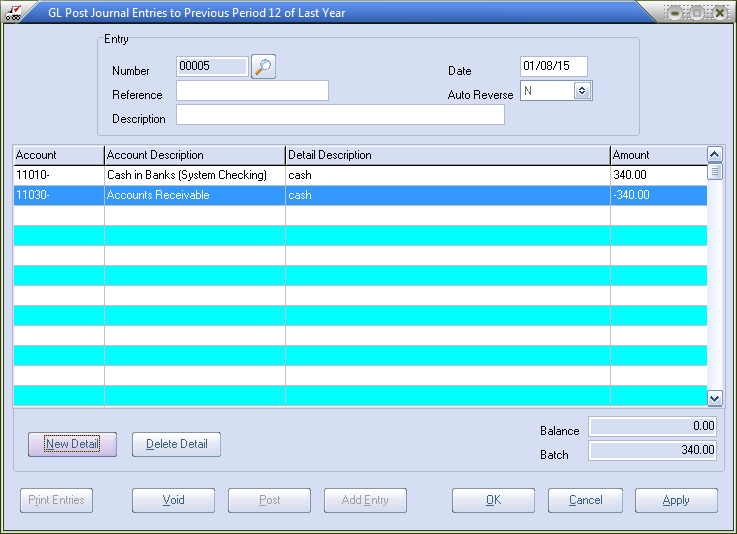
13b. If your GL Enter... Batch Amount was zero in step 6 this is how the balanced entry would look without the Batch field.
Click OK to post the entry and return to the main menu.
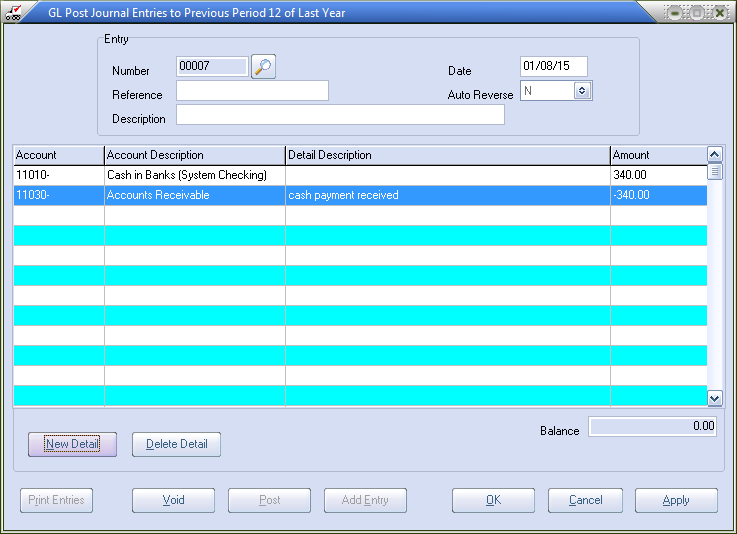
 Clicking the Add Entry button will create a new entry.
