Adding Manufacturers

Contents
A manufacturer must first be defined in Manufacturer Maintenance before you can assign them to an item in Inventory File Maintenance. For an explanation of the fields you must enter in the manufacturer file see the Manufacturer Information Area section of this chapter.
1.Use menu path: File > Manufacturer Maintenance.
2.Click the New button.
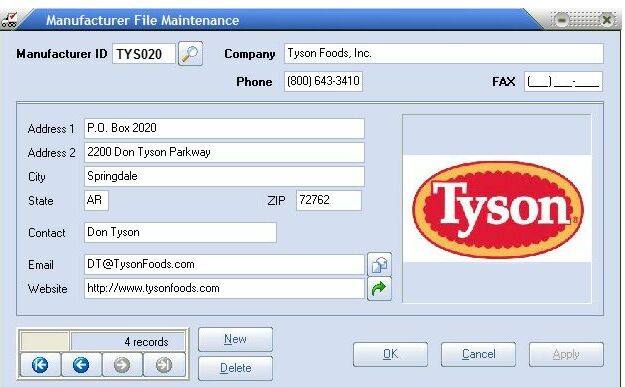
3.Enter a unique value for the Manufacturer ID.
4.Then enter the company, phone, fax, address, city, state, zip, contact, email and website.
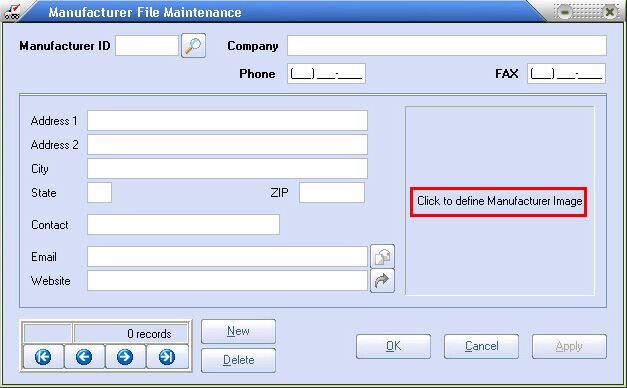
5.Use “Click to define Manufacturer Image” to import an image to represent the manufacturer if you desire. The image selection and import process will be discussed next in this chapter.
6.Then click OK to save the new manufacturer record.
7.The total count of records in the lower left will update to reflect the new record total.
Using “Click to define”
The “Click to define Manufacturer Image” option will open the Select Image dialog box. Here you can select an existing image in entrée to represent the manufacturer. Or you can import a new image from your computer.
Importing a New Image
1.Click the Import button in the Select Image dialog box.
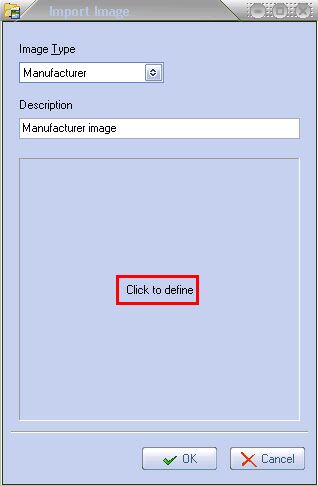
2.The Import Image dialog box will display.
3.Click on “Click to define”.
|
|
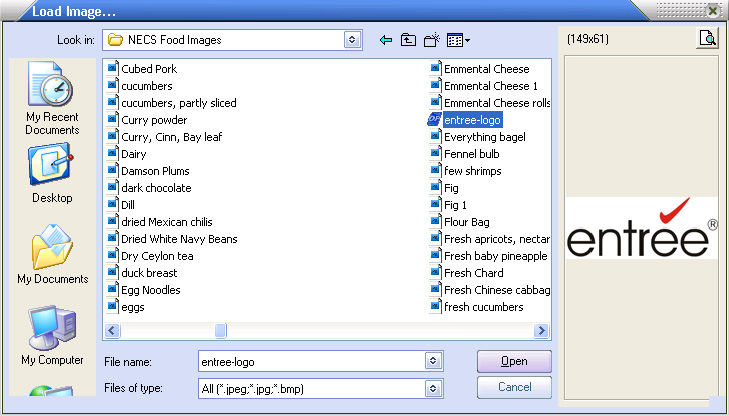
4.The Load Image dialog box will display.
5.Use Look in: to locate the image file on your computer.
6.Click on the desired image and click the Open button.
7.The image will now display in the Import Image dialog box.
8.When importing a new image to represent the manufacturer, the Image Type will default to "Manufacturer".
The Image Type control allows you to filter all the available images in entrée by class, manufacturer, item, or customer.
9.Enter a Description for the image. If you do not enter a description it will be set to "Manufacturer image" by default.
10.Click OK. |
|

Assigning Existing Images to a Manufacturer
1.Click “Click to define Manufacturer Image”.
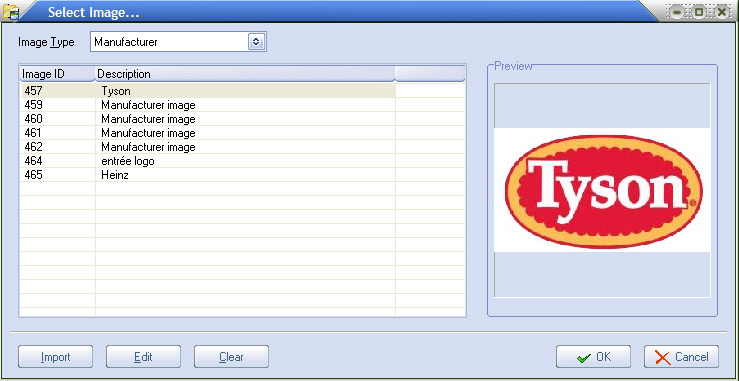
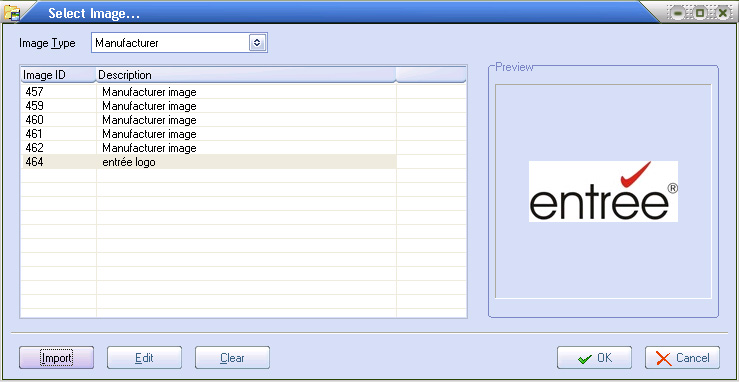
2.The Select Image dialog box will display the list of the saved manufacturer images in entrée.
3.Select the Image Type you want displayed from the drop down list.
| Image Type options are: Item, Class, Customer, Manufacturer and Display All. |
4.Select the image that you want to represent the manufacturer from the available images displayed in the Select Image dialog list. As each image is highlighted in the list, you will see a preview of that image in the Preview panel. Click on the desired Image ID from the list to select it
5.Click OK.
 The existing Manufacturer images and the Preview area.
Editing the Manufacturer's Image
1.Click “Click to define Manufacturer Image”.
2.The Select Image dialog box will display the list of images saved in entrée.
3.Select the image you want to edit from the list.
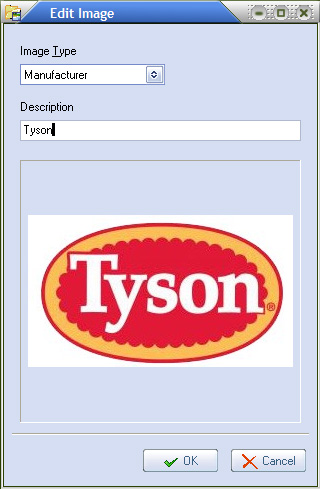
4.Click Edit and the Edit Image dialog box will display.
5.To change the Description: a.Type the new description text in the box. b.Click OK. |
|
6.To replace the image:
a. Click on the current image.
b. Then follow the steps in Importing a New Image or Assigning Existing Images discussed previously in this chapter.
c. Once the new image is imported or selected from the list.
d. Click OK.