Printing Deposit Slips

Contents
Access the Deposit Slip Utility
| 1. | Select Accounting from the main menu. |
| 2. | Select the Accounts Receivable option. |
| 3. | Select the Print option. |
| 4. | Select the Deposit Slip option. |
This Deposit Slip print utility will accept a range of dates and will review all receipts for those dates. Any entries that have not previously appeared on a deposit slip will be listed on screen.
•Placing a check mark in the include column next to an entry will add it on to the deposit slip.
•A field is provided for directly entering a single cash amount for inclusion in the deposit.
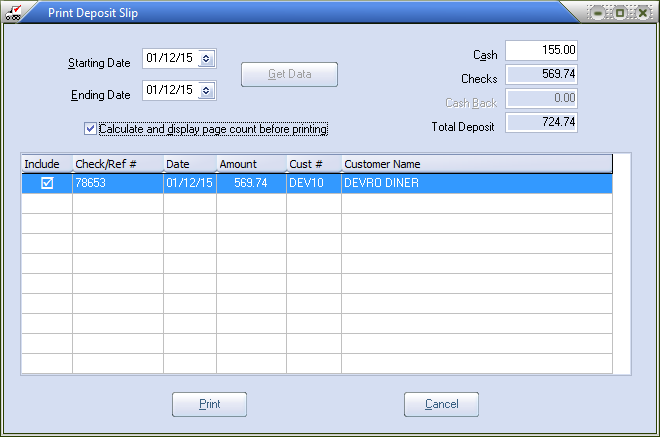
The "Cash" number is a manual entry rather than an automatic one.
•The entrée Cash Receipts system currently does not identify a receipt as being either "cash" or "check" so it is not possible to automatically make that distinction.
•In the second place, many times the cash received and applied to customer invoices is not actually deposited as some of it will be diverted to expenses related to the delivery and other legitimate uses. As a result, rather than trying to tie the "cash" amount directly to posted receipts we are leaving it as a manual entry.
Procedure for Printing Deposit Slips
| 1. | Check the start and end dates, modify as needed using the drop down menus. |
2. Click the Get Data button.
3. Enter the Cash amount.
4. Click the box in the Include column next to the transactions to add to the deposit slip. Mark all the entries that will be included on the deposit slip.
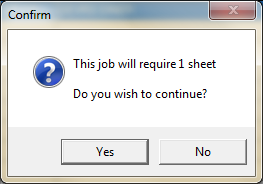
5a. If you check the Calculate and display page count before printing option box if you would like to see this Confirm message before you print.
Click Yes to proceed with printing.
- Or - |
|
| 5b. | Click Print to proceed with printing or Cancel. The information will be printed on your pre-printed forms. All of the included entries will be marked as "printed" and will never appear on the selection list again. |
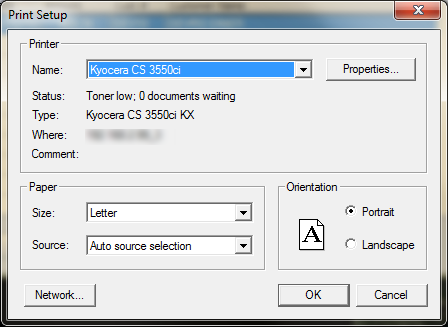
6. The Print Setup dialog will display.
Select your printer using the Name drop down menu.
Be sure to select the correct options in the Paper and Orientation sections of the dialog for your form. |
|
7. The Printing Complete dialog box will display "Deposit Slip printing completed. Please verify that the document has printed correctly. Do you need to reprint this Deposit Slip?"
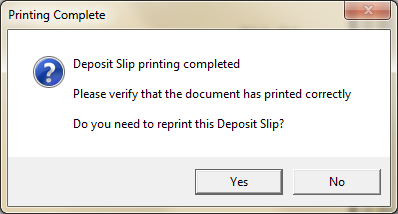
8. Before you respond please check your documents for accuracy.
9. Then click Yes or No as required. Answering "Yes" will immediately reprint the document using the original printer setup. Answering "No" will end the Deposit Slip print dialog.

This utility has been designed to make use of the "Printable Deposit Slip" forms which were designed for use with QuickBooks. Blank forms may be purchased from Intuit (the makers of QuickBooks) or certain other form vendors with your checking account information imprinted. The form itself is an 8-1/2" x 11" sheet containing one deposit slip and a "stub" area which contains a summary of the items included on that deposit slip.
Each deposit slip can record up to 18 checks. If more than 18 checks are being processed at once then each group of eighteen will appear as a separate and complete deposit slip. The document is primarily designed for use with laser printers, although output to a dot-matrix printer is possible (using "graphics mode" which can be rather slow).