Modify an Existing Vendor

Contents
Edit a Vendor
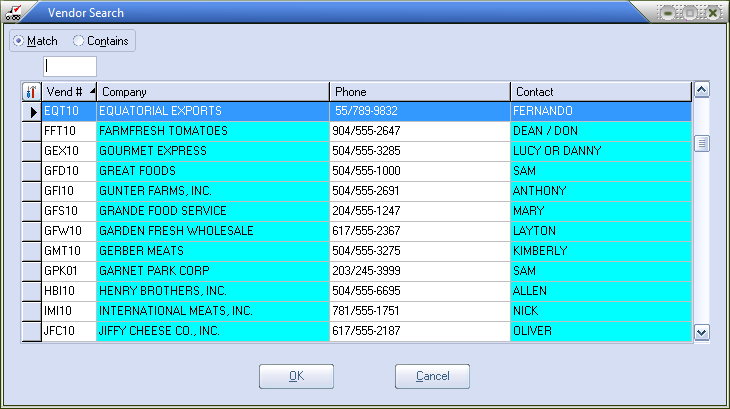
| 1. | Enter the vendor number of the company to edit in the Vendor Number field and press the Tab key. If the vendor number is not known, click the  search button to open the Vendor Search screen. search button to open the Vendor Search screen. |
| 2. | The current data for the vendor will now be loaded into the Vendor File Maintenance window. Changes to the desired fields for the vendor may now be made. |
| 3. | After the editing of the data fields is complete, click the Apply button to save the changes. |
NECS strongly recommends that vendors are not deleted from the vendor file, as it will affect the purchase history for the vendor.
| 1. | Enter the vendor number of the company to delete in the Vendor Number field and press the Tab key. If the vendor number is not known, click the search button to open the Vendor Search screen. |
| 2. | Verify the correct vendor to delete is loaded into the vendor file maintenance window. |
| 3. | Click the Delete button. |
| 4. | A Confirm message will display asking if you want to continue with the deletion, click the Yes button to confirm the deletion or the No button to abort. |
Recall a Deleted Vendor
When an vendor is deleted, entrée marks the vendor for deletion in the vendor file. However, the vendor remains in the vendor file until it is packed. If you enter an vendor number that has been deleted, entrée will display a prompt allowing the user to recall the vendor.
Click the Yes button to recall the vendor. If the original vendor should not be recalled, but the original number is needed the vendor file will need to be packed before proceeding.
|
Some vendors may not be deleted if there is open activity such as unpaid invoices or open POs. If there is open activity entrée will warn the user with the following messages.
There is data for this vendor in the Accounts Receivable File. Unable to delete this vendor
Under these circumstances the vendor will have to be deleted after the invoices have been paid or the PO has been closed and received.
|
