Entering Your First Order
The purpose of this chapter is to show you how easy it can be to enter an order. Though you have many options, we’ve broken the process down into eight steps which will give you a good overview.
This example will use a method we call Standard Order which speeds you through the ordering process. Even though we carry a large amount of products, the Standard Order always remembers which of the products you normally order for your customer. It’s a great tool not just for the purpose of making the ordering fast, but it also helps remind you of products that your customer normally orders, which you may have forgotten.
Creating an Order for a Customer
STEP 1. Login to entrée.NET using your assigned Username and Password.
STEP 2. Click on the Customers tab then find and select your customer.
STEP 3. Click the Load Customer icon  to access your customer’s account.
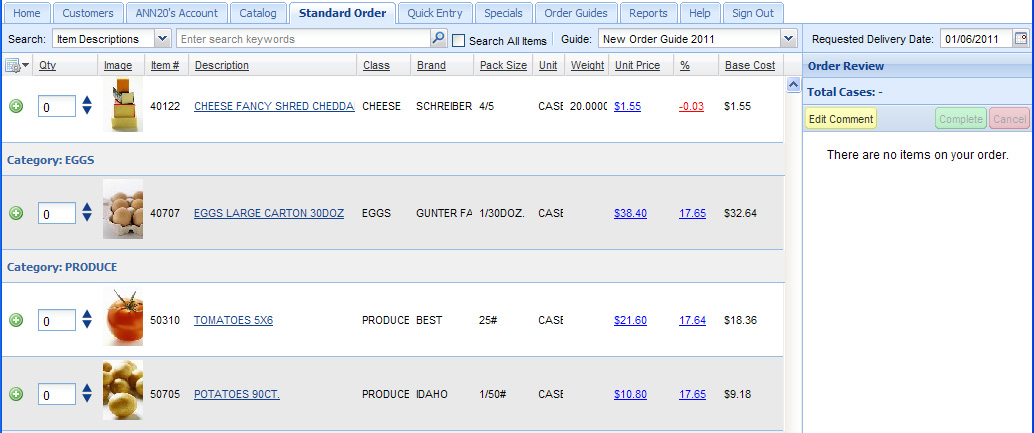
STEP 4. Click the Standard Order tab. All the items you normally order for the customer will be displayed.

STEP 5. Need to search for an item? Just select what you want to search (Description, Class, Brand or Item Number) and enter the search text.
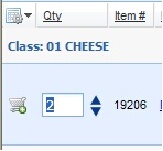
STEP 6. Enter the quantity ordered for each item. You can also use the up/down arrow icons to increase/decrease the quantity. As quantities are entered, the shopping cart to the right shows the ordered items. |
|
STEP 7. Enter the Requested Delivery Date (or use the calendar tool) in the shopping cart area.
STEP 8. Click the Complete button in the shopping cart. The order is then sent into our main entrée software and you will receive an email confirming your ordered items.
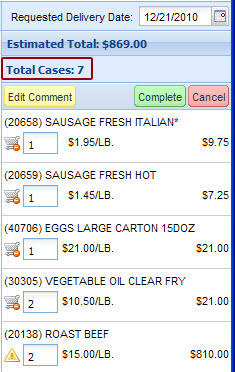
The System Administrator can turn on the Case Count feature so the Total Cases quantity will be displayed in the shopping cart area as seen here.
You can use the comment area to provide information about an item in your order, order delivery or any other information you need to communicate to us. |
|


