Website Blocks

Contents
The content entered into the News block will be displayed on all the pages of your website in the Latest News section. Use the News block to supplement company communications with your customers. Topics concerning time sensitive ordering dates, product announcements, news about your company can be shared. Once the News block has been updated it will be displayed in your website instantaneously. To update the News block follow these steps:
1.Click the Website tab, and then click the Content button. 
2.Click on the News block in the content list on the left.
3.The information currently in the block will display under the Content tab.
4.Add your new information and remove any obsolete information.
5.Use the tools discussed previously in this chapter to change the text color, font, highlight text, change text size or whatever you wish.
6.When your changes are complete, click the Save Changes  button to save your changes and update the Latest News your website.
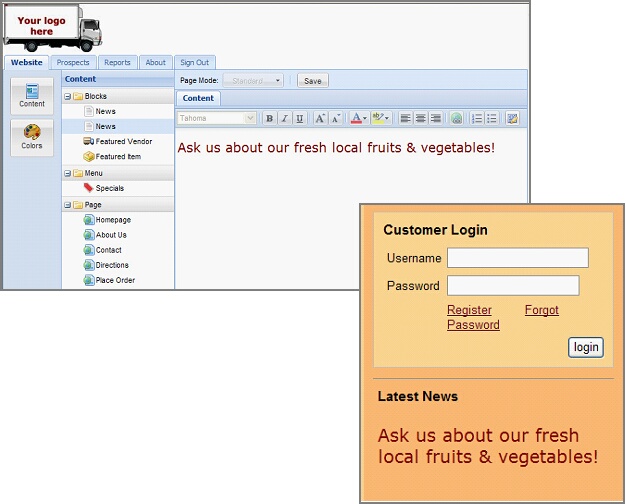
Back: The News block as it looks in the Content tab when you are editing your news.
Front: The Latest News section as seen on all the web pages in your website. The purple headline has been highlighted with white to make it more prominent.
Updating the Featured Vendor Block
You can select a vendor to be your “featured vendor” to display in the Featured Vendor block of the website home page. You can add text and a picture or logo representing the vendor or their products to the block. Follow these steps to edit the Featured Vendor block:
1.Click the Website tab, and then click the Content button.
2.Click on the Featured Vendor block in the content list on the left.
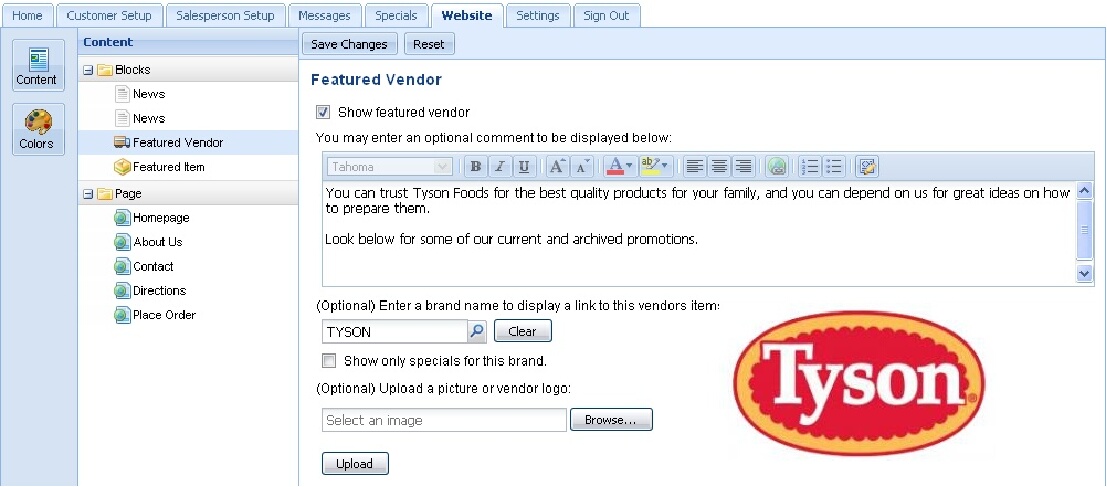
3.The featured vendor dialog will display with the information currently in the block.
4.Click the Reset button  to clear the page.
5.Click and check the Show featured vendor box to display it on the Home page.
6.You now have the option to add a comment in the comment text box. Use the tools discussed previously in this chapter to change the text color, font, highlight text, and change text size of the comment.
7.You have the option to enter a brand name to display a link to your vendor.
Click the Clear button  to remove the previous vendor brand.
8.Click  to open the Brand Lookup dialog box.
9.Enter text in the box and click to search for the desired brand name.
10. When you find the brand name, click the Plus icon ![]() to select it.
to select it.
11. Show only specials for this brand – check this box if you want the Specials page to only display items from your featured vendor’s brand.
12. (Optional) Upload a picture of vendor logo – To upload an image follow steps 15 – 22 in Updating the Featured Item Block section on the last page of this chapter.
13.Click the Save Changes button and your website will be updated.
Updating the Featured Item Block
You have the ability to select an item to be your “featured special” in the Featured Item block of the website home page. You can add text and a picture of the item to the block. Follow these steps to edit the Featured Item block:
1.Click the Website tab, and then click the Content button.
2.Click on the Featured Item block in the content list on the left.
3.The featured item dialog will display with the information currently in the block.
4.Click the Reset button to clear the page.
5.Click and check the Show featured item box to display it on the Home page of your website.
6.Click Select an item to feature.
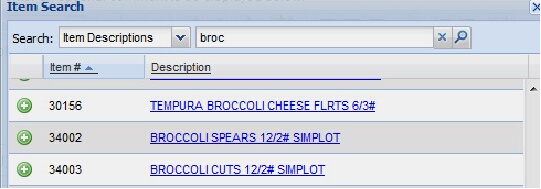
7.The Item Search dialog box displays. In the Search drop down list select a search option: Item Descriptions, Class and Item Number.
8.Enter text in the box and click to search.
9.The Item Search box displays the search results.
10.Find the item and click the Plus icon ![]() to select it.
to select it.
11.Click the blue Description link to view the Product information.
12.The item # will now display in the Select an item to feature box.
13.You now have the option to add a comment in the comment text box.
14.Use the tools discussed previously in this chapter to change the text color, font, highlight text, and change text size of the comment.
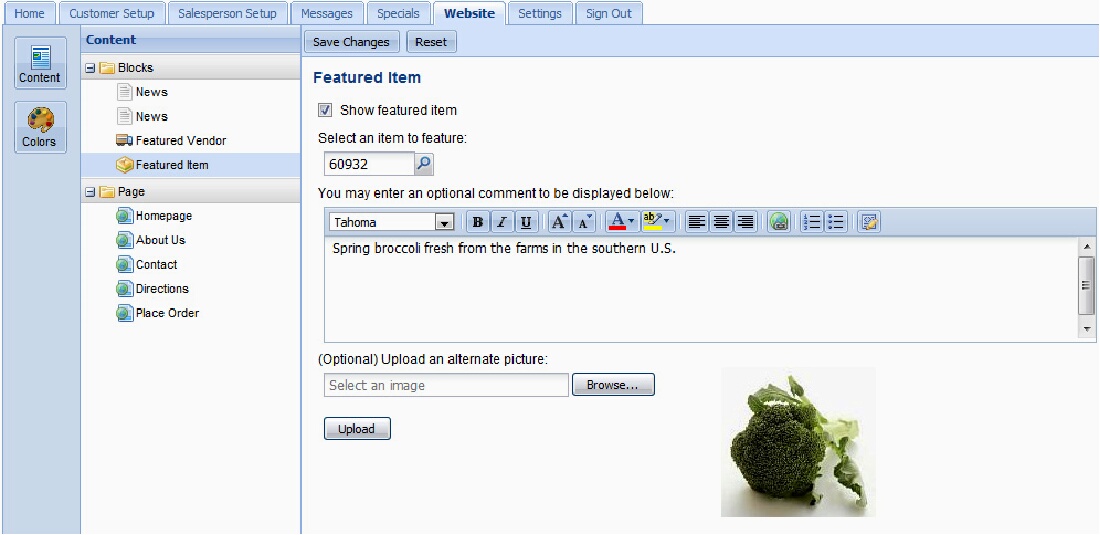
15.You have the option to upload an image or alternate image for the item. The supported image formats are JPG, JPEG, GIF and PNG.
16.To upload an image for the item: Click the Browse  button.
17.The Open dialog box will display.
18.Locate the desired image file on your computer. Click on the image file to select it.
19.Click the Open  button.
20.Click the Upload  button.
21.The image file will now be uploaded and display in the image area.
22.Click the Save Changes button and your website will be updated.
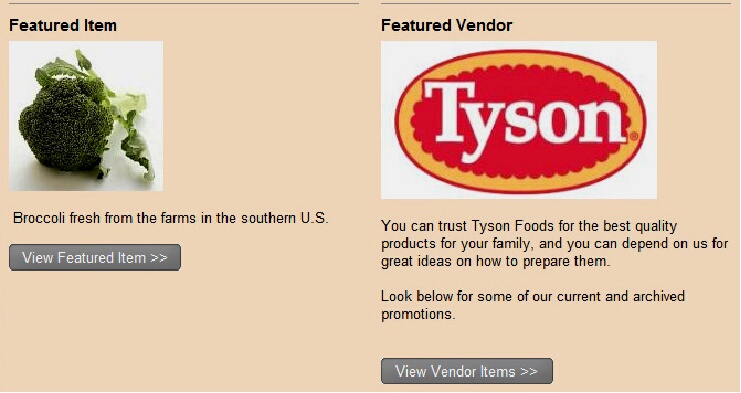
The Featured Item and Featured Vendor blocks as they are seen on the Home page of the website.