Website Photos
To add photos to your website use the Photo tab in Standard Mode to add either a stock images or upload your own image from your computer.
1.Click the Website tab, and then click the Content button. 
2.Click on the Page name in the Content list on the left.
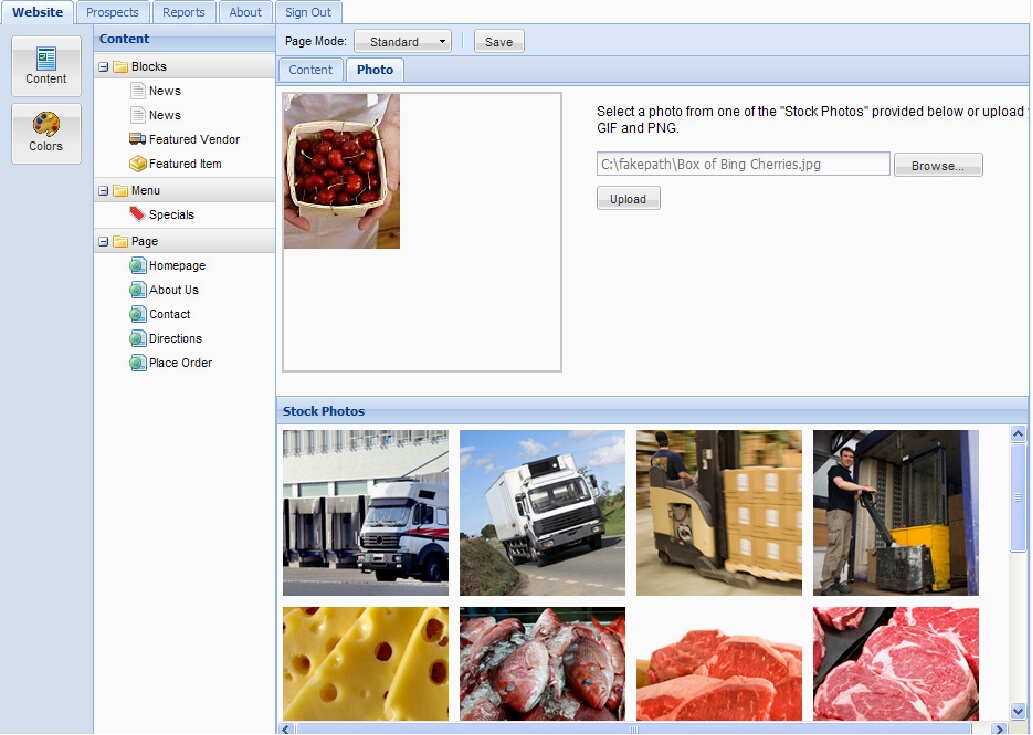
3.Click the Photo tab.
4.The Photo tab will display the stock images available to you and the upload dialog.
5.Click the desired stock image to select it. The displayed image will update.
6.Or if you would like to upload an image from your computer, the supported image formats are JPG, JPEG, GIF and PNG.
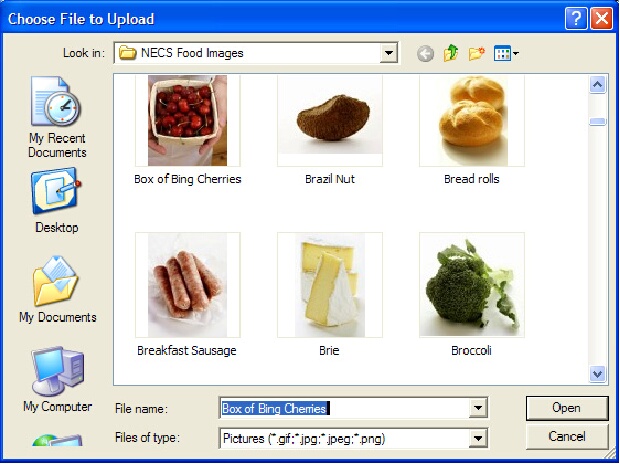
7.Click the Browse  button and then the Open dialog box will display.
8.Locate the desired image file on your computer, click on the image file to select it.
9.Click the Open  button.
10.Click the Upload  button.
11.The image file will now be uploaded and display in the image area.
12.When your selection is complete, click the Save button.
The Open dialog box used to find images on your computer for upload to a web page.
|
|
The image is now in the Photo tab page after being uploaded. |
|
The Home page of the website with the new photo. |
|


