Installing entrée.QB

Contents
Notes of caution before you begin the entrée.QB installation process:
•entrée.QB must be installed on a workstation that already has a working copy of entrée installed and configured on it. The data path settings setup and maintained by entrée are shared by entrée.QB. This point is critical and failure to adhere to it will result in an error message being displayed when attempting to start entrée.QB.
•QuickBooks software should already be on the computer that entrée.QB will be installed on.
•Before installing and using entrée.QB, please be sure that the numbers from the "Release to GL" in entrée are in balance.
•entrée.QB should not be run until all the configuration changes in this chapter have been implemented.
 QB-specific configuration changes are system-level changes that will only need to be done once for any given installation of entrée. (A possible exception would be the changes to a given user's entrée User Account.) So if you are installing entrée.QB on a second computer everything may already be configured in entrée to run entrée.QB immediately.
 It is recommended that you begin using entrée.QB at the start of a new period.
Follow these steps to install the entrée.QB add-on module the first time.
| 1. | Insert your entrée.QB CD into your computer CD drive. |
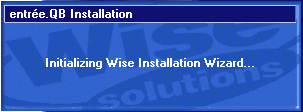
| 2. | The entrée.QB Installation wizard will begin. |
If the entrée.QB Installation wizard does not run automatically follow these steps:
| § | Go to the Windows toolbar at the bottom of your computer screen click on Start > My Computer |
| § | Find the CD drive containing the entrée.QB install disk. |
| § | Double click the CD drive to view the files on the CD. |
| § | Find the Setup.exe file and double click it to begin the entrée.QB Installation wizard. |
| 3. | The Welcome dialog box will display, click Next. |

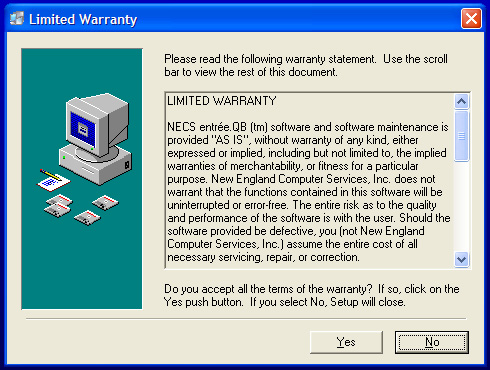
| 4. | The Warranty dialog box will display, click Yes to accept the terms. |
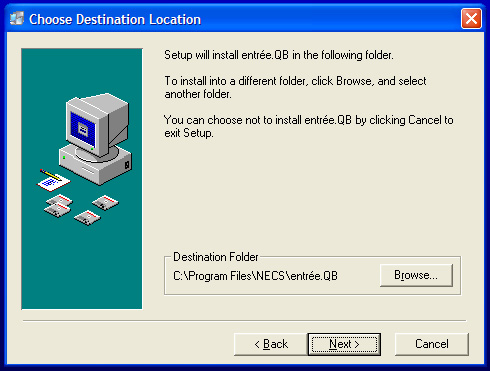
| 5. | The Choose Destination Location dialog box will display. |
| 6. | To install entrée.QB in the default folder click Next. Or you can click Browse to select a different location. |
NECS recommends that you choose the default folder location.
| 7. | The Select Program Manager Group dialog box will display. |

|
|
| 9. | To select the default group click Next or select a group from the list. |
| 10. | The Start Installation dialog box will display click Next. |

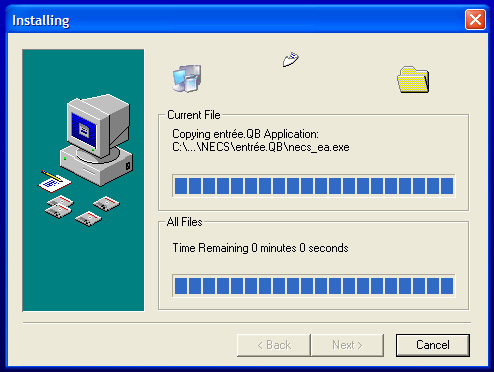
| 11. | Once installation has begun the Installing progress box will display. |
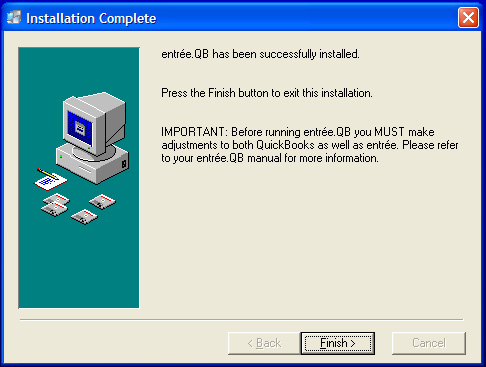
| 12. | When the installation is done the Installation Complete dialog box will display. Click Finish. |
| 13. | Now continue to the next section of this chapter Setting up QuickBooks for entrée. |
All the sections in this chapter must be completed to ensure that entrée and QuickBooks are ready for the synchronization process to follow.