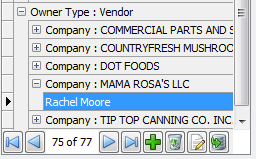
Add New Contacts
Add By Contact Type
•If you are adding a Vendor contact...
Use the Contact Type drop down menu and select the Vendor option.
Select the vendor that the contact should be linked to from the Vendor Search dialog.
Click the OK button.
•If you are adding a Customer contact...
Use the Contact Type drop down menu and select the Customer option.
Select the customer that the contact should be linked to from the Customers Search dialog.
Click the OK button.
•If you are adding a Miscellaneous contact...
Use the Contact Type drop down menu and select the Miscellaneous option.
Click the OK button.

 This is how a new Vendor Contact is added to the Contacts database.
1. Click the  Add button in the toolbar at the bottom of the contact database list and the Contact Properties dialog will open.
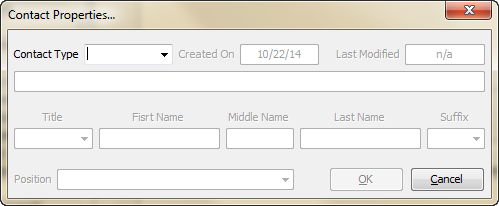
2. Use the Contact Type drop down menu and select the Vendor option.

3. Click the Vendor field  Search icon to open the Vendor Search dialog. Select the vendor that the contact should be linked to.
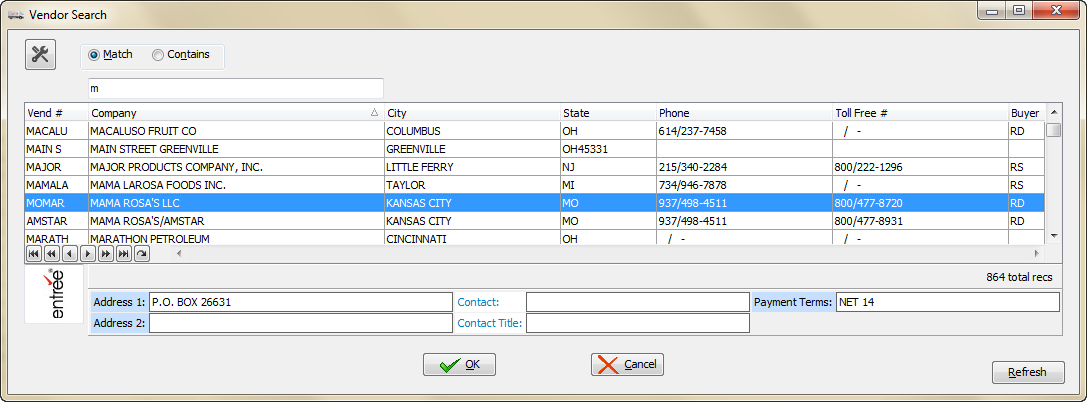
 If the Vendor is not found in the Vendor Search screen then you will have to add the Vendor to entrée using the Vendor option in the Vendor ribbon. Then you must return here to add the contacts for that Vendor.
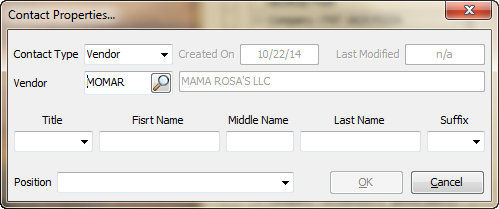
4. Select a Title from the drop down menu.
5. Then enter the First, Middle and Last name values.
6. Select a Suffix from the drop down menu if needed.
7. Select a Position from the drop down menu or enter a position that is not listed. The new position value will be added to the list.
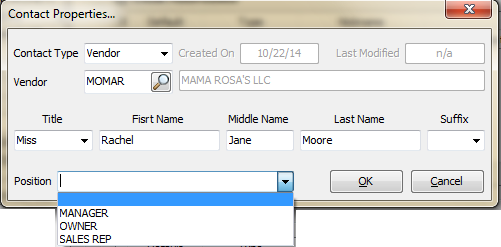
8. Click OK and the Contact and Company will be added to the Contacts database in the Owner Type: Vendor section. |
|

