Add/Edit a Company Invoice Heading
The Company Invoice Headings feature will now allow you to define as many different names as you wish. The amount of disk space available on your file server is the only limiting factor.
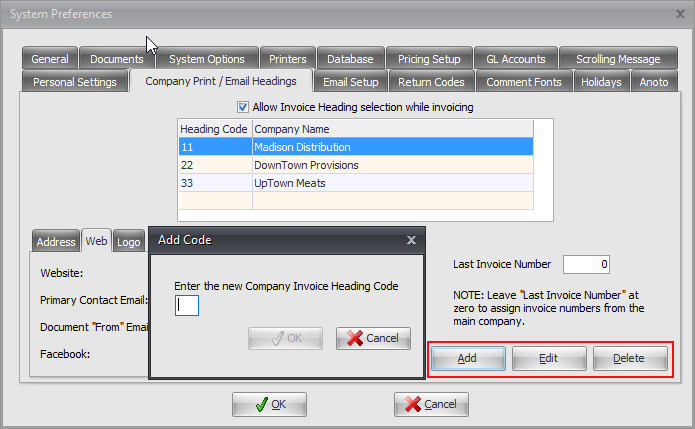
•Use the Add, Edit and Delete buttons here to manage your company Heading Codes.
| 1. | Select the first empty line in the Company Grid and click the Add button. |
| 2. | The Add Code dialog will display. Type in the desired Heading Code to be attached to the new heading and click OK. |

| 3. | Then go to the Address tab below and in the Company field enter the desired company name and press the Tab key. |

| 4. | Optionally fill in the address information for the company. |
| 5. | Optionally assign a new Last Invoice Number for invoices created under this invoice heading. If the invoice numbers should fall in line with the main company's invoices, leave this field set to 0. |
| 6. | Then go to the Web tab and enter your company web information. Enter your company website URL, a contact email address and links to your company Facebook and Twitter feeds. |
7. Click the OK button to save the company information.
8. Repeat this process for any subsequent companies starting with the next blank line in the Company Grid at the top of the screen.
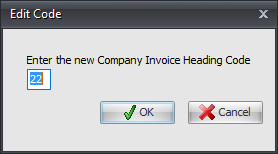
Edit Heading Code
Click the Edit button to edit the Heading Code for an existing Company Name.

