Manual Export / Import

Contents
The System Administrator should have a daily schedule of data exports and order imports from entrée.NET. But there are times when you can not wait for the scheduled export or import, like when pricing changes, and you need to get an update from the main entrée system into entrée.NET and Electronic Order Pad.
Here is a brief overview of how the System Administrator can run the export or import processes manually.
How to manually run the entrée.NET export utility in entrée
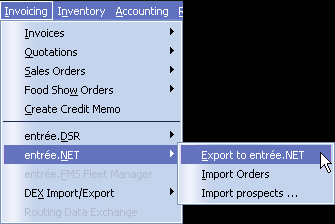
1a. entrée V3 Use menu path:
Invoicing > entrée.NET > Export to entrée.NET. |
|
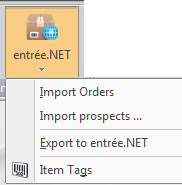
1b. entrée V4 SQL Go to the Add-Ons ribbon menu > entrée.NET drop down menu > Export to entrée.NET. |
|
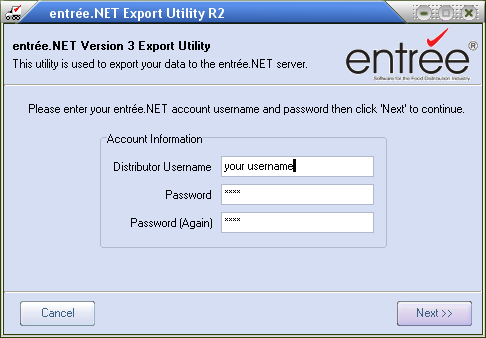
2. The entrée.NET Export Utility sign-in dialog will display.
3. Enter your username and password to sign-in to your entrée.NET account.
Click Next to continue. |
|
4. In the entrée.NET Export Utility select from these Export Mode options:
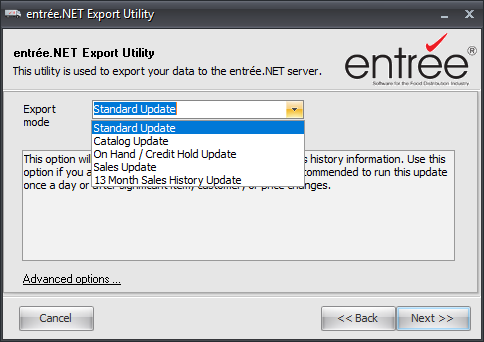
•Standard Update: This option will export ALL your customers, items, pricing and sales history information. Use this option if you are using entrée.NET for order entry.
•Catalog Update: This option will only export item information. No pricing information will be transmitted. Use this option if you are only using the public catalog or need to publish just item updates.
•On Hand / Credit Hold Update: This option will only export item inventory "On Hand" quantity and customer credit hold status.
•13 Month Sales History Update: This option will export 13 months of invoice sales data. This option only needs to be run once to provide history for the online customer report system. These updates are included with the "Standard Update" export option.
5. Check the Resend item and class images option if you have updated images for item, brand, or class in entrée.
6. Click Next to continue. The export utility will now begin exporting and transmitting your data. The progress of your export will be displayed using the blue bars.
7. Once the export utility is done the Completed message box will display to confirm the export.
8. Click OK. Now any updated information from entrée is in entrée.NET and Electronic Order Pad.
How to manually Import Orders or Prospects into entrée
1a. entrée V3 Use menu path: Invoicing > entrée.NET > Select from Import Orders or Import prospects....
1b. entrée V4 SQL Go to the Add-Ons ribbon menu > entrée.NET drop down menu > Select from Import Orders or Import prospects....
2. The server will now be checked for any new orders or prospects depending on which option you selected. An Order Import or Prospect Import progress bar will be displayed.
a.If there are no new Orders to imports at this time this message will be displayed.

b.If there are no new Prospects to import this message will be displayed.
Finishing the Order Import Process
If orders are imported the Order Import Detail screen will be displayed. This will list all the orders that have been imported into the main entrée system at this time.
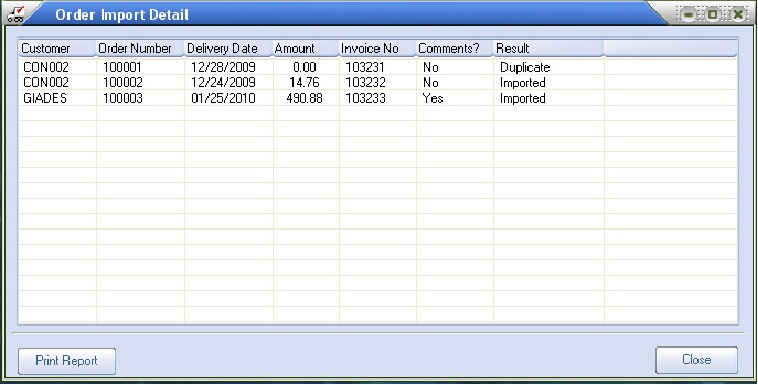
•Click the Print Report button to open the report dialog and print a report listing the orders imported.
•Click Close to exit this screen.
•When an order has successfully been imported an notification e-mail will be sent to the e-mail address(es) that are configured to receive order notifications.
Finishing the Prospects Import Process
 Please review the Prospects chapter in this guide to learn about creating and processing Prospects.
•Before you can import a Prospect into entrée you must have performed these 4 steps in entrée.NET:
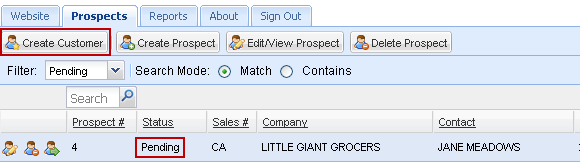
1. The Ready to Convert box should have been checked by the DSR changing the prospect status to 'Pending' as shown in the entrée.NET Prospects Tab image below.
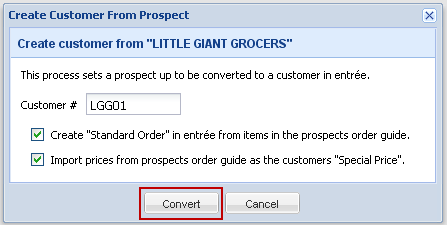
2. The System Administrator or Prospect Manager then edits the prospect in entrée.Net. They will perform the Create Customer From Prospect process. This process provides for the assignment of a Customer # and allows for the selections of two options for the soon to be customer.
When the Convert button is clicked the Prospect is ready for the import process to pick it up.
3. Now you can proceed to steps 1 - 4 of the How to manually Import Orders or Prospects into entrée section of this chapter.
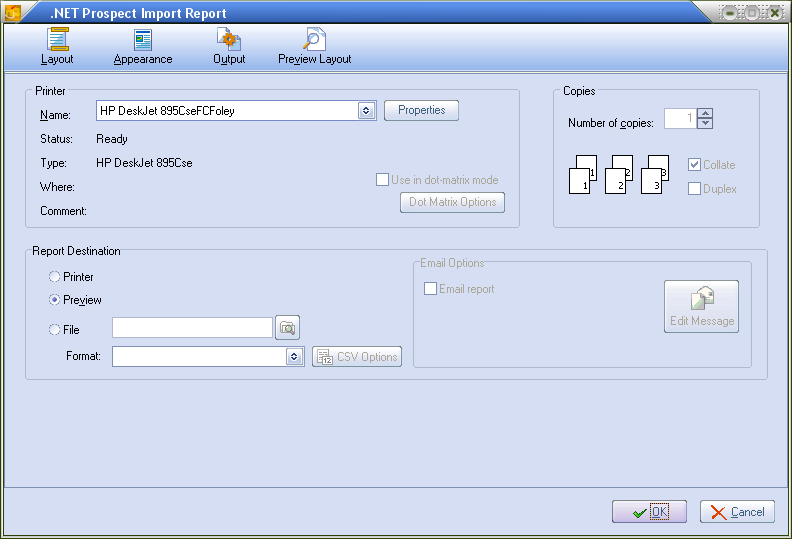
4. After your Prospects have been imported the .NET Prospect Import Report dialog will display. Select how you want your report output to be handled in the Report Destination section. Click OK.
 This is an example of the .NET Prospect Import Report generated.

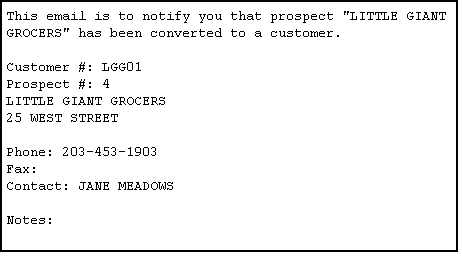
•This is the email notification automatically generated and sent to the DSR about the Prospect's conversion to customer.
Consult the entrée.NET Knowledgebase for more detailed information about using entrée.Net.