Receive Kit Inventory

Contents
This feature is ONLY for Kit Items. Now some basics on how things work.
entrée work before you begin
You must have your kit items defined in the main entrée system in the Inventory file Kits Tab. The Kits tab is where the ingredients of a kit item can be defined. Kit items are items that are processed prior to being sold.
** See the entrée V4 System Guide for details about setting up your kit items properly.
Automatic case breaking for kit ingredients follows entrée rules with the following exceptions:
•It is not possible to receive kit inventory with lot based ingredients without assigning lots for the required batch quantity so an automatic lot assignment routine has been implemented.
•entrée receive by item processes PIECE like a CASE. entrée will pull the case inventory and proof the inventory if the piece is not an LB.
Rules that apply when dealing with Lot Based Items:
•Lots from the CASE item are selected using a simple FIFO method.
•If there is not enough inventory on the CASE it will receive the missing quantity into a SHORTAGE lot then break into the piece from that lot.
•If the CASE is "track by lot" but the PIECE item is not, the system will pull from a lot and simply drop the inventory onto the PIECE.
•If the PIECE is track by lot but the CASE is not, the system will automatically assign a lot number to the inventory moved into the PIECE item using the same method as the entrée system auto-assign Lots option.
Buttons
•Back - Takes you back to the previous screen.
•Remove Scan - Tap this button then scan the item to be removed from the list on the screen.
•Batch Entry - Tap to enter your kit items with total quantity and weight data using the key pad instead of the scanner. You must scan the item first to identify it then you can use batch entry.
•Cancel - Aborts the current activity without saving changes.
•Hold - Saves the current screen data for retrieval later to complete the work. Then returns you to the main menu.
•Receive: Tap to receive the kit items into inventory.
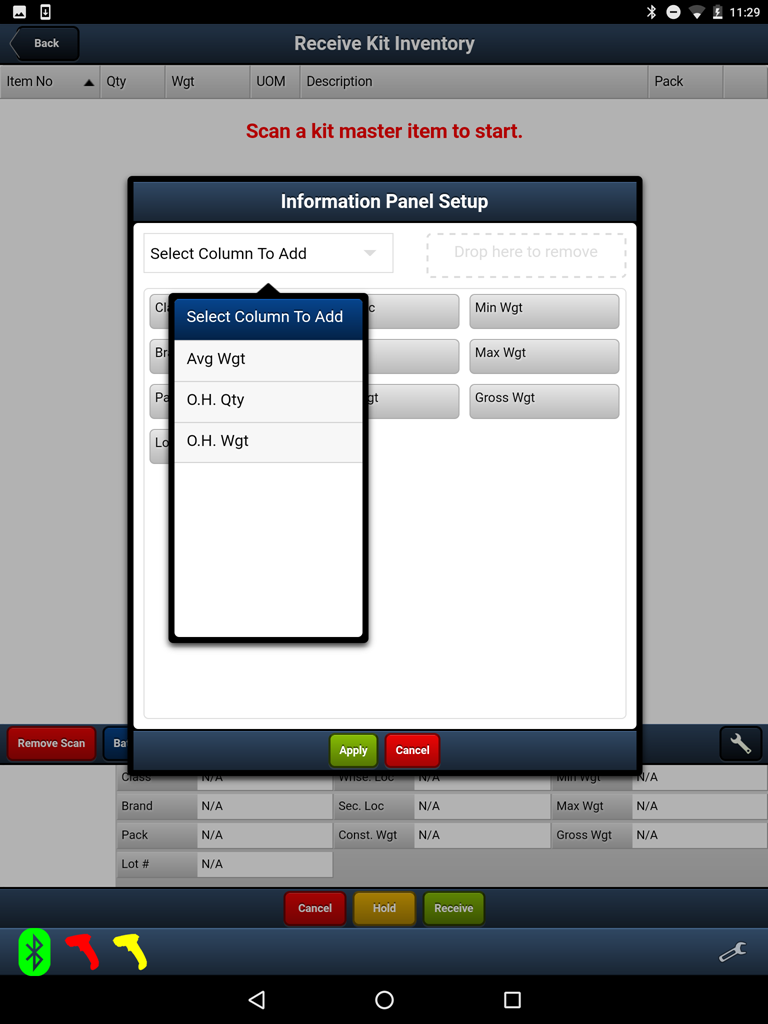
Information Panel Setup
Use this tool to customize the data displayed in the lower section of the screen. |
|
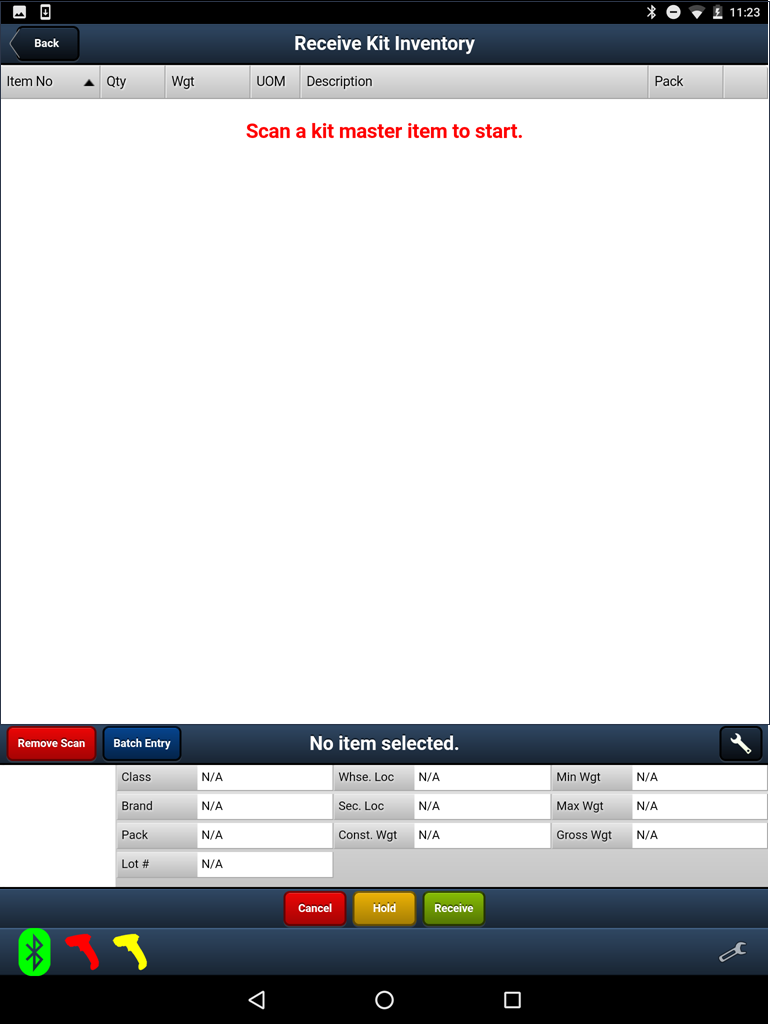
Scan to Receive Kit Items
1. Tap the Receive Kit Inventory option in the main menu.
2. Scan the items which must be a kit master item defined in the main entrée system.
3. The receive process works similar to the P.O. Receiving Processing which you can reference for details.
4. Use the Remove Scan feature to delete items from the screen as needed.
5. Once all the kit items are scanned and item data entered tap the Receive button.
|
|
 The primary reason for the Remove Scan feature is to allow workers to remove the scanned item to correct errors during the scanning process. This button can also be used to remove scanned data on the item in the screen to allow for manual data entry.
▪Tap the scanned item to select it.
▪Tap the Remove Scan button.
▪The "Scan the item to be removed." dialog box will display waiting for you to scan the item.
▪Once the item has been scanned you can re-scan the item or manually enter the item's data.