Searching for Brand Images

Contents
The Search Web / Internet Image Search Process for Brand Images
The Internet Image Search button will automatically fill in the search terms using the currently selected Brand Name and search using the Brand’s Website URL, if it has been defined.
You have two ways to begin the image search process.
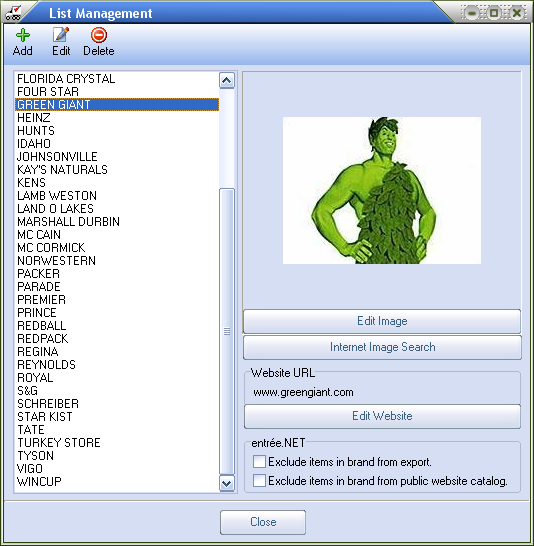
1a. Click the Internet Image Search button in the List Management screen to immediately go to the Internet to find your brand image.
OR
1b. Click on “Click to define Brand Image" in the List Management screen and then use the Search Web button in the Select Image screen.
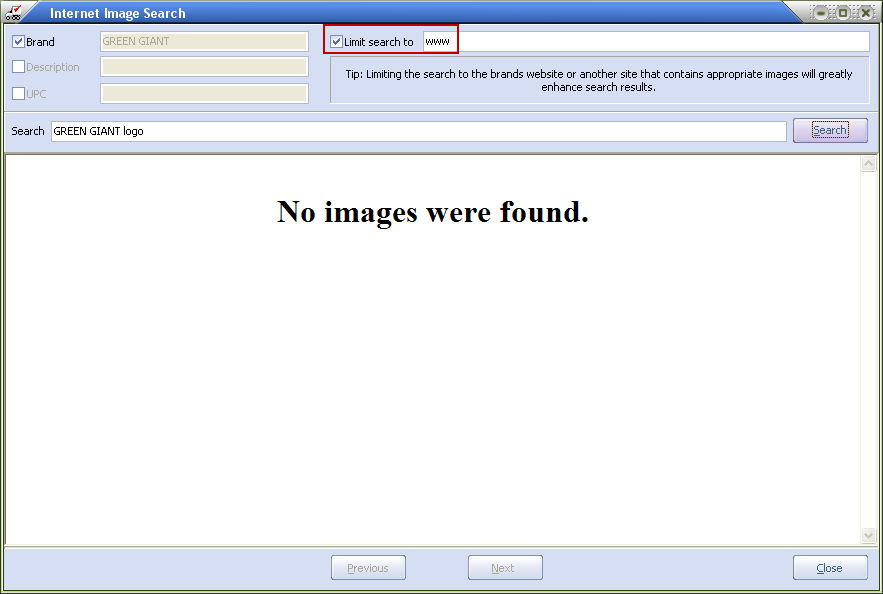
2. Either choice above brings you to the same Internet Image Search screen with the “Brand” and "Limit search to www" search options automatically checked and a first search has already been performed with the first search results displayed.
2a. If you get the "No images were found" message on the first search, remove the check from the "Limit search to www" option or enter the URL for the brand's website and click the Search button to rerun the search.
2b. Once the check from the "Limit search to www" was removed and the Search button clicked new search results were displayed.
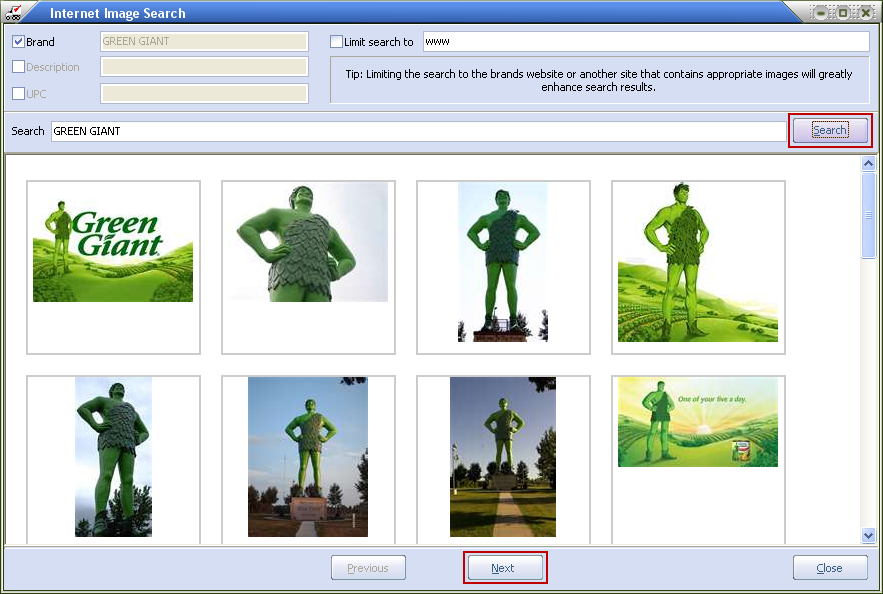
3. Click the Next button to view more search results. Click on the desired brand image to select it.
•A downloading progress box will be displayed if you are allowed to download the image from the Internet.
•If you get this error message the image download can not be done. You will need to find another image that will download.
4. You can edit the Description here if you like. Click Select here to continue with the image capture process.
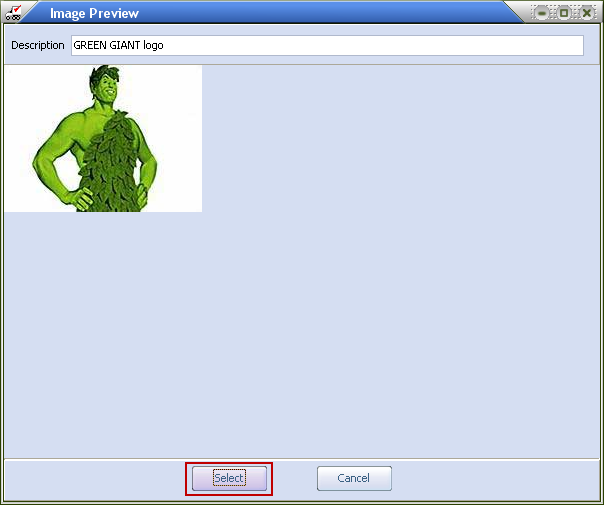
5. Once the image download is successful the image will be displayed in the Image Preview screen in the List Management screen.
6. Click Close in the List Management screen if you are done managing your brands.