Brand Name Images

Contents
Add an Image to a Brand Name
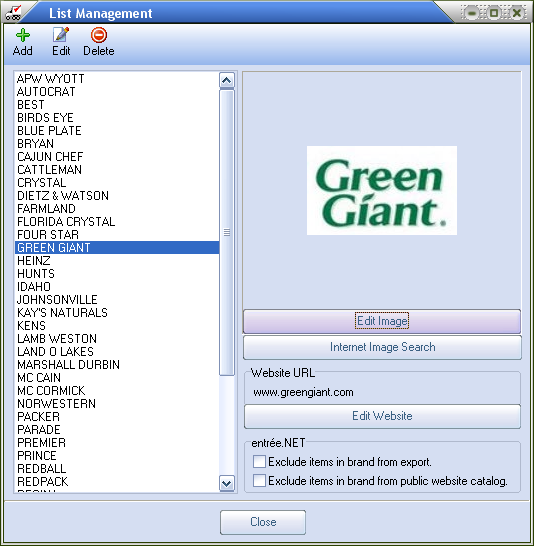
1. Click on the desired Brand Name in the list to select it. In this example "Green Giant" has been selected.
2. Then click on “Click to define Brand Image”.
|
|
 The
The 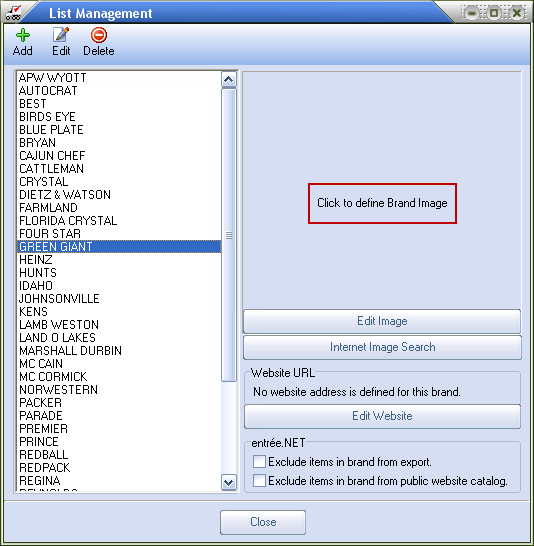
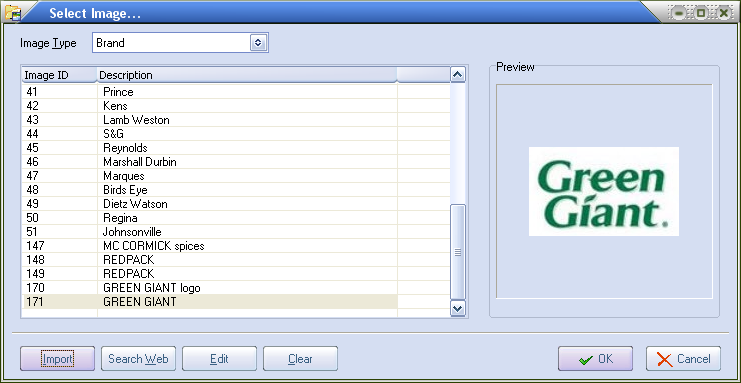
3. The Select Image dialog box will display with a list of the images currently loaded in the entrée system.
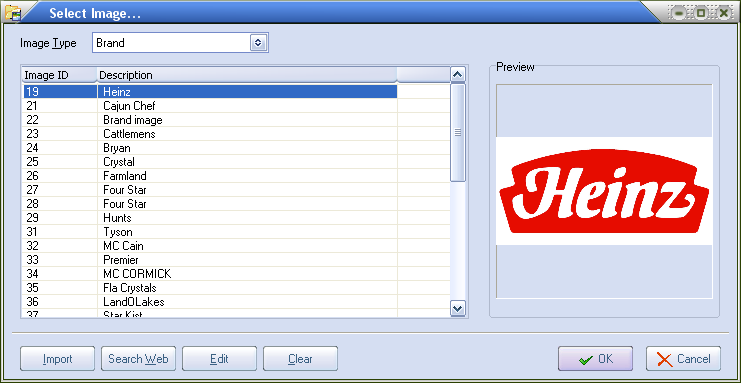
Select Image Screen Overview
•Image Type - Should always be set to Brand when working in Brand Maintenance.
List Management is used to manage other image data as you can see in the Image Type drop down menu on the right.
|
|

Select Image Screen Overview continued...
•Image ID - Numbers assigned by entrée to images as they are defined in the system.
•Description - This is the text you entered in the Description text box when you defined the image.
•Preview - This area of the screen will display your images.
Select Image Buttons:
•Import - Used to locate an image stored on your computer.
•Search Web - Used to find a brand’s image on the internet.
•Edit - Used to modify an existing brand image.
•Clear - Used to remove the current image from the selected Image ID / Description and clears the Preview area.
4. If the image you are looking for is not already in the Image ID / Description list displayed, use the Import or Search Web buttons to find your brand name image. Explanations for both image location and assignment processes follow.
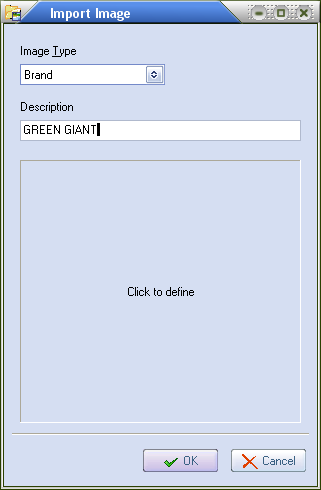
The Import Process for Brand Images
1. Image Type - Should always be set to Brand when working in Brand Maintenance.
2. Description - Enter the Brand Name value here.
3. Click the Click to define button.
4. The Load Image dialog box will display.
5. Use the drop down arrow on the Look in: to find the desired brand image saved on your computer.
In this example we have created a folder on our computer called "BRAND images". Then found and saved commonly used brand images in this folder for use in entrée.
|
|
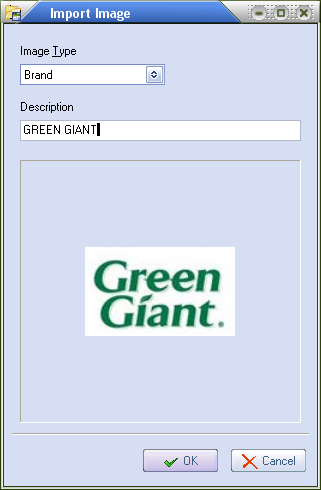
6. Click on a brand image file to select it and the image will display in the Picture area.
6a. If this is the image you want for the brand, click Open to select it.

6b. You will return to the Import Image dialog with the selected image loaded. Click OK. |
|
6c. You will return to the Select Image dialog where your image should match the Description for the brand.
Click OK again. If it is not correct click Cancel.
6d. You will now return to the List Management dialog where you will see the brand and the image you selected. Click Close when you are done managing your brands.
•If there is no image in the folder for the brand, click Cancel to return to the Image Import dialog.
•Then click Cancel again to return to the Select Image dialog. Here you can use the Search Web process to find the brand image. |
|
Edit a Brand Image
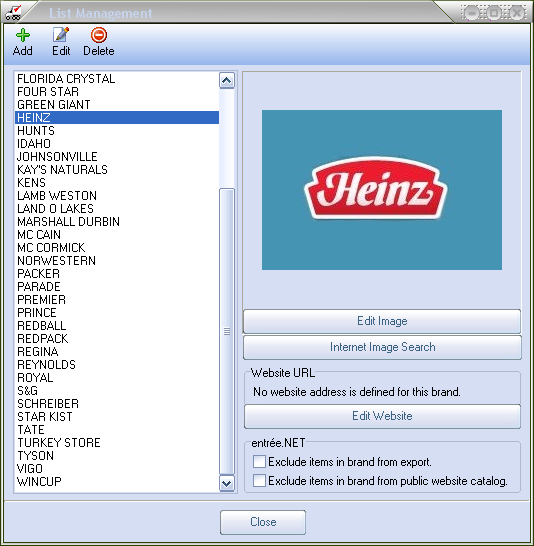
1. Select a Brand Name in the List Management screen. In our example "Heinz" has been selected.
2. Click the Edit Image button.
3. The Select Image dialog box will display.
The Image Type should be “Brand”.
|
|
4. From the Select Image dialog use either the The Import Process for Brand Images or The Search Web / Internet Image Search Process for Brand Images, covered earlier in this section of the chapter, to find a new brand image.
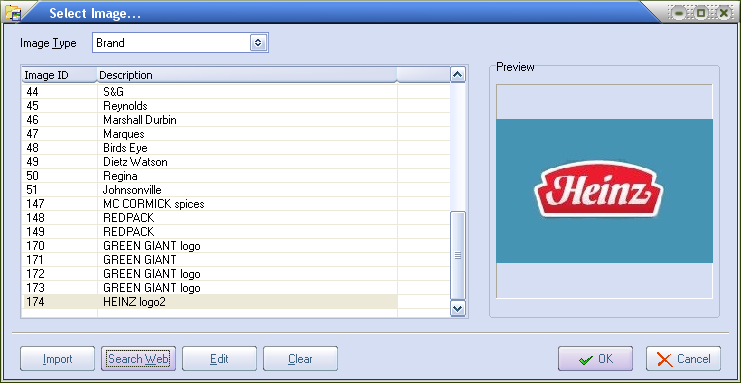
5. When an image is found and downloaded from the Internet, the Description here was edited to save the new image with a different name.
Here "Heinz logo2" was used for the new brand image name. So now I will have the old image and the new image saved in the entrée system.
Click Select after editing the Description to continue the image edit process. |
|

6. You can see the new Description in the Image ID list in Select Image screen. Click OK when you have the new image for the Brand in the Preview area.
7. As you can see in List Management the image for the "Heinz" brand has been replaced.
Clearing a Brand Image
1. Select a Brand Name in the List Management screen.
2. Click the Edit Image button.
3. The Select Image dialog box will display.
4. Click the Clear button.
![]()
5. A Confirm dialog box will display. 6. Click Yes to clear the image or No to cancel the image removal.
|
|