entrée.NET Settings

Contents
The first task for the System Administrator is to update the Settings tab in entrée.NET for your company. Sign in to your entrée.NET system and click on the Settings menu tab to proceed with customizing your system.
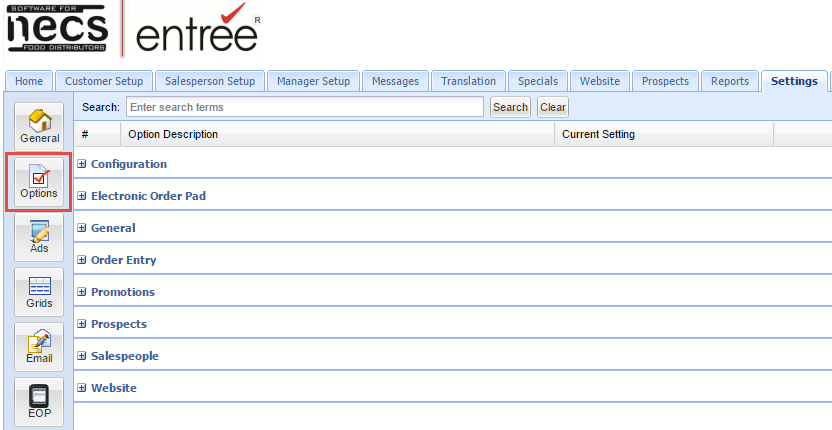
The Settings tab has buttons which run along the left side of the screen for these features: General, Options, Ads, Grids, Email and EOP (Electronic Order Pad). Each of these features will be described in this chapter. The system options for entrée.NET are displayed in collapsed lists in the image below and are described in the Options section of this chapter.
 General Settings
Account
Distributors have the ability to change their entrée.NET login password in the Settings tab.
1.In New Password field type your new password.
2.Click Save Settings.
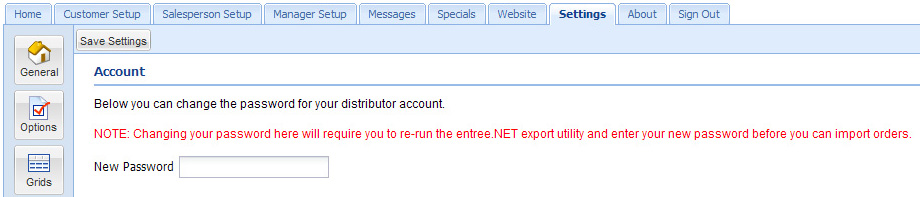
 Changing your password will require you to do the following before you can import orders again.
3. Login to entrée and run the entree.NET Export Utility.
4. Then login to entrée.NET with your new password.
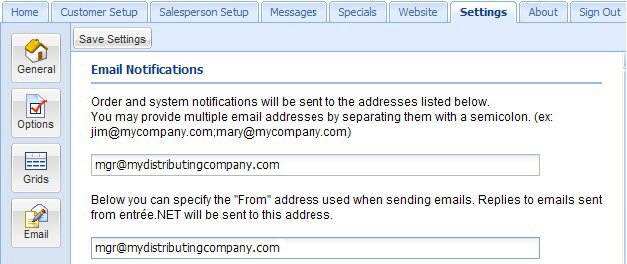
Email Notifications
You will need to enter email addresses in 2 boxes. The first box is used to receive entrée.NET order and systems notifications and in the second box specify your “From” email addresses. You may provide multiple email addresses for both entries by separating them with a semicolon.
1.Type your email addresses in the Order and System Notification box.
2.Type your email addresses in the “From” address box.
3. Use only a semicolon between each email address.
4. Click the Save Settings button above before continuing your updates. |
|
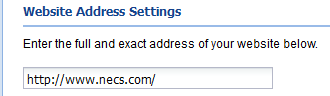
Website Address Settings
Enter the URL website address to redirect customers to when they sign out of entrée.NET. |
|
This setting is intended for distributors who have a website that is not part of their entrée.NET plan and would prefer to redirect customers to the website instead of returning them to the entrée.NET login page.
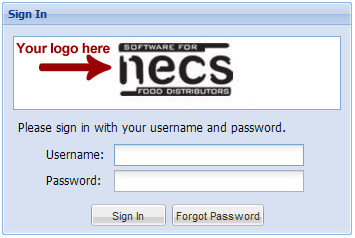
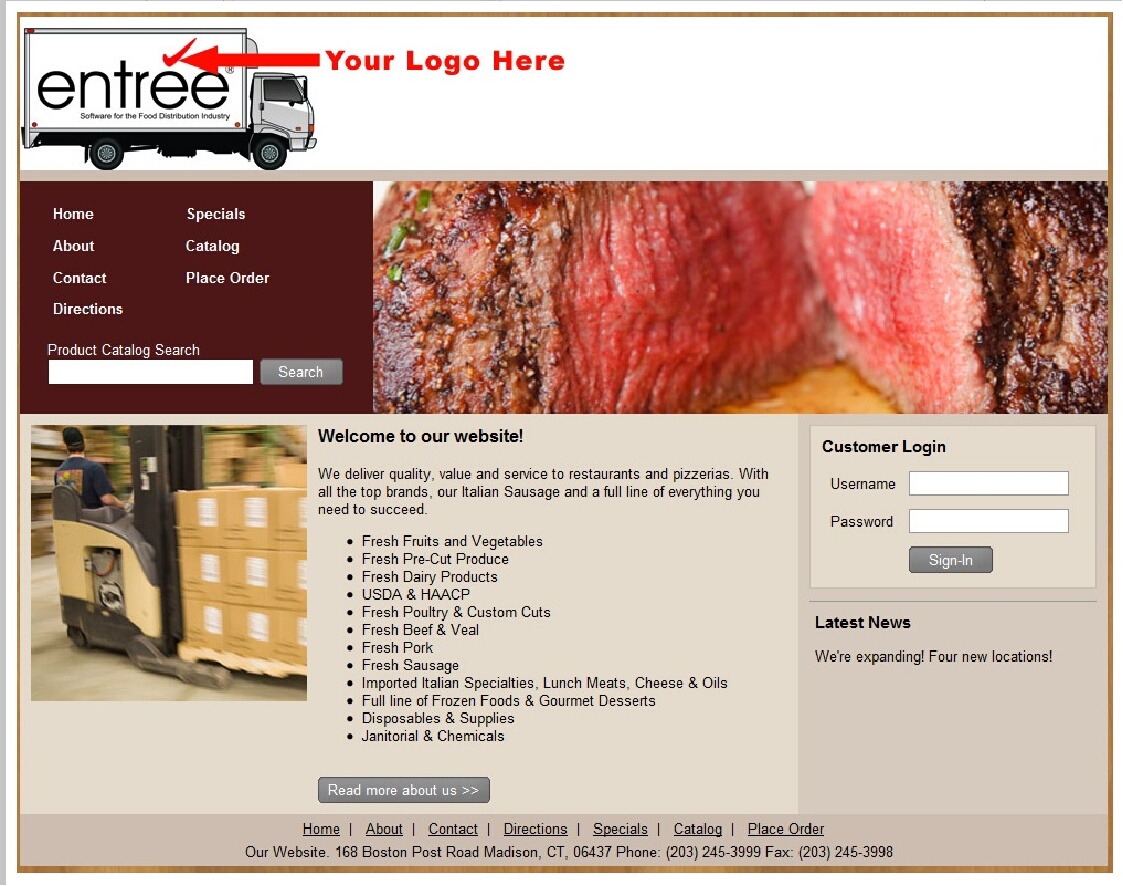
Company Logo
Your company logo will be displayed on all the pages in your entrée.NET system,in your website sign-in page or your order entry login page and on the Electronic Order Pad sign-in screen. Acceptable image file formats are JPEG, GIF and PNG. Any size file will be accepted as it will automatically be scaled down to fit.
1.Click the Browse button and locate your logo image file on your computer.
2.Click on the logo file name in the File Upload window then click Open.
3. The file will appear in the image box then click the Upload Logo button.
4. Your logo will now appear in the company logo section and in the top left corner of your entrée.NET page.
5. Click the Save Settings button. |
|
Theme
Change your color theme for entrée.NET whenever you like. Just select a color from the Theme drop down list. Choose from the colors shown below starting from the top row left side; aqua, blue, cream, gray, lavender, lime, mint, peach, pink, purple and red.
1.Click the down arrow to make a selection from homepage style drop down menu.
2.Click Save Settings button above. 
Homepage
If you purchased the website with all entrée.NET features, you will need to make a selection to control what your customers see when they visit your entrée.NET system.
1.Click the down arrow to make a selection from homepage style drop down menu.
2.Click on either Show the order entry login page or Show my website.
 The Order Entry Login page and the full website home page with the Customer login area on the right.
|
|
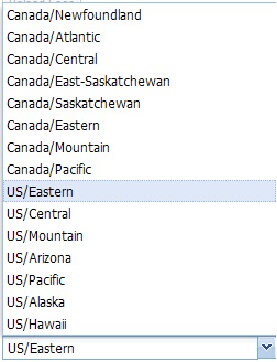
Timezone Update your Time Zone by selecting it from the drop down list. |
|