Ads

Contents
 Banner Ads
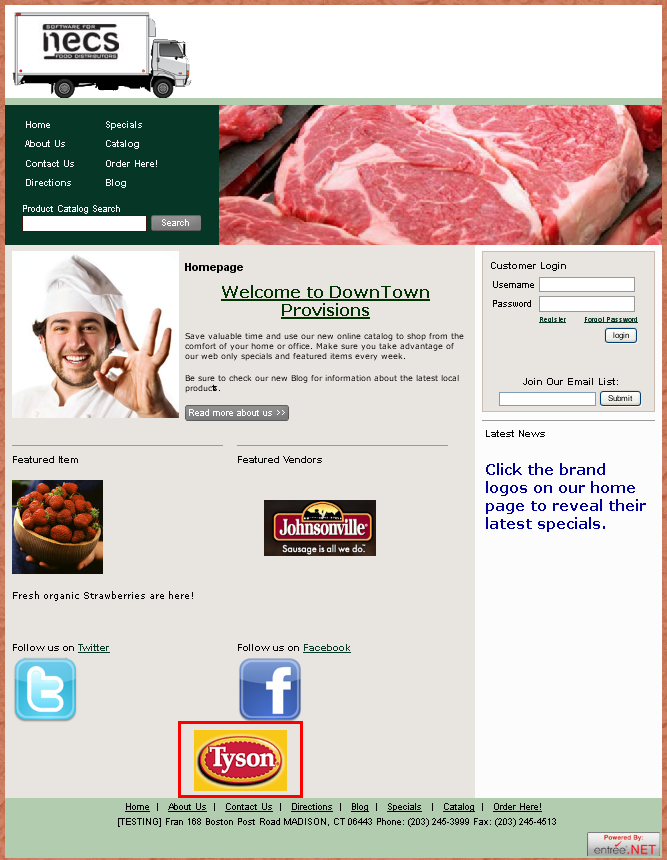
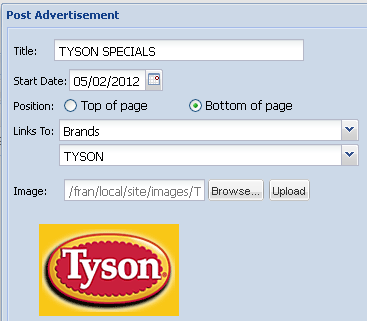
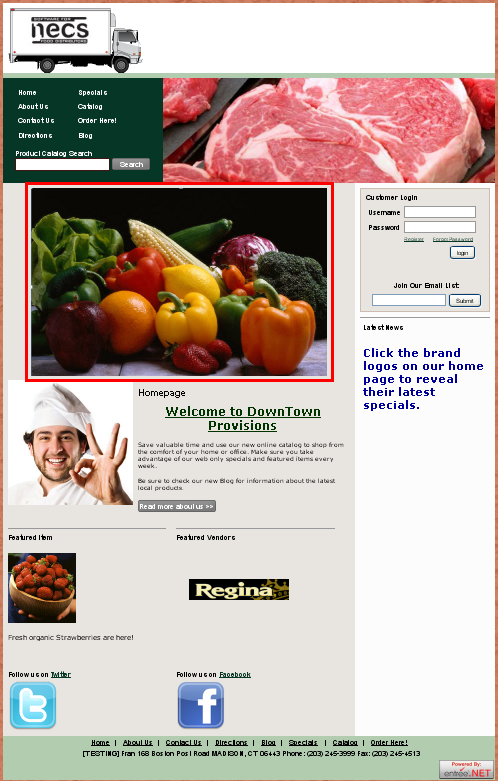
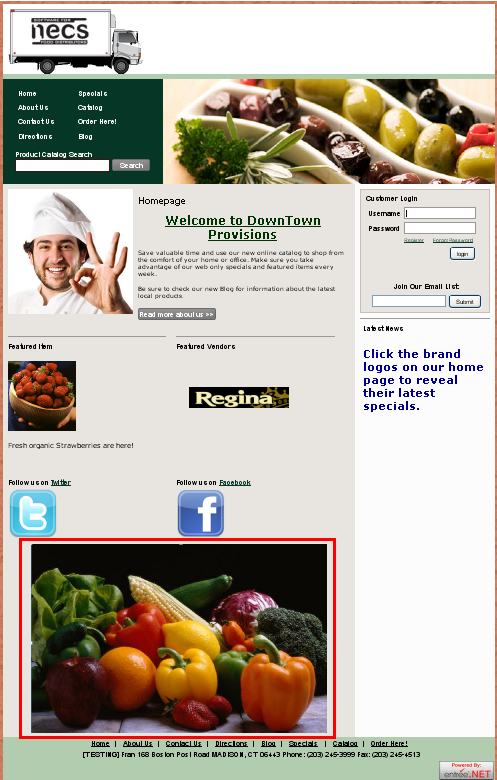
The "Advertisement" system allows distributors to upload advertisements with links to related information their website Home page (outlined in red on the Home page below is the Brand with Tyson logo selected as the advertisement with the position set to ‘Bottom of Page’).
Facts About Ads
Advertisements are managed by the System Administrator in the Settings tab using the Ads button.
•Ad images can be created using any graphic or photo editing software.
•There are no image size restrictions from the images uploaded for advertisements. This allows you to use any shape and size image for your ad. Previously ad images were required to be 675w x 90h in pixels saved as jpg or png image files.
•When the advertisement image is clicked the customer will be brought to the catalog page displaying all the items with the selected Brand, Class, Specials or Item Tag.
•Once one or more banner ads have been defined the images for these ads will be displayed in rotation on the website home page when a page refresh is done.
•An Important Note: Since your current advertisements are randomly selected from the Ads listing for display on your home page, once an advertisement has expired it must be deleted from your Ads list. This will prevent expired advertisements from displaying on your website home page.
Need Help Creating Ads
If you need help creating your banner advertisements for a small fee, we can create professional looking graphics for your banner. Please contact the NECS Sales Department at sales@necs.com for assistance.
First, Enable the Ads Feature
To use the Ads feature you must first enable it using the Options button:
1.Click the Settings tab.
2.Click the Options button.
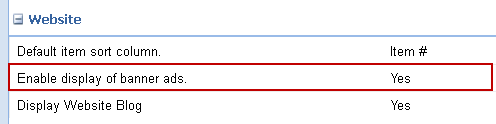
3.Scroll down to the Website section.
4.Set the "Enable display of banner ads." system option to "Yes". |
|
Second, Post Your Ad
 Before you begin this post process your ad should have been designed and saved as a jpg or png image file on your computer.
1.Once your advertisement is ready to post click the Settings tab.
2.Click the Ads button and the ads management screen will display any saved ads which are listed by Title and designated start Date.
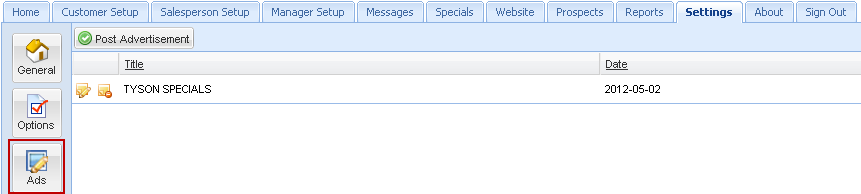
3.Use the Edit and Delete tools in the left column to manage your saved ads.
•To Edit an existing ad: Select the ad from the list and click the edit icon  with the pencil. The Post Advertisement dialog will open, make your changes and click Post. Be sure to check the value of Date, the "start date" for the ad before re-posting it.
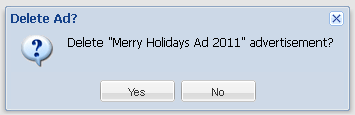
•To Delete an existing ad: Select the ad from the list and click the delete icon  with the red minus sign. The Delete Ad? confirmation dialog box will display. Click Yes to remove the selected ad from the list.
4. To post a new ad: Click the Post Advertisement button to open the dialog.
All fields in the Post Advertisement dialog are required. |
|
5. Enter a Title. In our example the related holidays and the year were used.
6. Select a Date using the calendar. This will be the "start date" for your ad. The website will post your ad on the home page on this date.
7. Position: Set the position of the advertisement image on your website home page using the this option. Select to display your advertisement image either at the Top of page (left) or the Bottom of page (right) of your website home page as seen in the images outlined in red on the Home pages below for a Class of Produce.
Top of page |
Bottom of page |
8. Make a selection for the Links To: drop down list. Your options are: Class, Item Tag, Specials, or Brand.
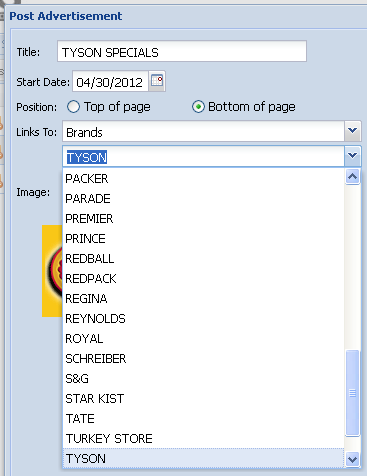
When Brand is selected you will select your Brand from the drop down list below as shown in the image on the right. This Brand list is populated from the Brands information in the main entrée system in Brand Maintenance. |
|
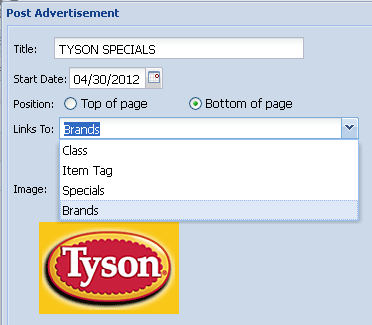
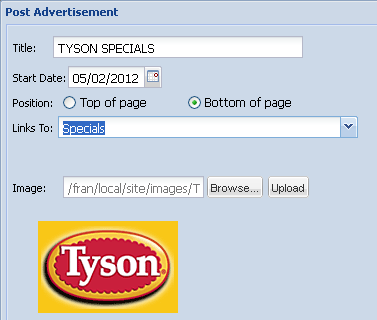
•The Specials option will link the ad to your website Specials page. In the example below Tyson Specials will be advertised. |
|
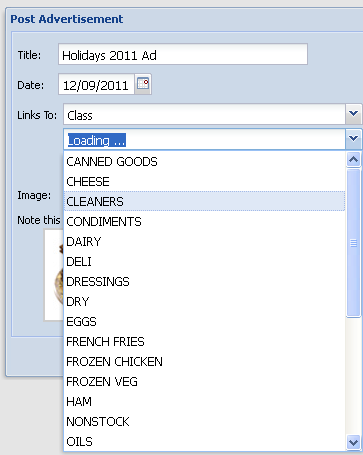
•The Class option will display a secondary drop down list for you to select the related class. The class list reflects the classes you have set up in your main entrée system.
|
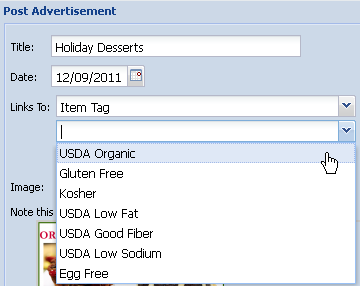
•The Item Tag option will display a secondary drop down list for you to select the related Item Tag. The item tag list reflects the item tags you have set up in your main entrée system.
|
9. For the Image option click the Browse button to find your saved ad image file on your computer. If you have Brand images defined you can use those images in your ad.
10. Click to select the image file in the directory on your computer and then click the Open button.
11. Then in the Post Advertisements dialog click the Upload button . The image will then be loaded and displayed in the dialog. The "Image Uploaded" message will display in the image selection box to indicate the upload was successful.
Only one image per advertisement can be uploaded. Once an advertisement has expired it must be deleted from the Ads list.
12. Click the Post button at the bottom of the Post Advertisement dialog screen and your new advertisement will be listed in the ads management screen. Once you create the new advertisement and Post it the ad will appear on the home page of your website on the designated start date.