Catalog Tab
Once you have selected a customer account to work with, your menu tabs will change. All the menu tabs related to creating and managing your customer’s order will be added to your menu. These are the same screens your customers would use for their online ordering. Use the View drop down menu to select how you want to see our catalog displayed. Select from All Items, By Class, By Brand and Item Tags.
In entrée.NET version 3.3.7 the option to add a Language Translator Service was added to the software. The Language Tab on the right displays when your company activates this service. See the Language Tab section of this guide for more information.

The customer’s Account information tab will have the “customer number” on the tab as shown in the example below.

The Catalog tab displays our full catalog of products available for you to order. This is a useful tool if you want to locate items to purchase and you want our full catalog to search.
Item Searches
To help you find items, use the “Search” feature at the top of the screen. You can change how the search will work by hitting the drop down arrow in the Search area. The Search normally defaults to “Item Description,” but you can also search by “Class,” “Brand,” or “Item Number.”
To search, enter the text of what you are looking for in the keyword area. The keyword area accepts full or partial words.
Next hit the Enter key or click the magnifying glass  to begin the search.
By Class
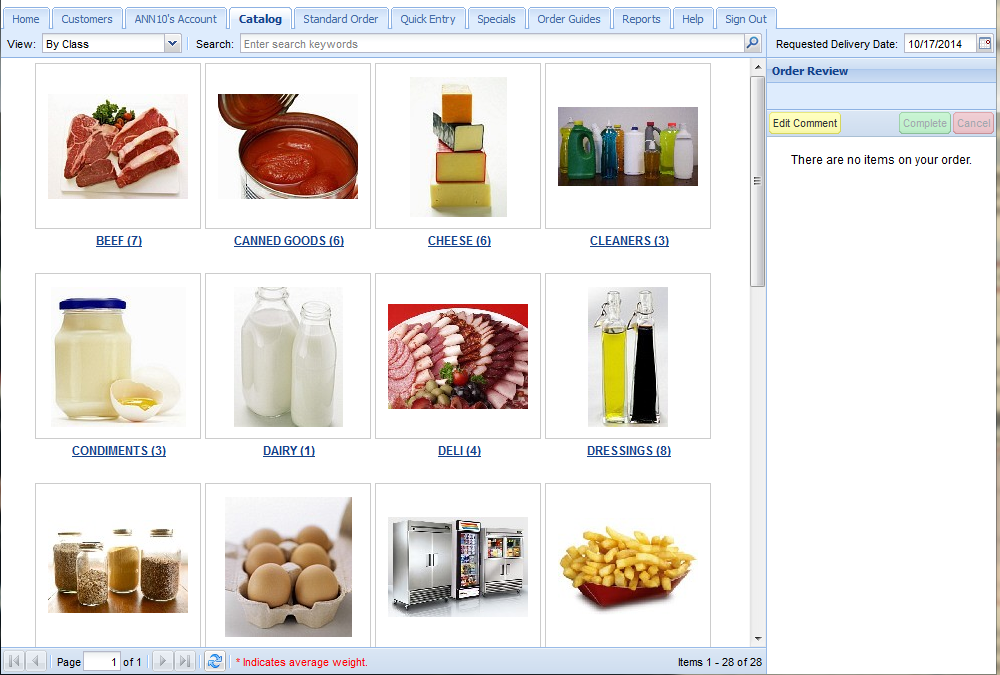
When selecting the Catalog tab, you will first see a list of all of our product “Classes.” These Classes represent how we have grouped similar items together and will help you find items. You will notice that there are numbers in parentheses next to each Class name. These numbers represent the number of items in that class. When you click on a specific class, then all of the items within that class will appear.
This is an example of the Catalog page viewed “By Class” with class images assigned in the main entrée system.
All Items
You also have the option to bypass the View By Class option and instead go directly into our complete product listing. To do this, hit the drop down arrow next to “View,” and select All Items.
•When “All Items” is selected, our complete product listing will begin to display, sorted by Class.
•When the new "Item #" column is selected in the Catalog screen it will list all products by Item # and disable the grouping by Class and Brand as it sorts in the selected direction.
 This is an example of the “All Items” view of the customer’s Catalog page.
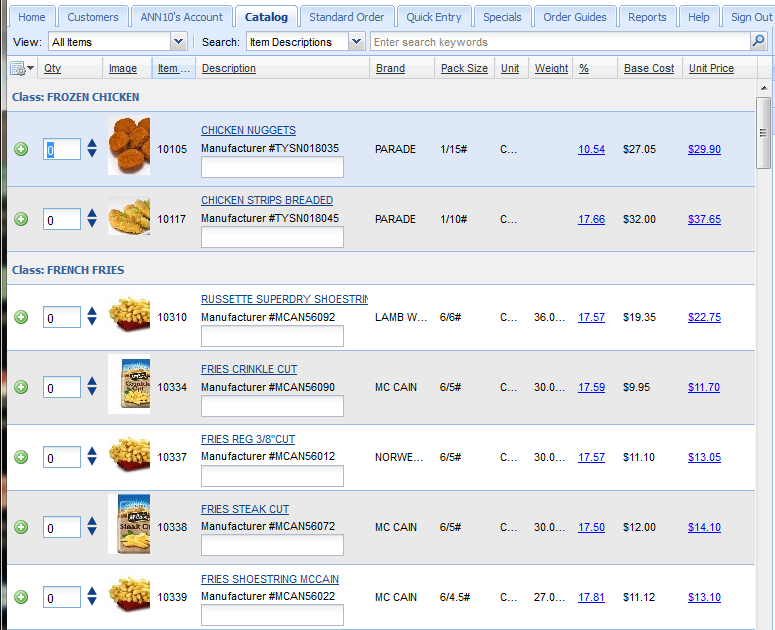
You will notice that you can enter quantities on this screen for each product you would like to order. Simply enter the quantity required by typing in the number or using the up/down arrow keys next to each item to increase/decrease your ordered amount. As items are ordered, they will automatically appear in the shopping cart on the right of the screen.
By Brand
Select “By Brand” from the View drop down menu to view our current Brands. The numbers in parentheses next to each Brand name represent the number of items for that brand in our catalog.
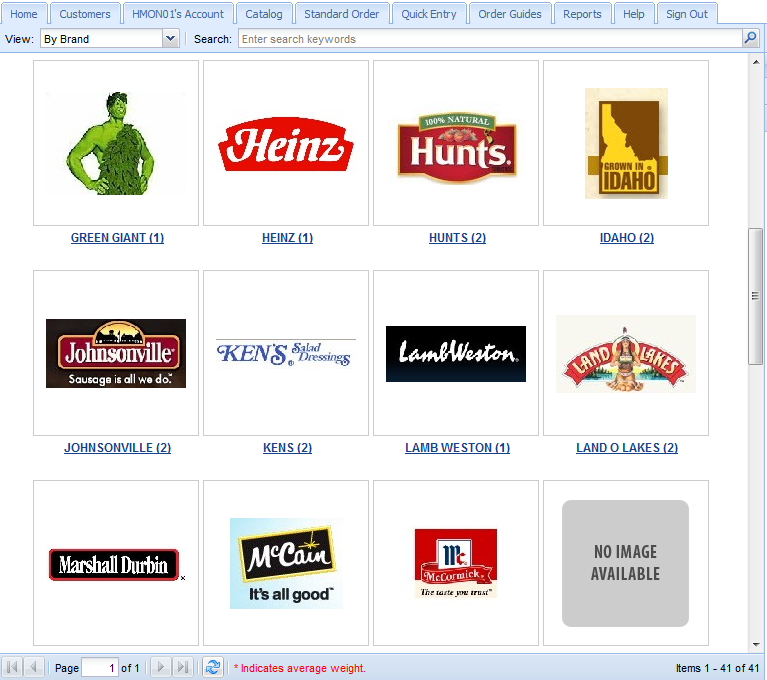
Featured Brand
You may see Brand images displayed in the lower section of the Shopping Cart area, these are our "Featured Brands".
If you click the green Shop Now link the catalog page will display all the items for that brand in our catalog.
If you mouse over the brand image the slide controls will display so you can view all our Featured Brands at your own pace. |
|
Support for Special Order Items
Special Order Items are items that are not regularly carried in your warehouse. These items must be handled differently and may require deposits upon order. Additional time is also needed for the item to be delivered to you and then the customer. A Special Order Items check box on the Misc 1 tab in entrée Inventory File Maintenance is where you would designate the item as Special Order. These items will also be exported to entrée.NET and Electronic Order Pad for display in your product catalog.
When you are logged in and working with Special Order Items in entrée.NET and Electronic Order Pad they will be displayed in your product Catalog tab screen with a red background color first.

Then after selecting the item the background for the item turns blue with a yellow Special Order Item message below it as seen here (requires entrée 3.6.7 or later).

Support for Dot Foods Items
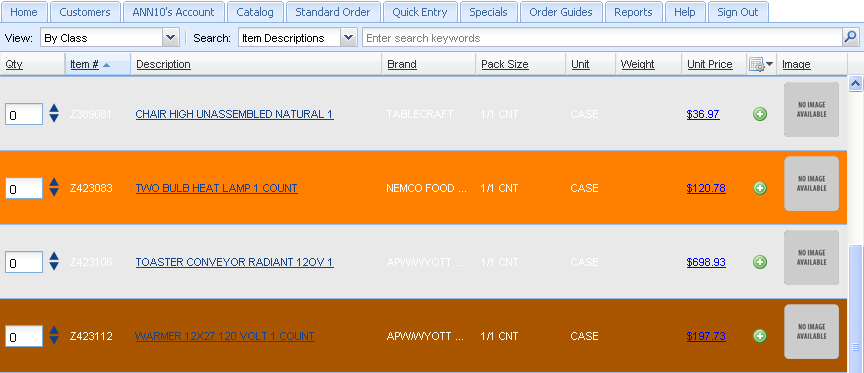
If you have the entrée.DOT application for DOT Foods products you can see row color coding on DOT "Special Order" and "Drop Ship" items during the order entry process. These items will appear in the catalog with an orange background color for "Special Order" items and a brown background color for "Drop Ship" items.
 The System Administrator must have the “Show DOT special order items” and “Show DOT dropship items” set to “Yes” in the Settings for entrée.NET for this feature to work. This feature is only available for Salespeople and will not be applied to the catalog for customers.
