Install Part 1: Server Setup
Insert the NECS V4 USB drive into your database server USB port and find "ServerSetup.exe" and double-click. This will run the executable that will install Sybase Advantage Database Server, and the NECS Update Utility.
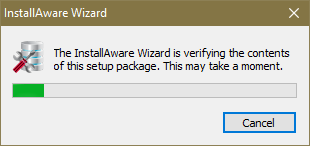
1. You will see the InstallAware Wizard dialog box verification message. Then InstallAware Wizard install progress dialog.
2. If you are updating from a previous version the Previous Version Uninstallation process will run. Click Next.

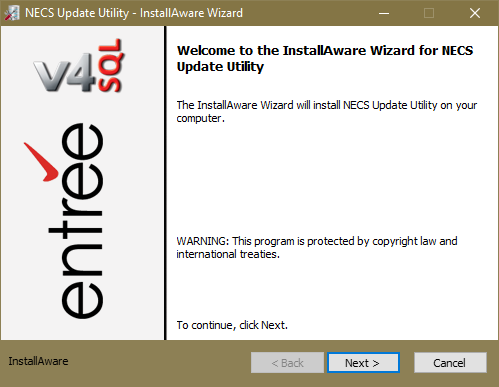
3a. Install the latest version of the Necs Update Utility will be configured. Click Next.
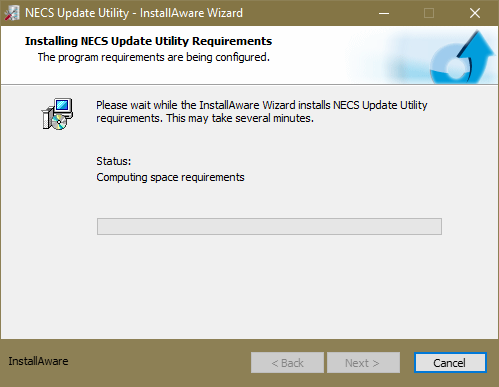
3b. The InstallAware wizard for the NECS Update Utility is ready. Click Next to run.
4. Click and check the terms acceptance box for the License Agreement and click Next.
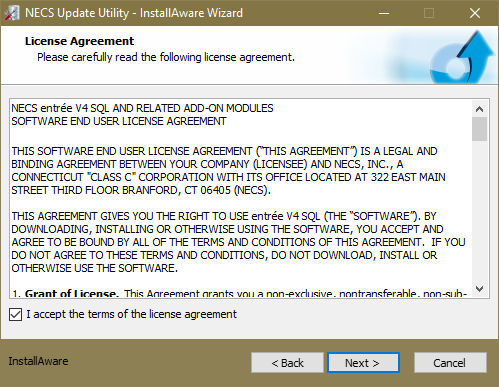
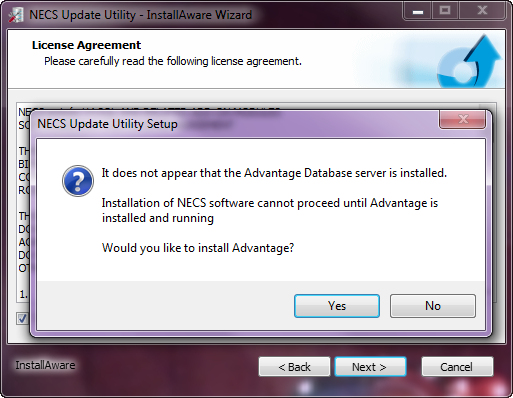
5. The installation software will check to see if you have the Advantage Database server installed because it is required for V4 SQL to run. Click Yes to install.
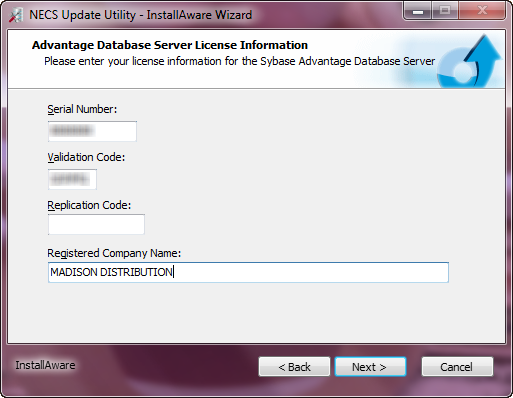
6. Now enter your Sybase Advantage license information that you received from NECS.
a.First enter the license Serial Number.
b.Enter your license Validation Code.
c.The Replication Code (only needed if you have purchased the Advantage Database Server license for replication) leave blank.
d.Enter the company name that purchased Advantage for in the Registered Company Name field and click Next.
 About Replication:
The Advantage Database Server must be licensed for replication and requires a separate validation code to enable it. That code is entered in the Replication Code field in this dialog.
•Advantage Database Server Replication is used to keep two or more live databases logically consistent with each other and sends updates to another usable live database.
•Replication requires the target location to also be running Advantage Database Server.
•Replication operates on an update-by-update basis. If the target database is online, the update is sent to the target immediately after the original update occurs.
7. Select the Destination Folder for the files that will be installed. A comparison of the space required vs. the available space in the selected location are compared and displayed at the bottom of the dialog box.
Very Important: Edit the NECS folder name to use NECSV4 as the folder name if you already have version 3 installed on the same computer. This is important if you are running parallel on the same computer.
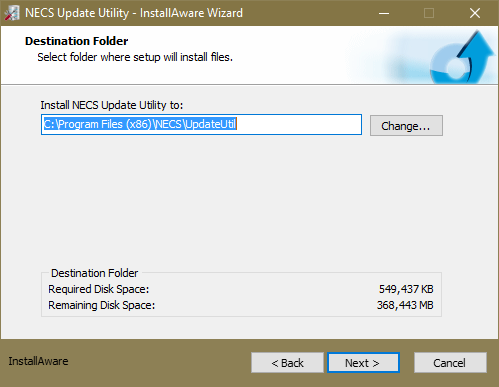
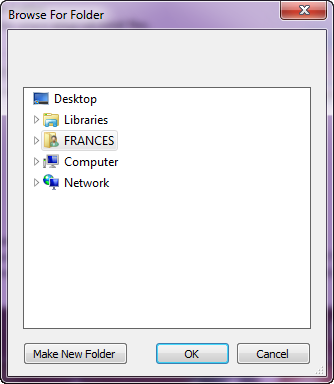
▪Use the Change button to browse for a different location. Click Next to continue.
8. In the Select Program Folder dialog use the default or the V4 folder depending on your situation. Explanations follow.
a.Program Folder: The default NECS folder name is suggested for brand new customer installs and for computers that will only have version 4 and not version 3 installed on it.
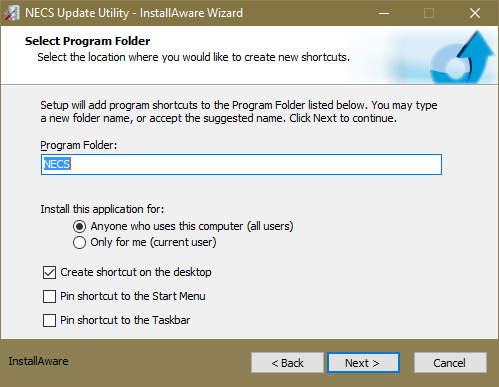
Very Important: Use NECSV4 as the folder name if you already have version 3 installed on the same computer. This is important if you are running parallel on the same computer.

b.Install this application for options:
▪Select Anyone who uses this computer: Do you want anyone who uses the particular computer to have access to entrée? If so select this option.
▪Select Only for me (current user): Uses the Windows user account currently logged into at the time of the installation of entrée V4.
c.Shortcuts: By default the Pin shortcut to the Taskbar option is selected.
You can also check and add other short cut options for the Desktop or Start Menu if you like.
d. Click Next to continue.
9. For the Completing the InstallAware Wizard click Next.

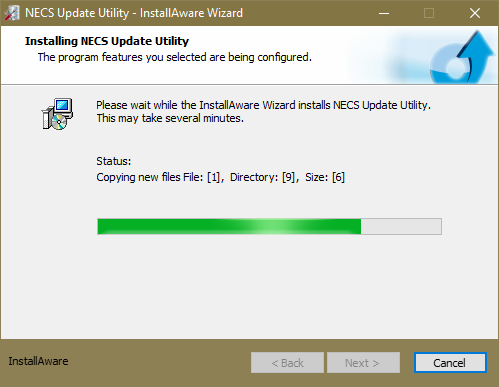
10. Multiple installation progress dialog boxes will display for the Windows Installer, NECS Update Utility and the Advantage Database Server.
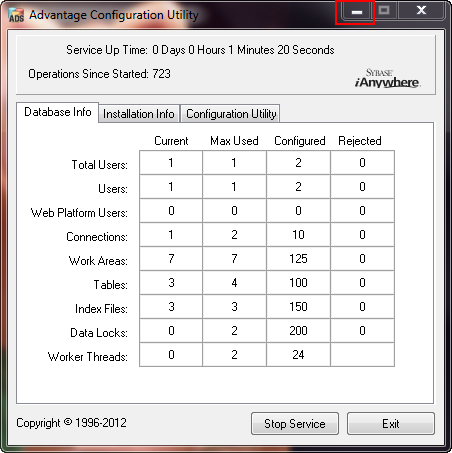
•Once the Advantage Database Server has been installed you will see the Advantage Configuration Utility dialog box displayed on your desktop. Minimize this dialog box using the - (dash) icon in the tool bar.
11. The NECS Update Utility will continue running.
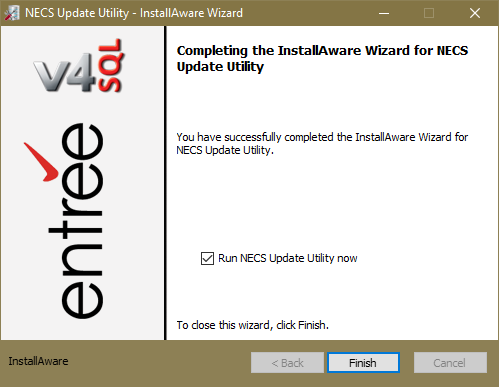
12. Once the NECS Update Utility installation has completed and you click Finish.
The Run NECS Update Utility now option is checked by default.
The Update Utility is Part 2 of the installation process which follows in this chapter. |
|

