Invoice Status Panel
Invoice Status Panel
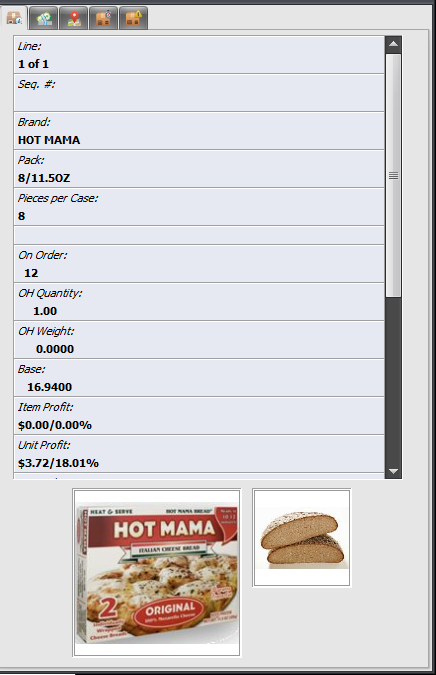
The Invoice Status Panel displays information about the selected item in the line item grid as well as other key information.
•At the bottom of the panel from left to right are the product image and the class image (if assigned).
 All of the fields displayed in the panel are read only and cannot be edited.
•The position of the information panel will vary depending on the current size of the invoice form. If the invoicing dialog is at least 1024 pixels wide the information panel will be displayed to the right of the line item grid (right).
•Otherwise, the information panel will be displayed just below the line item detail grid.
To update your information panel to show these new fields see the Configuring the Status Panel section of this chapter.
•The Invoice Status panel has options for showing Last Sale Date, Last Price and Last Profit % for the previous three sales.
•Expected Date and Expected Qty which will directly show the next expected receipt for the item currently selected in the edit grid. The process looks first for deliveries on or after “today” and, if none are found, looks for unfilled past deliveries going from most recent to oldest.
•Temperature Zone option shows the information similar to the Inventory File.
•Pallet information can been added to the Invoice Status Panel. Pallet information shown is per item based on their Inventory file Vendor tab settings. Pallet Label Qty, Cases per layer, cases per pallet, and Layers per pallet.
. |
|
 entrée determines the "previous three sales" by looking directly at the Invoicing data using the Invoice Date of the current invoice as a starting point.
 The two "Dot" fields will only display for companies that have purchased and installed entrée.DOT the Dot Foods Interface add-on module
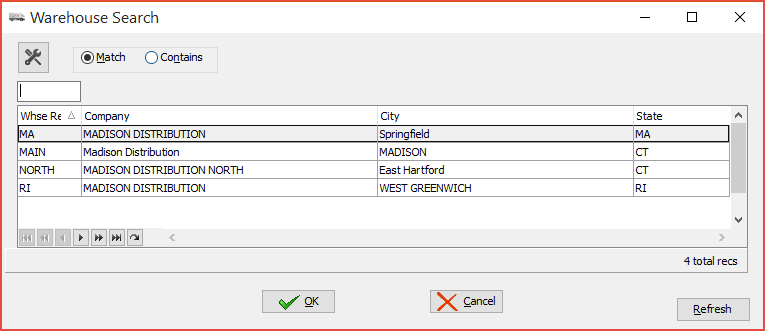
•You can examine each item on the invoice to check for inventory problems or to assign a new warehouse. Most of the fields displayed in the panel are read only and cannot be edited. Only the Invoice Warehouse and Item Warehouse fields are editable.
•When you mouse-over either Invoice Warehouse and Item Warehouse fields the "Change" link will display.

•Click "Change" and it opens the Warehouse Search dialog.

•Select a new warehouse location and click OK.

•Configuring the panel and descriptions for all the fields will be covered next.

