Miscellaneous Settings Tab
The Miscellaneous Settings tab options will vary for each of the files; Inventory, Customer, Salesperson, Vendor, Manufacturer, Comment, Invoice, Lot Location and Purchase Order.
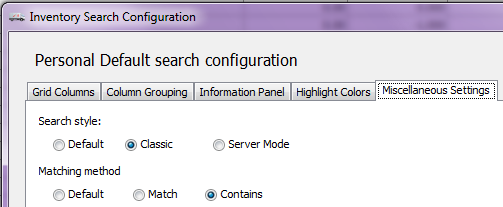
•All search configuration dialogs in the system will have Search Style and Matching method on the Miscellaneous Settings tab. |
|
Search Style
Select whichever search style works the best for your environment and make that the default for all of your searches. At NECS we have found that the “Classic” style can be faster than “Server Mode” and in other cases they are more or less the same speed in returning search results. Choose what works best in within your technology and networking environment.
▪Default: The default search style is configured in the “Search System Options” utility found in System Options Additional Features. See the Additional Features section of the System Options chapter for more detailed information.
▪Classic: To try and maximize performance in the search grid the "buffering" option is enabled. So it only physically loads a set number of records into the grid at any one time (currently set to 150 records). Column grouping is not supported in this search style. When you select it a message box will display warning you about this and ask if you would like to proceed.
▪Server Mode: Collects all of the records in the database at once to load the search grid.
 Having your Personal or Local Default configurations explicitly set to "Classic" Search Style overrides the default setting in System Preferences.
Matching Method
▪Default - The default matching method built into the entrée system for that screen.
▪Match: By default the entrée V4 SQL search system will use Match. You can use the Up, Down, Home, End, Page Up and Page Down keys on your keyboard in the search screen once you run your initial search.
▪Contains: Performs a partial match which is good if you only know a portion of the value you are looking for. The search screen will update immediately as you enter the search text, only showing items that contain the text you are typing.
 In each search configuration in the system you can override the Search Style or Matching method setting on a “per search” basis using the
  Configure button and changing the options on the Miscellaneous Settings Tab.
•At this time there are some files that only have the Matching method option in the Miscellaneous Settings Tab. These files are: Purchase Order, Manufacturer, Vendor, Salesperson, Invoice, Comment and Warehouse Location.
Inventory Search Miscellaneous Settings
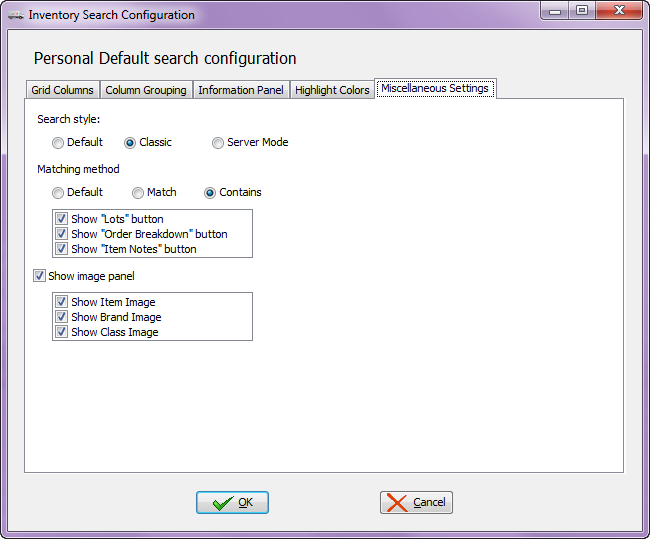
In addition to Search Style and Matching method you have the following options.
Buttons: •Show Lots button •Show Order Breakdown button •Show Item Notes button
|
|
Images:
•Show Image Panel - Check to display the image panel to the left of the Information Panel at the bottom of the inventory search screen.

Once the Image Panel is enabled you can choose what images to display in the panel depending on the images you have in your entrée system.
▪Show Item Image - Assigned to the item in Inventory File Maintenance. |
|
▪Show Brand Image - Added to entrée in Brand Maintenance and assigned to the item in Inventory File Maintenance. |
|
▪Show Class Image - Added to entrée in Class Maintenance and assigned to the item in Inventory File Maintenance. |
|
Customer Search Miscellaneous Settings
In addition to Search Style and Matching method you have the following options.
•Show Image Panel - Check to display the image panel to the left of the Information Panel at the bottom of the search screen.
▪Show Customer Image - Assigned in entrée Customer File Maintenance. |
|
 The Customer Search screen below shows the image panel in the lower left corner. When the customer's small image in the image panel is clicked a larger image is displayed in the Customer Image Display dialog box. Click the red X box to close the image display box.

Vendor Search Miscellaneous Settings
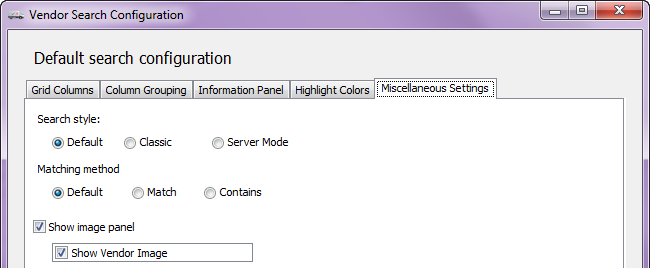
In addition to Search Style and Matching method you have the following options you have the new vendor image.

•Show Image Panel - Check to display the image panel to the left of the Vendor Panel at the bottom of the search screen (image below).
▪Show Customer Image - Assigned in entrée Vendor File Maintenance.


