Customer Setup

Contents

The Customer Setup option in the main menu is where you will create an entrée.NET account for your customers who would like to login to your website and do their own ordering. You can also edit entrée.NET accounts for your customers to change email addresses or passwords if needed.
 This feature must first be enabled by the System Administrator in entrée.NET by setting the "Allow salespeople to setup entrée.NET accounts for customers" system option to "Yes" in the Settings tab Options button Salespeople section. See the entrée.NET Options chapter for more information.
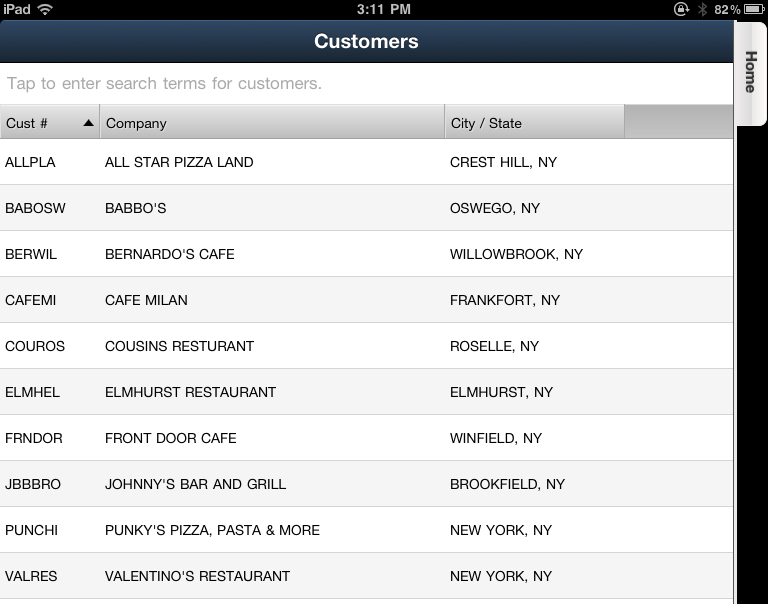
Customers Screen Columns:
•Cust # - The entrée customer number.
•Company - The name of the customer's company.
•City / State - The city and state where the customer’s company is located.
•SP # - ID of Salesperson assigned to the customer.
How to Create an entrée.NET Account for a Customer:
1. Tap the Customer Setup option in the main menu and the Customers screen list is displayed.
Searching for Customers: •To search for a customer tap in the "Tap to enter search terms for customers." text box at the top of the screen.
•Enter your search text using the keyboard.
•Then tap the Search key in the keyboard to trigger the search. |
|
 If your customer is not in the Customers screen list in the Customer Setup tab, it means you must add them to the main entrée system using Customer File Maintenance. The entrée Customer file is where you will define the customer's name and address, and other information about their account. Consult the entrée Knowledgebase for more information about Customer Maintenance.
After adding any missing customers to entrée you must run the export to entrée.NET in the Invoicing menu to get the customer information updated in Electronic Order Pad.
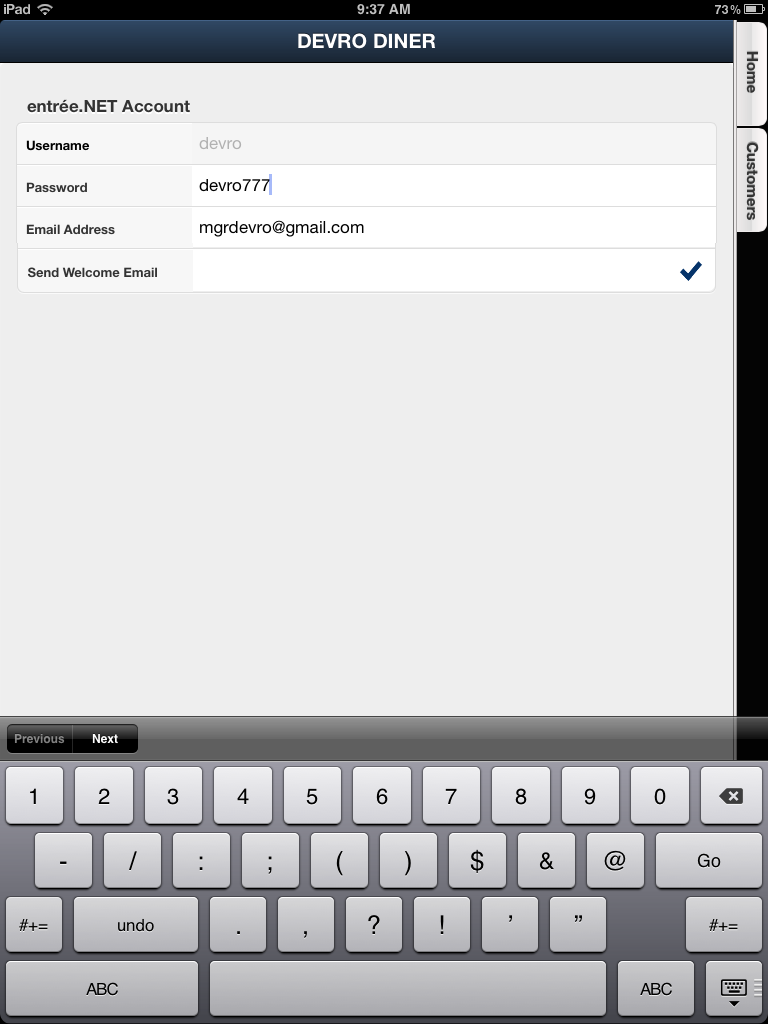
2. Tap the desired customer in the list to open the entrée.NET Account setup screen.
3. Use the keyboard to create a Username and Password for the customer.
4. Then enter the customer's primary Email Address.
5. Send Welcome Email - Check this option if you would like to send a welcome email to the customer.
6. Tap Go in the keyboard to return to the entrée.NET Account setup screen.
7.
|
|
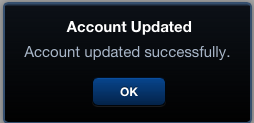
8. The Account Updated message will display once the account has been created.
Tap the OK button.
|
|
•Now If you would like to create more customer accounts tap the Customers tab on the right to view the customer list again and repeat steps 2 - 8.
9. Once the account is created contact your customer and provide them with their login information. The customer will use the Username and Password you created here to login to your NECS entrée.NET online ordering website to place their orders. The orders submitted by these customers will be displayed in the Order Status screen. Consult the entrée.NET Knowledgebase for more detailed information.