Report Configuration

Contents
There are 4 areas in the report configuration dialog screen; the General, Column Configuration, Sort Options and Filters. Each area will be presented below with information on their general use.
•Each report will have specific options for that report which will be covered in the Report Examples section of this chapter.
•Options: In general drop down arrow icons or the magnifying glass icon in the report configuration screen will reveal a list of options or values for that field.
•Once your report configuration is done, tap the Generate button  at the bottom of the screen to run the report.
General
Date Range:
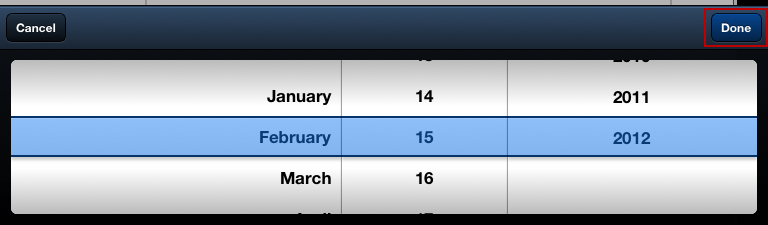
•Tap the drop down arrow icon in any date field and the calendar dialog box will be displayed.
•Scroll up / down through the month, day and year lists to set your date values.
•Tap the Done button when you are finished.
•Then set the Through date value the same way and tap Done again. This is how all date values are set in reports with dates.
Column Configuration •Tap the Add / Change Columns area to view the Report Column Setup dialog.
•Report Column Setup shows the columns in use for that specific report.
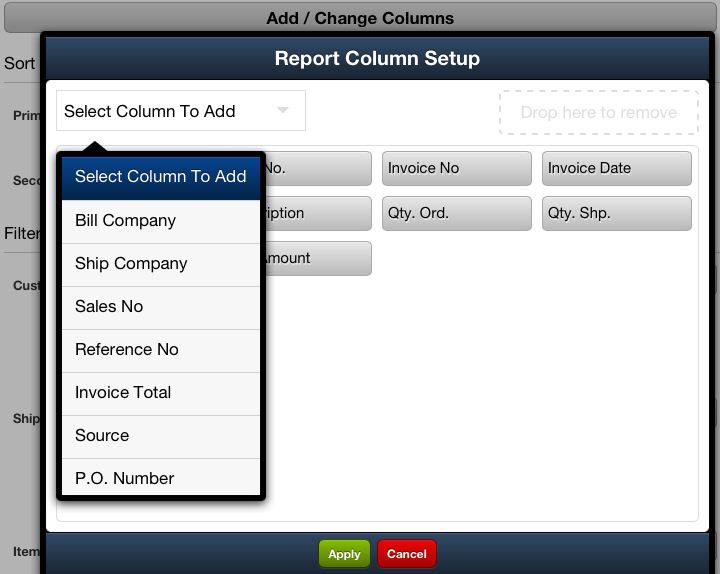
▪Tap and drag any columns you would like to remove to the Drop here to remove area on the screen. ▪Select Column To Add - Tap the drop down arrow icon here to reveal the list. |
|
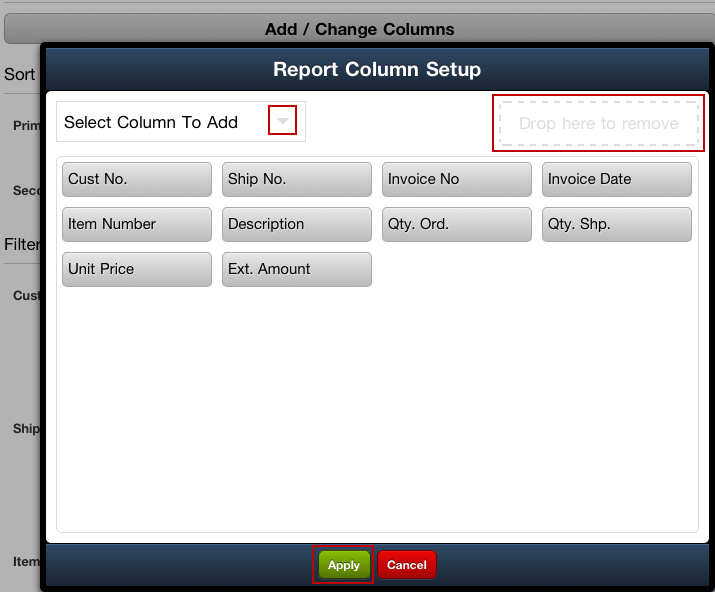
▪Tap the desired column to add it to the list of the columns being used below.
▪Tap and drag the selected column names to change their order in your report.
•Tap the Apply button when your column setup is ready. |
|
Primary Sort and Secondary Sort options
•This list of sort options will be different for each report. Some reports will have a customer list (right), others will have invoice date, invoice number, item number and more in the sort options list.
•The specific sort options for each report will be listed with the report examples to follow.
•Tap the drop down arrow icon to reveal the options list.
•Tap the field desired for the sort. |
|
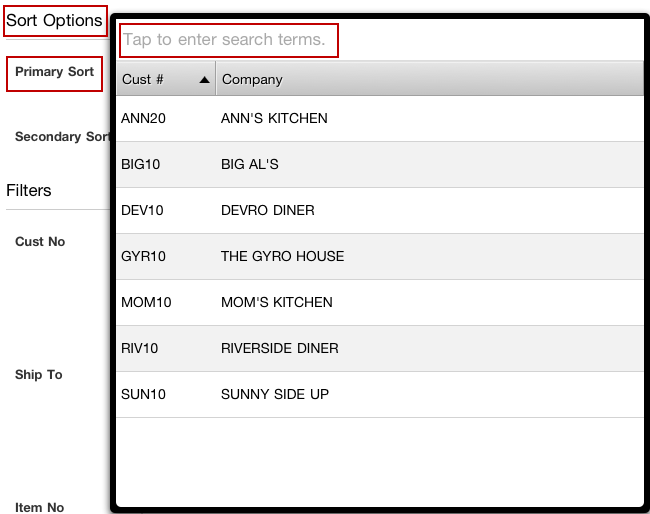
Filters
•This list of filtering options will be different for each report. Some reports do not have filtering options.
•Filtering options include; Brand, Item No., Customer No., and Ship To.
•Tap the magnifying glass icon to reveal the possible values for the selected filter.

•Multiple values can be selected and used for the report filter.
•The specific filtering options for each report will be listed with the report examples to follow.
Saving Report Configurations
When you have a report format that you like you can save, restore, and set it as the default report configuration for that report style. Similar to the way you can save report configurations in the main entrée system you now have this time saving option available in EOP.
A new feature has been added to the report configuration screen to save and reuse your custom configurations. The new Active Configuration drop down menu allows you to select from your saved report configuration to run a report.
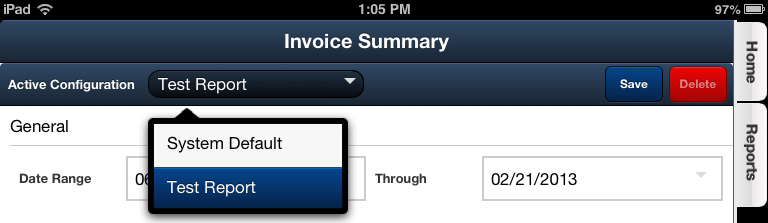
The Save and Delete report configuration buttons give you the tools to create and manage your saved report configurations.
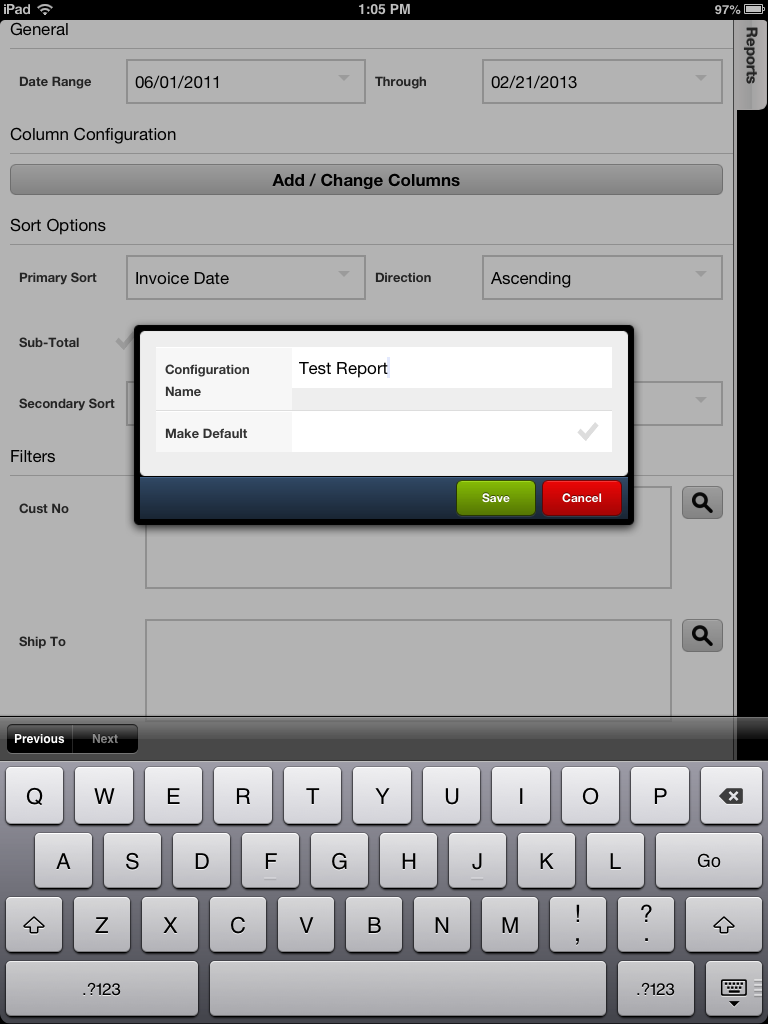
How to Save a Report Configuration
In the Configuration Name field tap in the New Report Configuration text box and enter a name for the configuration using the keyboard.
Make Default is checked if you would like this new configuration to be the default for that report. The default configuration will appear in the Active Configuration field when that report style is selected.
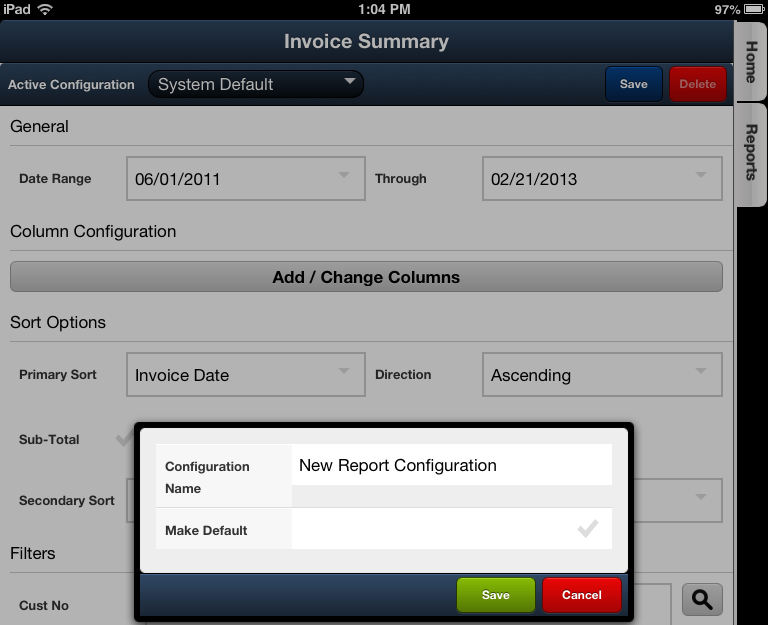
Tap the Save button to save the new configuration for that report.
Tap Cancel to abort the configuration saving process.
|
|