Importing a new image

Contents
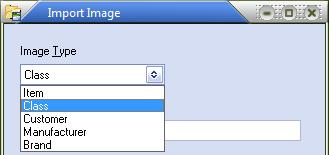
Image Type Options: Item, Class, Customer, Manufacturer and Brand.
|
|
||||
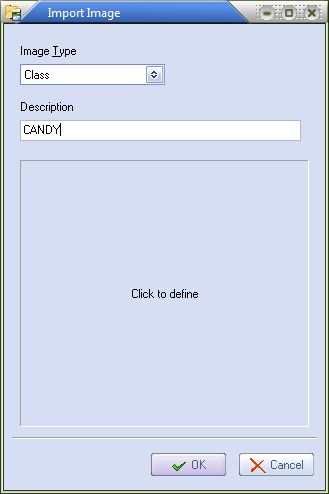
The value typed in this field will be displayed in the Description column of the Images Grid when assigning images to items, classes and customers and manufacturers.
Click inside this region or click on the Click to define button. |
|
| 5. | The Load Image... dialog opens. Using the Load Image dialog and navigate to the desired image file. To import the image click the OPEN button. Now the image will be added to your IMAGE_DB database file. You should now see the selected image in the image preview area of the Import Image dialog (right side). |
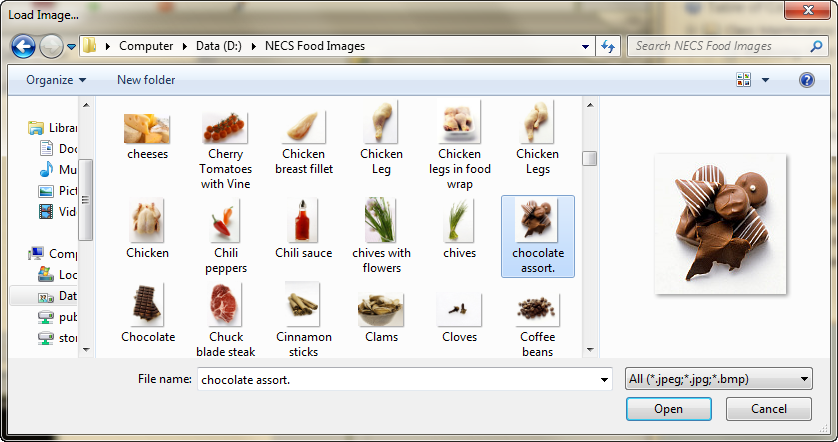
 In the Load Image dialog you can change the view to "thumbnails" so you can easily view the files as images.
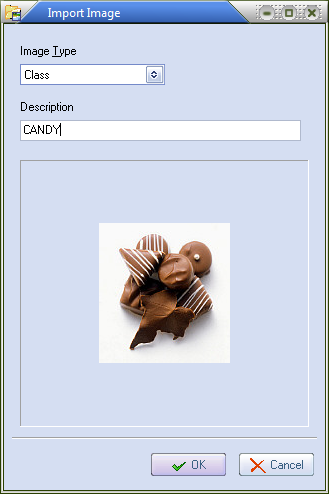
6. Click the OPEN button once you have selected the image. You will see the selected image in the image preview area of the Import Image dialog.
|
|
8. You will now return to the Select Image... dialog. The newly imported image will be selected in the images grid and the image will be displayed in the preview area. Click OK.
