|
|


AP Closing Procedure |

|

|

|
||
AP Closing Procedure |
|
|

|

|
|
|
AP Closing Procedure |
|
|
|
||
AP Closing Procedure |
|
|
|
|
1. Set the controls for closing AP.
2. Click the OK button and the close process starts a series of tests are performed to verify that Accounts Payable is in the correct state prior to closing.
3. If you have checked the Delete Transaction History option you will this Confirm message:
"All payable history information up to and including the deletion cutoff date will be lost. Continue close?"
Click "No" to stop the closing process if you do not want this data deleted.
4. Another Confirm message you will see: "Have you backed up your data?"
Click "No" to stop the closing process if you have not backed up your system. Run a full set of backups and then return to the closing process.
5. If you are linked to General Ledger and unreleased Accounts Payables transactions exist in the posting file you will see this Confirm message:
"The AP/GL posting file contains transactions which have not been released to General Ledger. Continue close?"
Click "No" to stop the closing process and run the Release to General Ledger. Then return to the closing process.
6. A Confirm message will remind you: "You must print the AP Journal before closing."
Proceed to the report system and run the AP Journal report.
![]() If you use Bank Reconciliation, you should generate the Bank Reconciliation report before closing.
If you use Bank Reconciliation, you should generate the Bank Reconciliation report before closing.
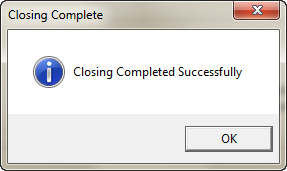
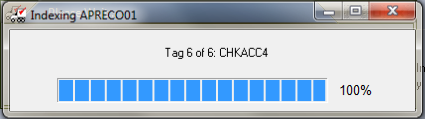
7. Once you click Go and resolve all the Confirm messages the progress dialog will display as it updates all the files.
8. When the Close Accounts Payable has completed you will see the Closing Complete dialog. Click OK. |
|