File Server Version Release Updates

Contents
This section is for users that are updating existing entrée application's File Server with a version release.You can download the latest version release of the entrée application from our website at http://necs.com/support/.
Accessing upgrade files in the NECS website
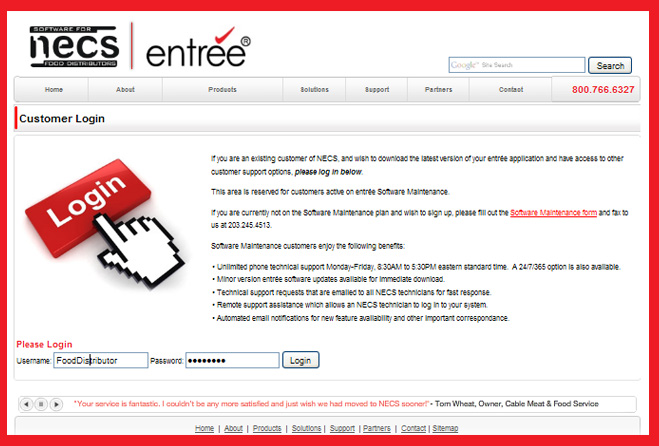
1. Use the internet browser on your computer to go to this NECS Support Customer Login web page link http://necs.com/support/ .
2. Enter your username and password. (To obtain a username and password for website access contact NECS Technical Support.)
3. Click the Login button.
4. The entrée software update files will be listed by release date and version number on the next web page.
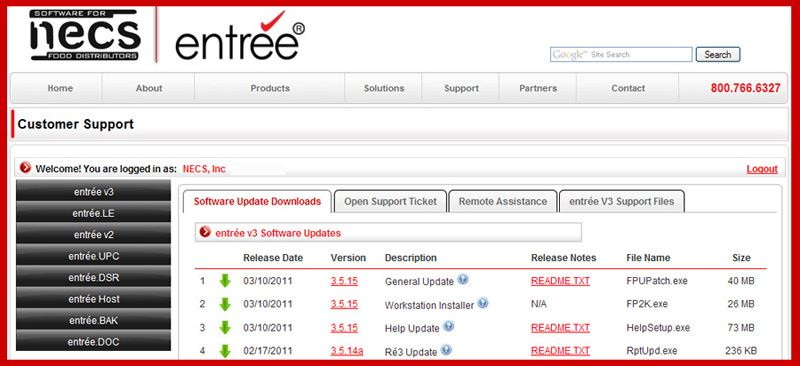
5. General updates are listed for each software release. entrée Help system files will be listed separately.
6. To view entrée software Release Notes click the README.TXT link.
7. In the Version column click the red version number link, ie 3.5.15, to begin downloading that FPUPatch.exe file. The FPUPatch.exe download process with vary depending on the internet browser you are running. We have documented the processes for IE (Internet Explorer) and Mozilla Firefox.
Downloading FPUPatch.exe
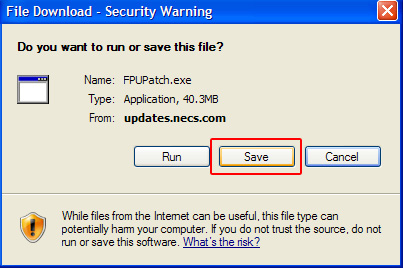
 This is the download process if you are using Internet Explorer as your web browser on the Windows XP Operating System.
1. The File Download dialog box will display. Click the Save button to save the FPUPatch.exe.
2. The Save As dialog box will display. Click through the folders until you find Desktop. Desktop should be in the Save in: text box. Do not change the File name.
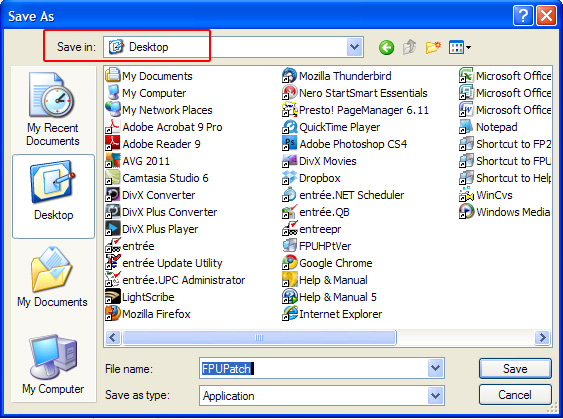
3. Click the Save button and the file download will begin.
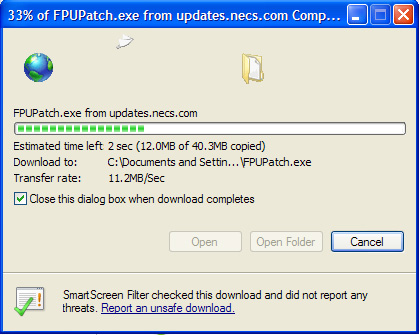
4. Once the file download is complete the FPUPatch.exe icon will be on your desktop.
 Next you will use the desktop icon to initiate the entrée Upgrade Wizard the next procedure needed in the upgrade process.
•Next the Mozilla Firefox browser download process is reviewed.
This is the download process if you are using Mozilla Firefox as your web browser on the Windows XP Operating System.
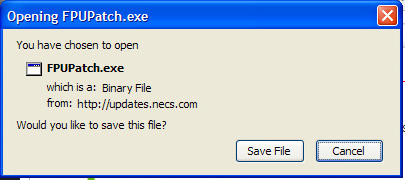
1. The Opening FPUPatch.exe dialog box will display. Click the Save File button.
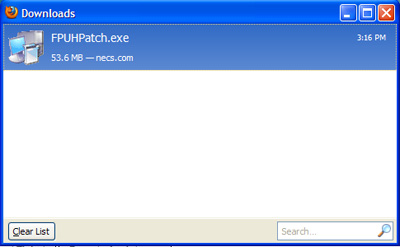
2. Once the file download is complete double click on the FPUPatch.exe file in the Downloads dialog box. In this example the file was run from the Downloads folder on the computer. |
|
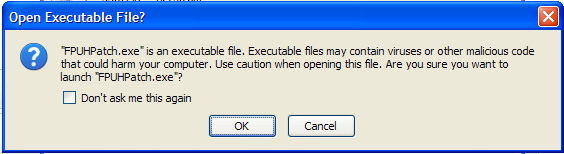
3. The Open Executable File? dialog box will display. Click OK.
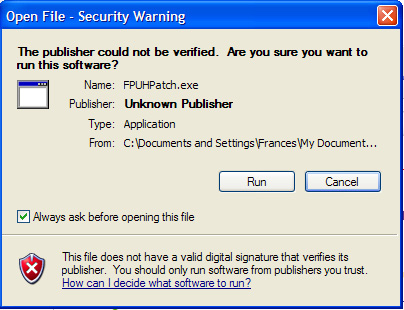
4. An Open File - Security Warning dialog box may display. Click Run to install the File Update Utility.
The next step in the version release update process is Updating your File Server.
Updating the File Server from the NECS website download
The file that was download from the NECS website will be used to update the file structure of the entrée File Update Utility. Make sure that the downloaded file is directly accessible from your server.
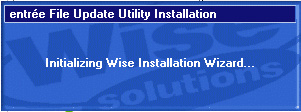
| 1. | If the entrée File Update Utility Installation Wizard does not run automatically, double-click the desktop icon (IE) or the FPUPatch.exe file (Mozilla Firefox) to start the wizard. |
2. The welcome message will appear click the Next button.

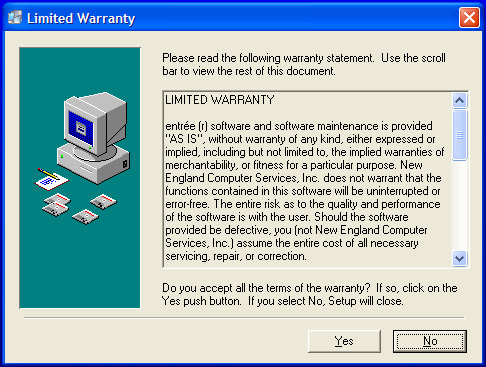
3. Click the Yes button to accept the entrée licensing agreement.
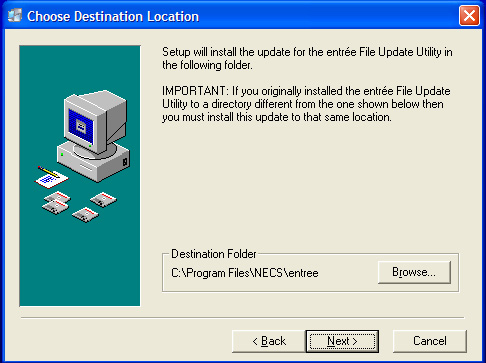
4. Use the Browse button to locate the correct Destination Folder if required. Click the Next button to continue.
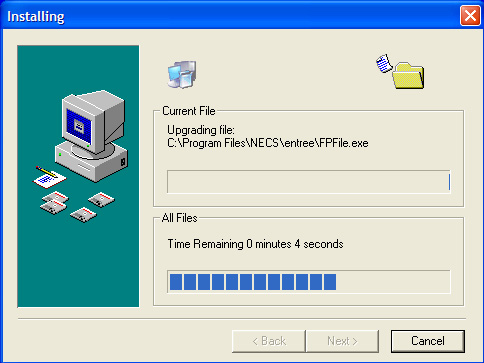
5. The entrée File Update Utility will now be updated.
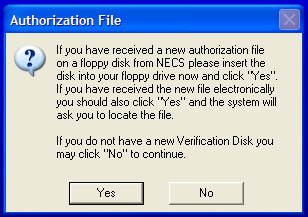
6. You will now be prompted for the Authorization File.
•If you have not received a new verification disk, click the No button. The installation process will continue.
•If you have received a new verification disk insert it into your floppy drive now and click the Yes button.
•If you have received a verification file via email from NECS, click the Yes button. Then point to the location where the file is saved on your computer.
•If you have the Authorization File on another computer it can be copied to a portable flash drive and saved on a different computer to perform the installation/upgrade process.
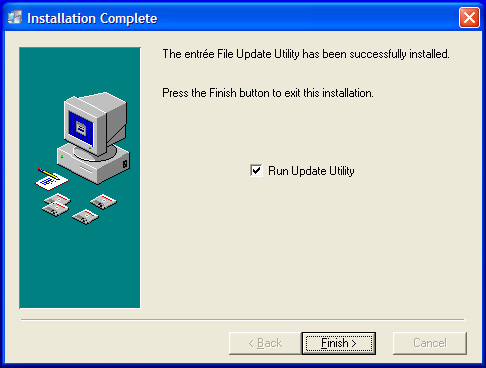
8. Click the Finish button to proceed to the entrée File Update process.
Make sure to leave the Run Update Utility option checked.
The next step in the version release update process is Updating the data files on your File Server.
Updating the Data Files on your File Server
•This section will cover updating your data files with the entrée File Update utility.
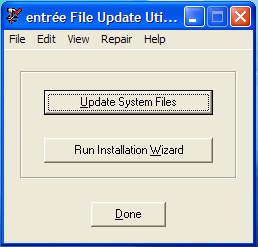
1. After you have completed the Upgrade Wizard, the File Update Utility dialog should open automatically.
|
|
||
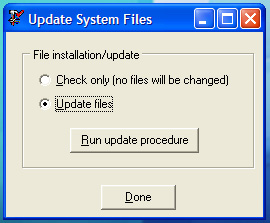
4. Click the Run update procedure button.
|
|
||
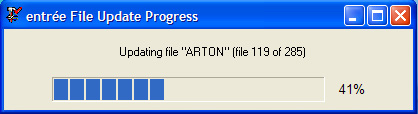
5. The entrée File Update Progress box will display.
6. When the file update process has completed you will be returned to the Update System Files dialog box (step 3) click Done.
7. Then in the entréeFile Update Utility dialog box (step1) click Done. |
|
8. Now that your File Server has been updated with the latest version release of entrée you need to update all your workstations.
•Go to the Workstation Installation and Update, Starting a Version Release Update section of this chapter to view the instructions for updating your Workstations.