entrée Upgrade Installation Wizard
Upgrading from the NECS website download
The file that was download from the NECS website will be used to update the file structure of the entrée File Update Utility. Make sure that the downloaded file is directly accessible from your server.
| 1. | Navigate to the directory where you saved the FPUpdate file. |
| 2. | Double-click the desktop icon (IE)  or the FPUPatch.exe file (Mozilla Firefox) to start the wizard. or the FPUPatch.exe file (Mozilla Firefox) to start the wizard. |
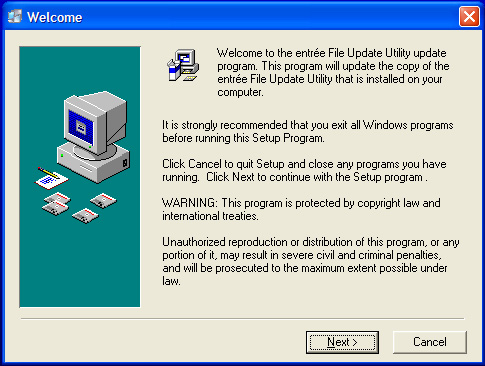
3. The welcome message will appear click the Next button.
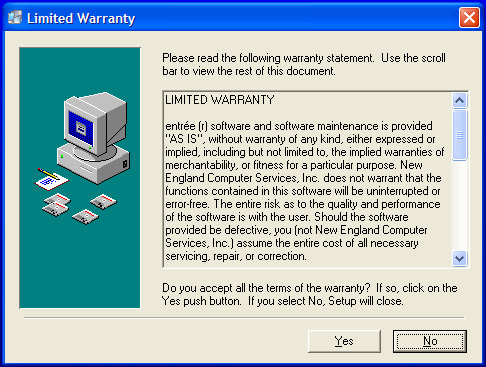
4. Click the Yes button to accept the entrée licensing agreement.
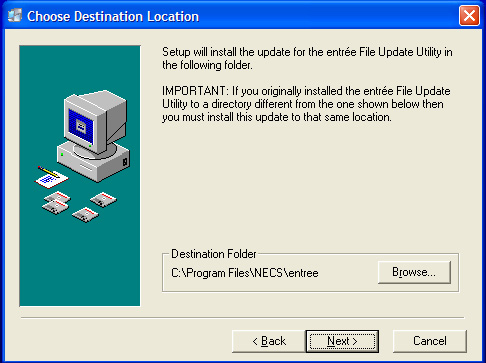
5. Use the Browse button to locate the correct Destination Folder if required. Click the Next button to continue.
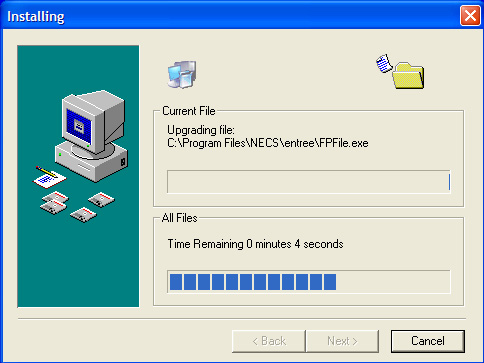
6. The entrée File Update Utility will now be updated.
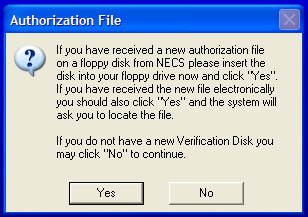
7. You will now be prompted for the Authorization File.
•If you have not received a new verification disk, click the No button. The installation process will continue.
•If you have received a new verification disk insert it into your floppy drive now and click the Yes button.
•If you have received a verification file via email from NECS, click the Yes button. Then point to the location where the file is saved on your computer.
•If you have the Authorization File on another computer it can be copied to a portable flash drive and saved on a different computer to perform the installation/upgrade process.
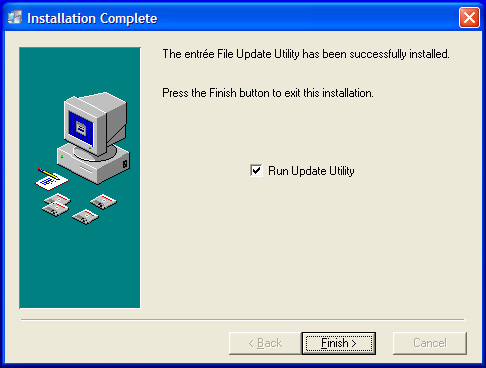
8. Click the Finish button to proceed to the entrée File Update process.
 Make sure to leave the Run Update Utility option checked.
9. Now proceed to the next section in this chapter Updating your files.
