Change Payable Priority Utility

Contents
The Change Payable Priority Utility can be used to change the priority of a payable even in a closed period.
The payment priority indicates when or how the invoice should be paid in relation to other payables. This value may have to be changed because circumstances change.
 This utility will only process one payable at a time. This will help to prevent accidental changes to priority on the wrong payable.
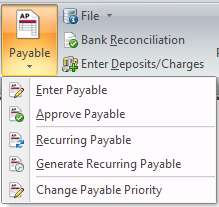
Access 1.Go to the Vendor ribbon menu. 2.Select the Payable drop down menu. 3.Select the Change Payable Priority option.
|
|
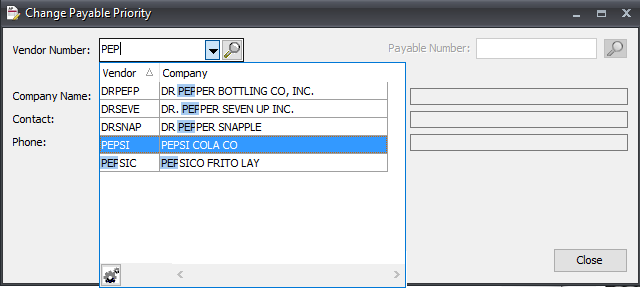
4. Find or enter the Vendor Number if you know it. Or use the search tool.

5. Using the Vendor Number field auto-complete feature can help you quickly find the vendor. Start entering the vendor number and the list will population so you can make your selection.
6. Once the Vendor Number is selected hit Enter and the contact information will be added to the screen.
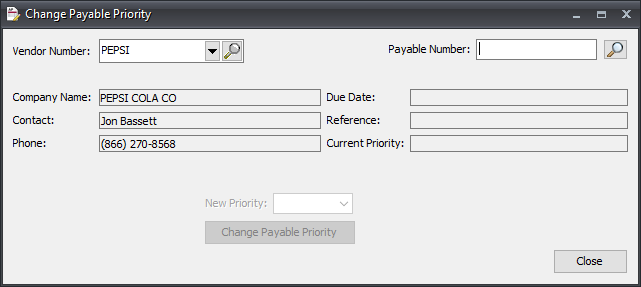
7. Find the desired payable number click in the Payable Number field and click the search tool.
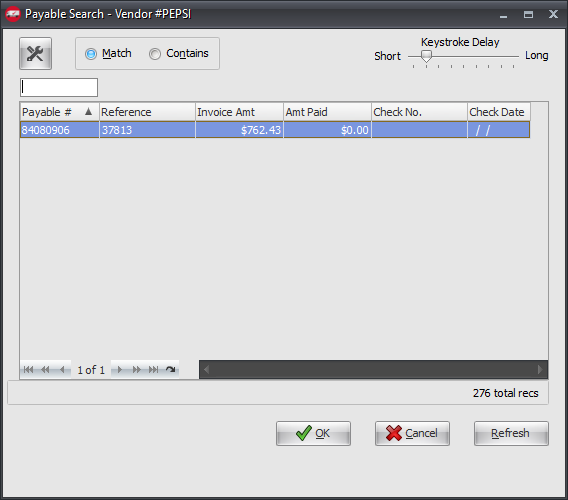
8. A list of the payables for that vendor will be displayed. In the Payable Search dialog double-click the payable you want to change and it will be loaded into the screen.
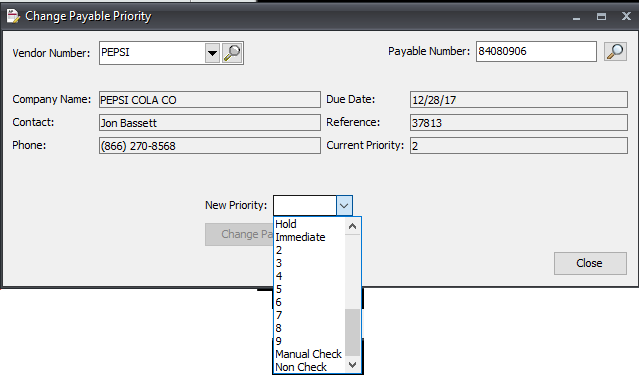
9. Go to the New Priority menu and select the new priority and hit Enter.
New Priority Values
•2 - 9: The numeric ranking system allows you to prioritize your vendors using a number between 2 through nine. The number 2 signifies the highest priority and the number nine signifies the lowest.
•Hold: Some circumstances may warrant holding payments for a vendor. For instance, you may have billing questions, or the quality of the last delivery may not have been up to standard. If this is the case, you can choose Hold from the list. This will prevent invoices from being approved for payment as well as the creation of any checks for this vendor unless you change the priority.
•Manual Check: Choose Manual Check if you do not wish the accounts payable system to print a check for this vendor. For instance, you may pay this vendor from an account that is not defined in the accounts payable system and you have to write out a check for them.
•Non Check: Choose Non Check if you do not pay this vendor with a check. For instance, you may pay with cash or you may wire transfer monies into the vendor's bank account.
10. The Change Payable Priority button is activated. Click the button to update the payable.
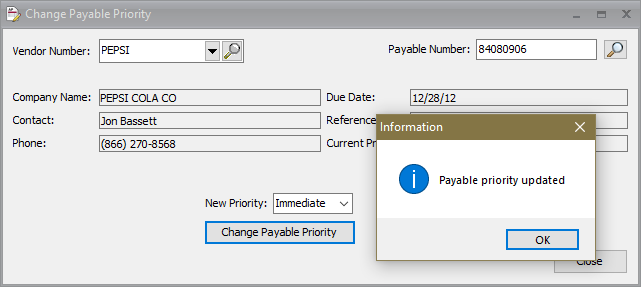
11. An Information box will display Payable priority updated, click OK.
12. Click Close on the Change Payable Priority screen if you are done.