Special Pricing Tab
 The Special Pricing tab is documented fully in the Inventory File chapter Special Pricing Tab section.
Menu path: Customer ribbon menu > Customer option > find the desired customer > Special Pricing tab.
Special Pricing tab with Item Details section opened.
•The Special Price and both Bid Price fields have been expanded to now use values up to $99,999.9999.
Configuring the Special Price Grid
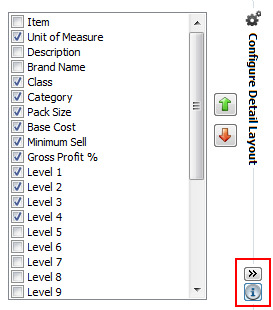
Click the Configure tool (outlined in red) to open the list of possible fields for the grid on this tab.
Check the fields you would like shown in the grid.
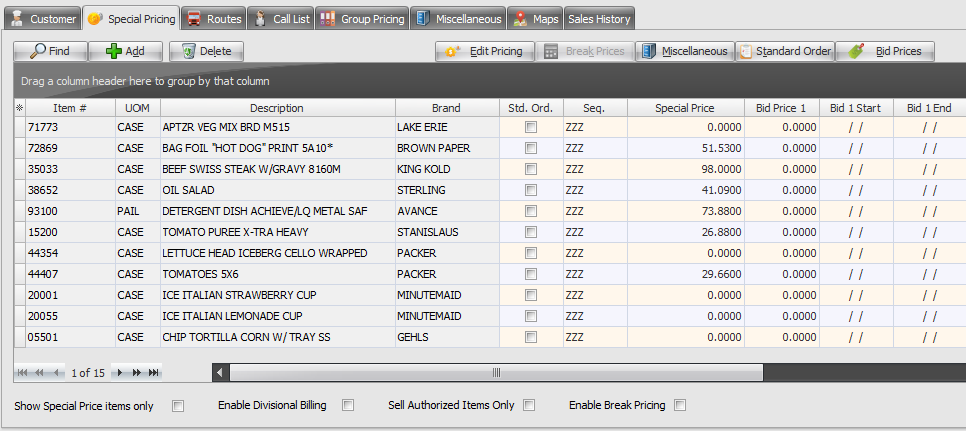
In the grid shown below the Std. Ord. (Standard Order) column was added to the grid.
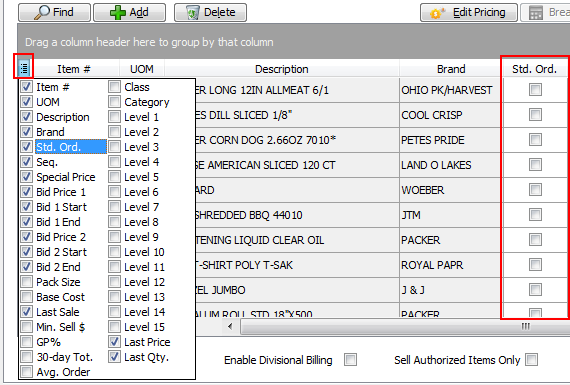
•More columns as seen in the Special Pricing grid
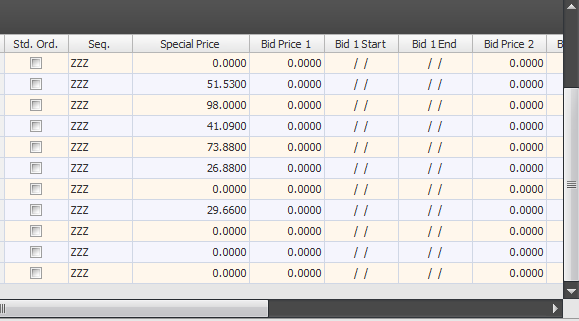
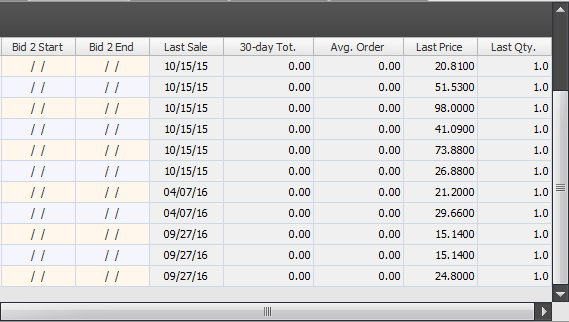
Standard Order Select
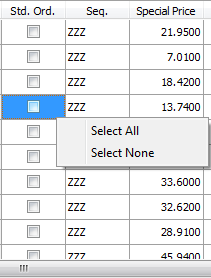
When you right-click the Std. Ord. (Standard Order) indicator column you get a pop-up menu. You can quickly use Select All to check all the boxes in the column and make every item a standard order item.
Or use Select None which removes all the Std. Ord. check marks in the Special Pricing grid so they are no longer standard order items.
|
Select All
|
Item Details... Section
Click
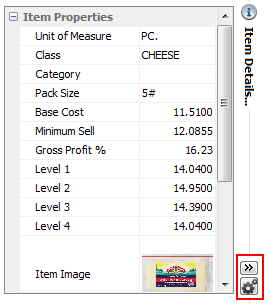
This section shows the details for the item selected in the special pricing grid.
If the item has a product image it will also be shown in this section.
|
|
Configuring the Item Details Section
Check the boxes for the fields you would like visible in the Item Details section.
Then click the |
|
Special Price Tab Options
•Show Special Price Items Only
Allows the Special Price list to be filtered so that only entries with a non-zero Special Price value will be shown.
| 1. | Search for the desired Customer. |
| 2. | Click Special Pricing tab |
| 3. | Click the box for "Show Special Price Items Only" |
| 4. | Once checked only non-zero special price values will display. |
•Enable Divisional Billing - See the topic in this chapter for detailed information.
•Sell Authorized Items Only - See the topic in this chapter for detailed information.
•Enable Break Pricing - See the topic in this chapter for detailed information.
•Special Price Customer # - See the topic in this chapter for detailed information.
Buttons
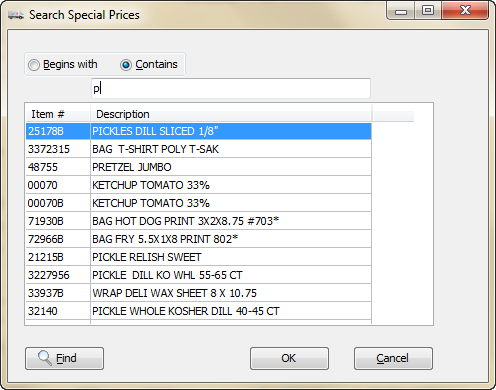
Use the search tool to find items in the special price item file.
Search using either the Item # or Description column.
Enter text and a list of matching items will display. |
|
Add Button
Click Add + find and add a new item from the Inventory file to the grid.
|
Delete Button Select and item and click the Delete button to remove it from the special pricing list for the customer.
The Confirm dialog box will display. Click Yes to remove the item.
|
Edit Pricing Button
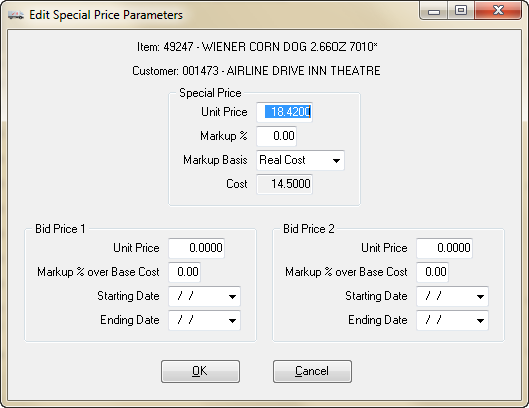
When you click this button the Edit Special Price Parameters dialog opens.
See the Using the Edit Special Pricing Parameters section of the Inventory File Maintenance chapter for details.
|
|
About Markup Basis and the Manual option Use the drop down menu to set the cost basis for the special price.
•The Manual cost basis option for Special Prices has been added.
For Special Prices configured using this Manual option it means that the price is not linked to any cost value. So the "Cost Basis $" value will display as "<n/a>" rather than "$0.00". The system NEVER updates these prices automatically and NO markup values are applied. |
|
Float Special Prices
Enhanced the editing of "float" Special Prices where the Edit Special Price Parameters dialog displays to tell the the user that the price has been recalculated. *See the related Inventory File Maintenance section for details.
▪If editing the price causes the price to be recalculated, possibly due to an unapplied cost update, then the Edit Special Price Parameters dialog will open to edit here and not in the grid.
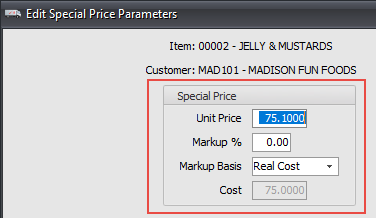
▪If there are no pending cost changes then the edit will take place in the grid.

In the prior release the price would immediately and automatically recalculate when you double-clicked the price. The original price could easily be restored simply by hitting <Esc> to cancel the edit.
Since the recalculation behavior is new to entrée, users may not realize when the price had changed and accidentally update prices, the pop-up dialog serves as the recalculation indicator.
•When you double-click on a "percent" Special Price it is immediately recalculated and the new price is displayed as the default price. Then click "OK" to save the new price or "Cancel" to reject the new price.
•When editing of a "float" Special Price, if there is an unapplied cost change, the price will be updated to the current item cost. With "float" prices, when you double-click the special price in the grid it opens the price for editing directly in the grid. Since there is no reliable way of recalculating the price to account for cost changes, the current price is displayed unchanged as the default price.
•The "float" Special Price will recalculate and display the updated price as the default price just the same as the "percent" prices do. Hit the <Esc> key to cancel the edit and retain the original price or edit the price in the grid to change it.
Break Prices Button
See the Enable Break Pricing topic in this chapter for detailed information.
Miscellaneous Button
See the Edit Special Price Miscellaneous Parameters section of the Inventory File Maintenance chapter for details.
1.Use menu path: Customer ribbon menu > Customer option.
2.Find your customer > click the Special Pricing tab.
3.Select the desired item’s special price in the Special Price item grid.
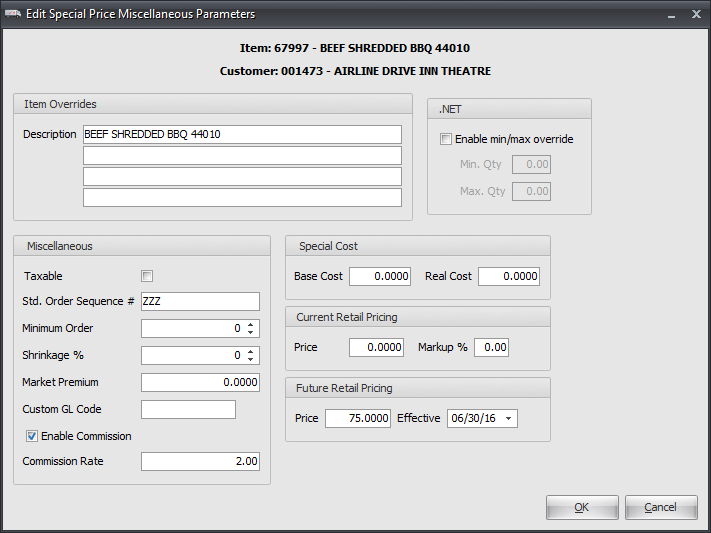
4.Click the Miscellaneous button and the Edit Special Price Miscellaneous Parameters dialog opens.
The Miscellaneous button dialog contains options for:
•Item Overrides •Miscellaneous •Special Cost •Current Retail Pricing •Future Retail Pricing •entrée.NET Min / Max Order Quantity •Enable Commission |
|
Enable Commission
You can define specific commission rates for individual customer/item combinations which will override the
salesperson's default commission configuration.
1.Check the Enable Commission option.
2.Enter the percentage you want for the commission override.
3.Click OK to save.
.NET Option
•Enable Min / Max Override
For your customers placing online orders with entrée.NET, you can now define a "minimum" and "maximum" quantity that they are allowed to order. This feature will allow you to enforce minimum order quantities for specific items as well as maximum order quantities. You can also create special exceptions to this rule by individual customer.
For specific customers the minimum and maximum quantity numbers must be defined in the entrée main application.
1.The Edit Special Prices Miscellaneous Parameters dialog box has a .NET section.
2.Check the Enable min/max override option and enter the Min Qty and Max Qty values.
3.Next you must enable the min/max feature in the entrée.NET system.
•To use our web-based entrée.NET knowledgebase visit http://www.necs.com/net_KB/.
Standard Order Button
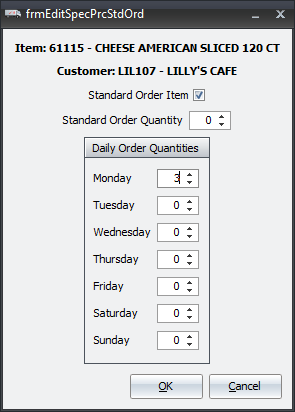
The edit standard order dialog is used to set up pre-defined purchase quantities for the item when the customer purchases it.
See the Using the Edit Standard Order section of the Inventory File Maintenance chapter for details. |
|
Bid Prices Button
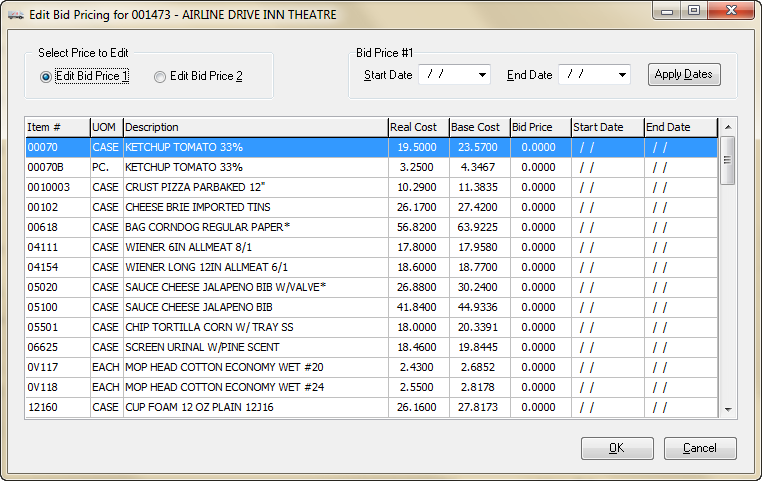
See the Defining Bid Pricing section of the Inventory File Maintenance chapter for details. |
|
Calc 30-Day Usage Button
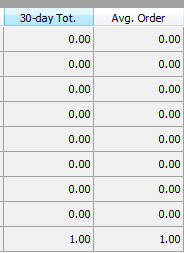
For Customers the system reviews the prior 30 days of sales data for all customers shown in the Special Price grid.
For each item it calculates the 30-Day total sales amount and the average order totals.
See the Special Pricing Tab chapter in the Inventory File Maintenance for details. |
|
Report Button
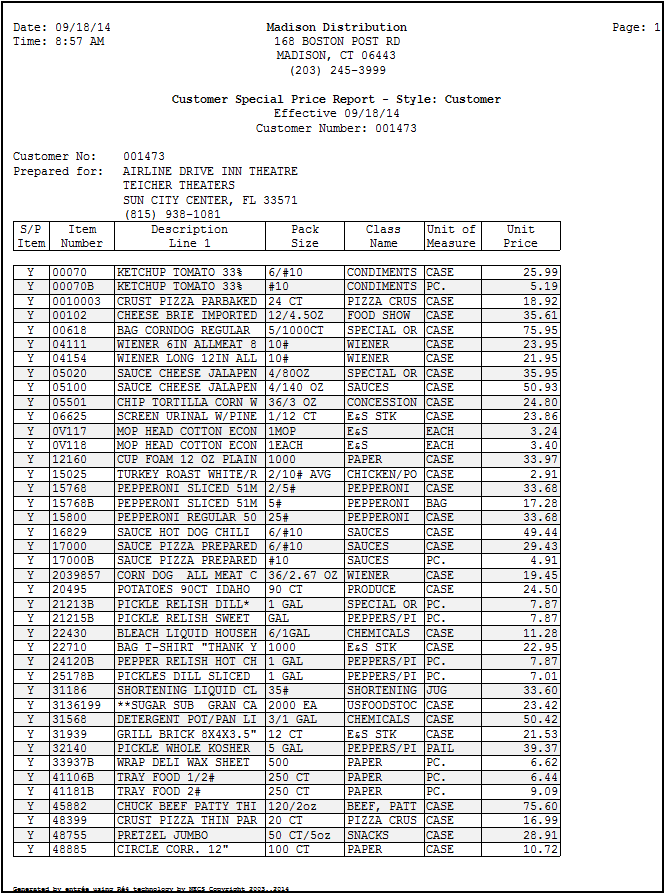
1.Click the Report button to open the report control panel for the Customer Special Price Report.
2.Select a Printer from the Name drop down menu.
3.Preview will be checked by default so you will see the report on your computer screen before you print it.
4.Click OK to run the report for the current customer or use the Schedule feature to schedule the report run..
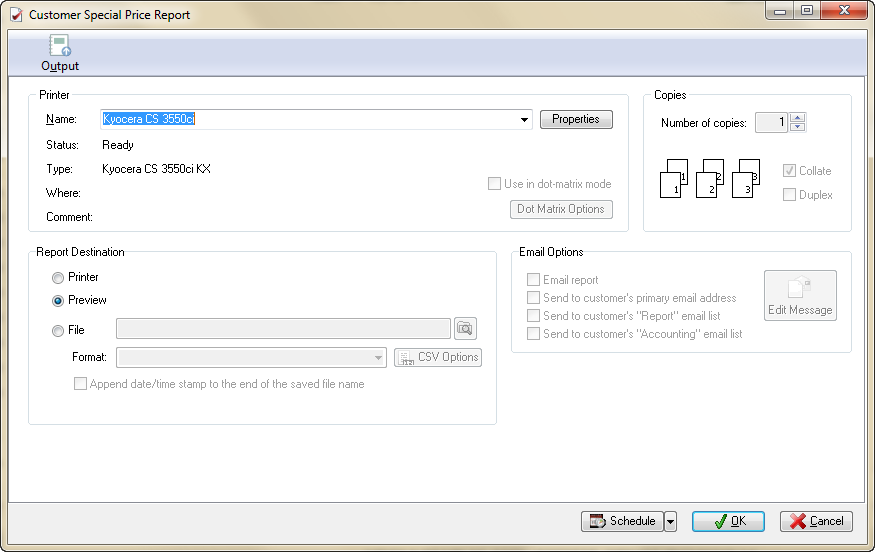
 Customer Special Price Report


 to hide or open the Item Details section.

 to return to the Item Details information.