Schedule Regular Backups

Contents
It is easier and quicker to create and delete your backup jobs using the Update Utility > Utilities menu > Schedule Regular Backups option.

 Use the Add Task button in the Schedule Backup Jobs screen to create and schedule regular backups of your version 4 SQL databases.
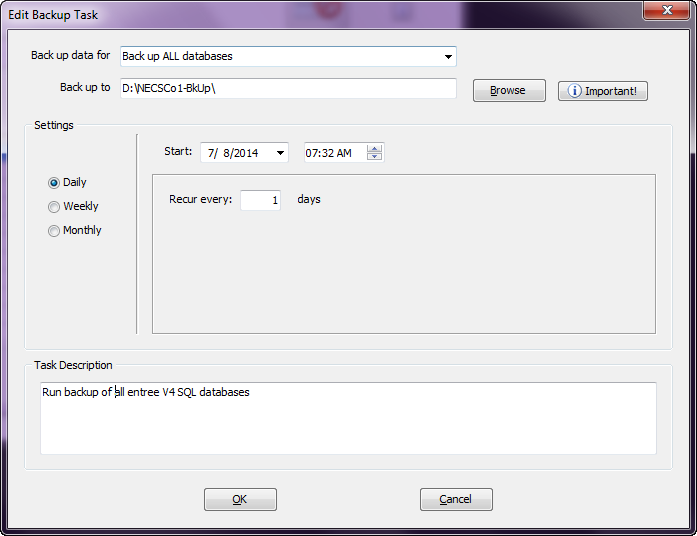
•Back up data for: If you only have one company select Back up ALL databases from the drop down menu.
▪If your system is set up with as a multi-company you will select the desired company's database files from the companies listed in the drop down menu.
•Back up data to: Use the Browse button to locate the destination drive and folder for your backups to be written to. You can create an empty folder in the selected location prior to performing this step.
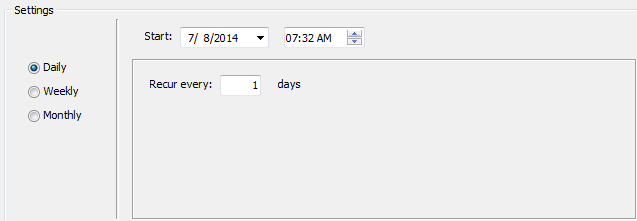
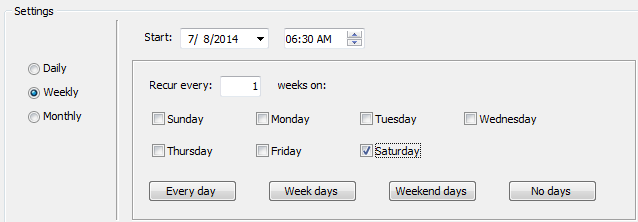
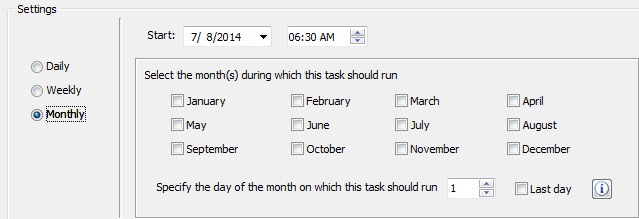
•Settings:
▪Daily Settings
▪Weekly Settings
▪Monthly Settings
•Task Description: Enter a description of the task to be run.
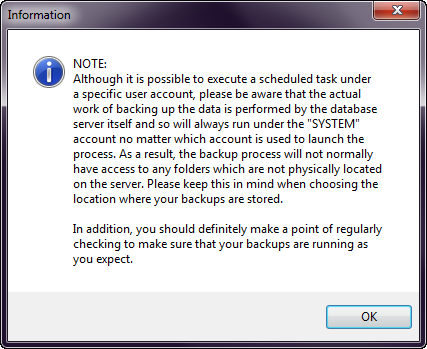
•The note seen when you click the Important button. 
 Select a task and click the Delete Task button in the Schedule Backup Jobs screen to delete a backup job.
Resetting Failed Tasks
You have the ability to reset the status of a task that started to execute but for whatever reason failed to complete either with or without errors. The task failure could be due to a service restart or some other system failure. If a task is executed and completes with errors it will automatically be placed into a suspended state.
Go to the Scheduling Utility chapter of this guide to learn about how the Restore Task option is used to reset the status of a suspended task. The Restore Task option will only be displayed if the selected task is either running or in a suspended state.
Edit with Task Scheduler
•To maintain scheduled backup jobs access the Task Scheduler via the Update Utility > Schedule Regular Backups window.
•In the Schedule Backup Jobs window click and select the job you would like to edit. Then click the  Edit with Task Scheduler button.
•The next section of this guide will cover the Using the Task Scheduler.