V4 Server & Workstation Version Updates
NECS is constantly maintaining and upgrading the entrée system. Our software maintenance customers can visit our website at www.necs.com to check for and download new release versions of the software.
This section covers the update process for entrée version 4 SQL on the Server and your Workstations with the latest version release downloaded from our website.
Once you company is live on version 4 and going forward there will be periodic release updates to the software to add new features etc. To update your version 4 software when a new release has been posted in the NECS Customer Support web page follow these steps:
First - Download the Software Update File to the Server
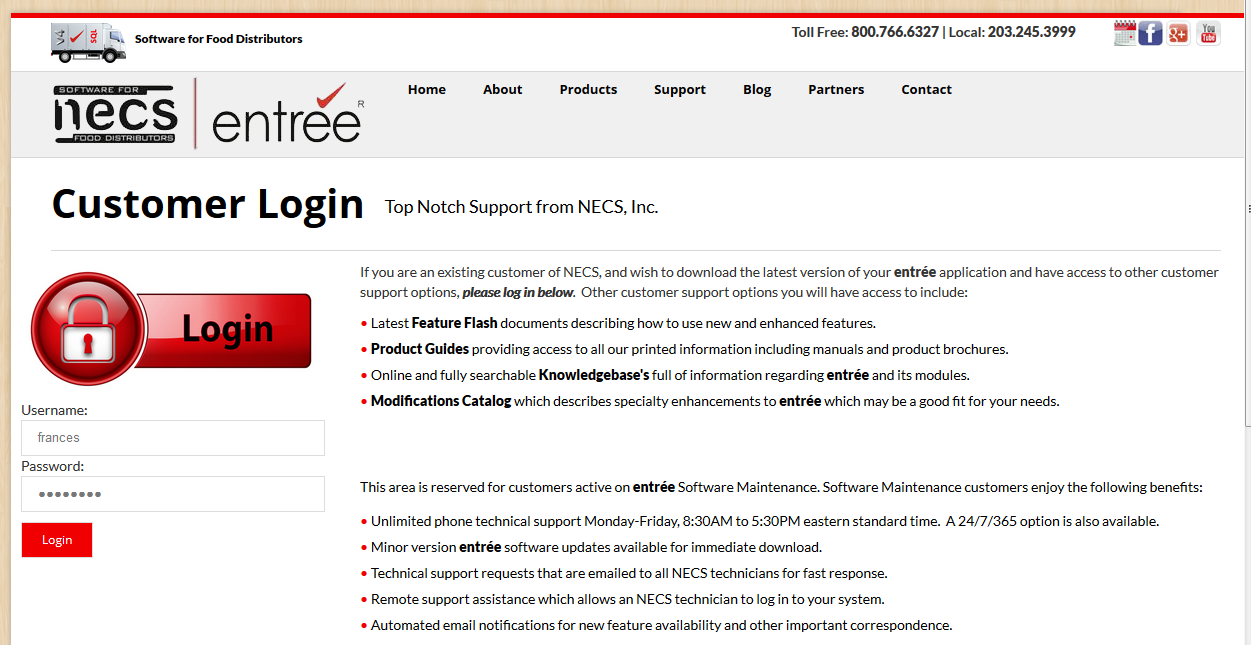
1.Go to our website www.necs.com and click the Support menu and select Customer Login. Enter your assigned Username and Password and login into the support area.
The Customer Support Web Page
Once logged into the Customer Support web page you can select any software product from the Products menu on the left to view the current software updates. You can also view all of our product system guides, knowledgebases and support documents in the Customer Support web page.
 In the lower left corner click of the Customer Support web page you can click the Download and review the NECS Software Maintenance Agreement to review the latest terms and prices.
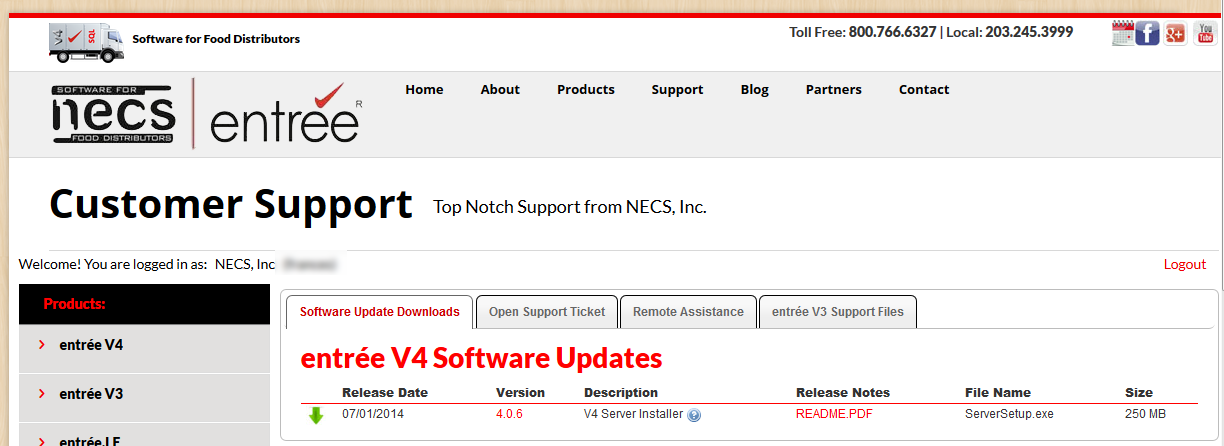
2. The Customer Support web page will open by default with the entrée V4 software updates displayed.
3. Click the green down arrow  for the V4 Server Installer to download the latest ServerSetup.exe update file.
Release Notes
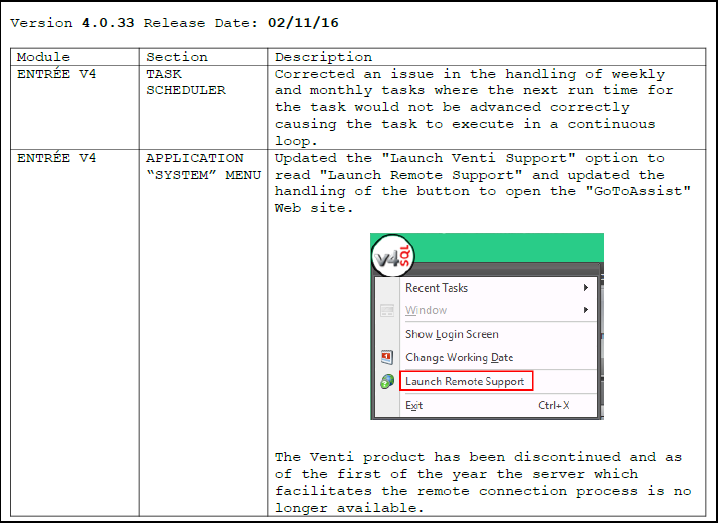
The Release Notes column contains the README.PDF link. Click the link to review the updates and modifications that are included in the current release version release (example of 4.0.33 Release Notes shown below).
3. You can see the ServerSetup.exe file download progress by right-clicking the down arrow in your internet browser tool bar.
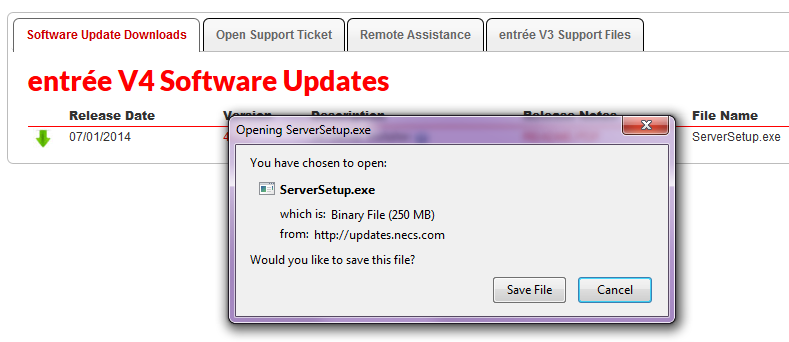
4. The Opening ServerSetup.exe dialog box will be displayed.
5. Click the Save File button and the ServerSetup.exe file will be saved in the Downloads folder on your server.
This module is used to update version 4 on your server. |
|
 Click the System Guides or KnowledgeBase link in the far left menu of the Customer Support web page to access the manuals that support entrée and our add-on modules.
Second - Run ServerSetup to Update the Server
1. Once the "ServerSetup.exe" module is downloaded and saved on your server continue with the version update process.
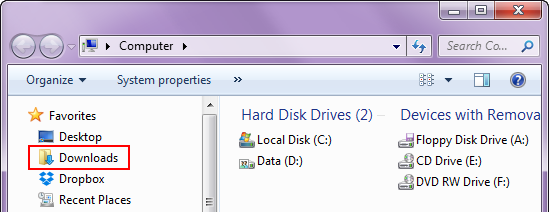
2a. Go to your Downloads folder and double-click and open the folder. |
|
2b. Double-click and run the "ServerSetup.exe" on your server to perform the server-side release updates.

3.This run will be similar to the steps in Install Part 1 Server Setup. You should not have to re-enter your server information, just click through the server update process steps.
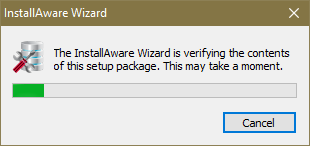
4. Click Next.

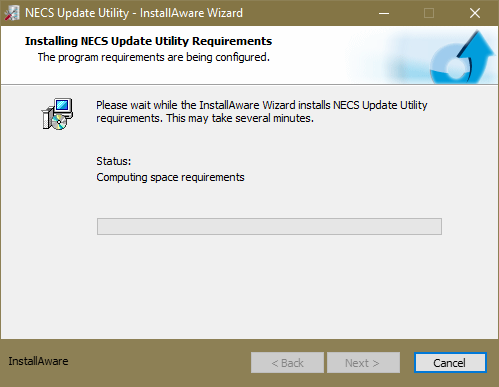
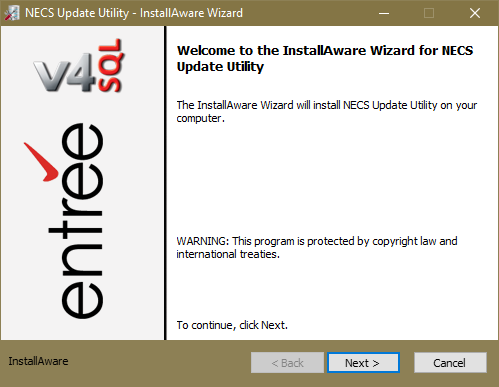
5. Click Next.
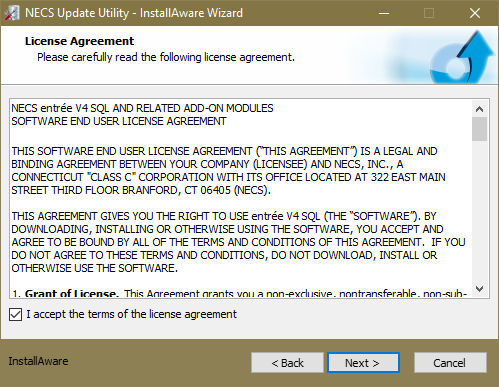
6. Check the I accept the terms of the license agreement option box and click Next.
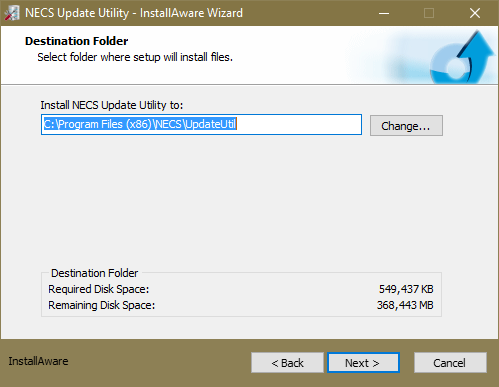
7. Be sure to point to the correct Destination Folder location for the Update Utility and click Next.
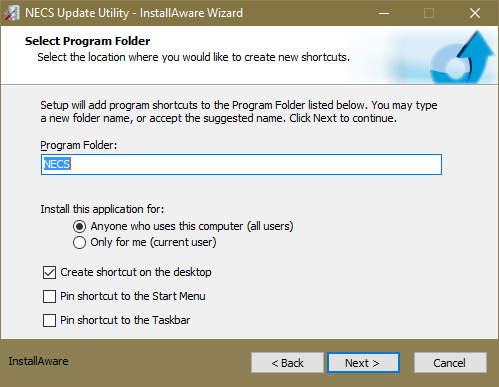
8. Verify the Program Folder and the other options and click Next.
9. Click Next

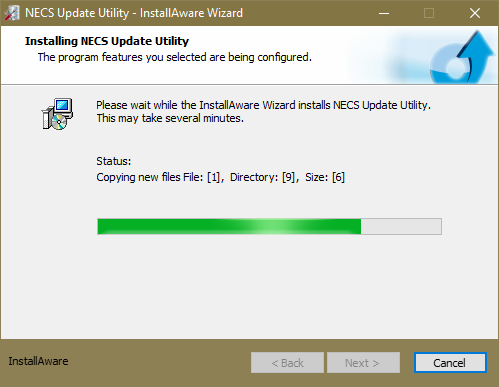
10. Now the new version of the Update Utility will be installed.
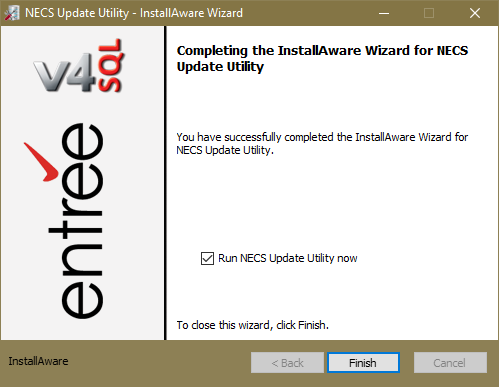
11. The Run NECS Update Utility now option is checked by default because the Update Utility must be run for every version release update.
12. Click Finish. |
|
Third - Run the Update Utility on the Server
1.Next the Update Utility dialog will open. It must be run on the server as a part of the release update process. It will update the databases and the file that is used to update your workstations.
A report of with the current version and version of the update files will be displayed in the upper left corner of the screen below the Show Connected Users button.
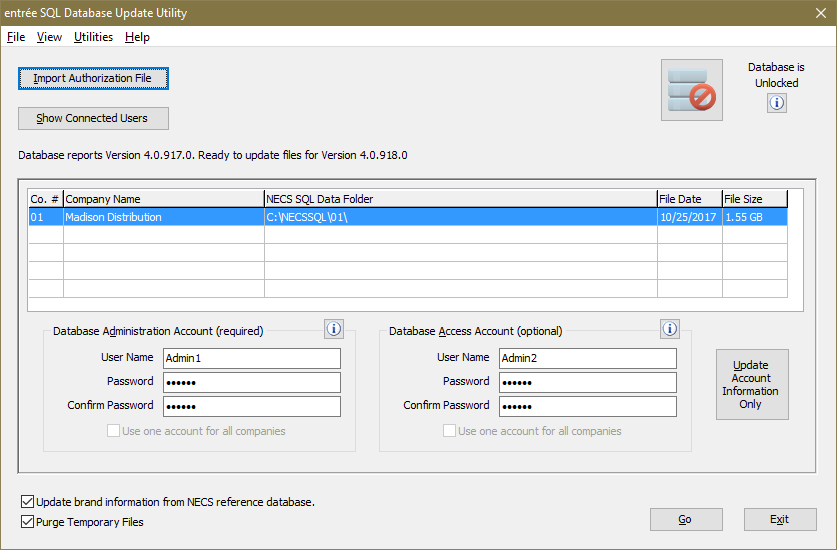
2.Before you proceed use the Show Connected Users button to see who is currently logged into the system. You must notify any users logged into the entrée system that they must log out so you can update the system.
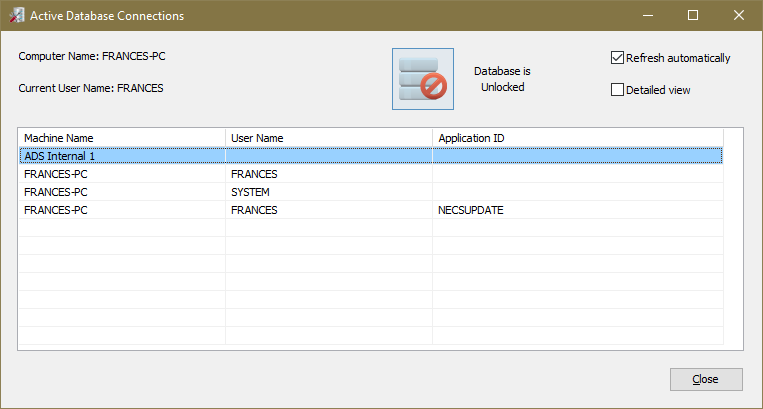
3.When users are logged out use the Database Lock / Unlock button in the upper right corner to Lock the databases before proceeding with the update run.
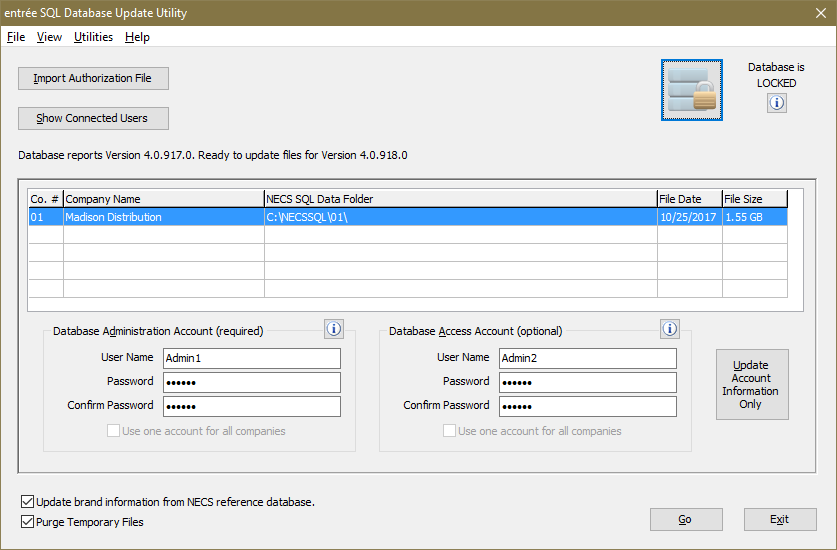
4.Options:
a. Update brand information from NECS reference database: Keep these options checked so any new brands are added to your entrée system.
b. Purge Temporary Files: During the database update any leftover temporary files will be purged from the system. This will help to control space usage and system resources because temporary files can become quite large.
5.Click the Go button at the bottom of the screen to run the update process.
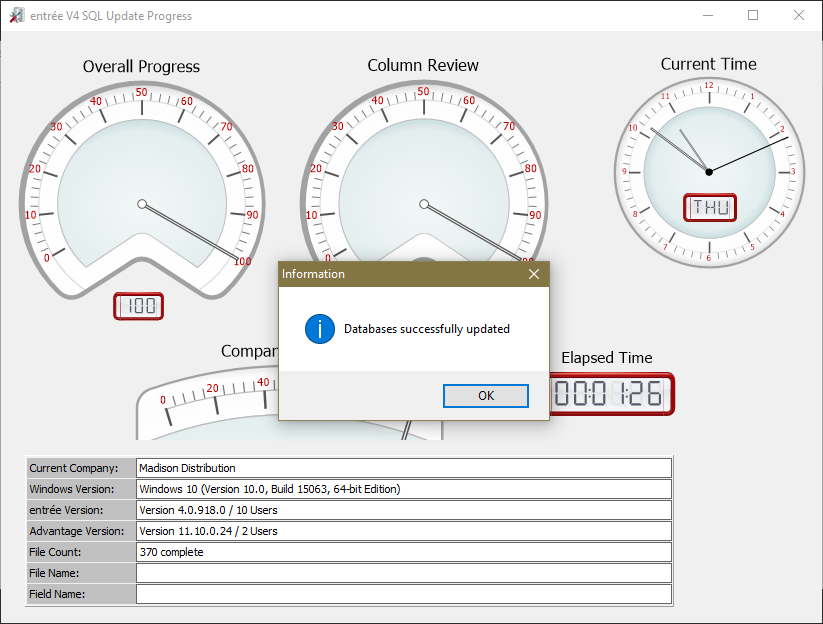
The Update Utility Progress window will open and show you the updates as it runs. Information about software versions is displayed in the lower half of the screen. As each file is updated the file count will increment. The name of the file and field names currently being updated will be displayed in the lower section.
6.When the update is completed the Databases successfully updated Information box will display, click OK.

7. A copy of WS (Workstation) files to the WSUpdate folder will take place before returning you to the main Update Utility screen. You will then return to the main Update Utility main screen. The report area will show the new database version.
8. Very Important: Once the update is done click the lock button again to Unlock the databases or your users will not be able to perform the updates on their workstations.
9. Click Exit.
Fourth - Restart all entrée Workstations to Update
1. On each workstation restart the entrée V4 SQL system and it will detect the new release and begin to run the update automatically.

2. Click Install Update.

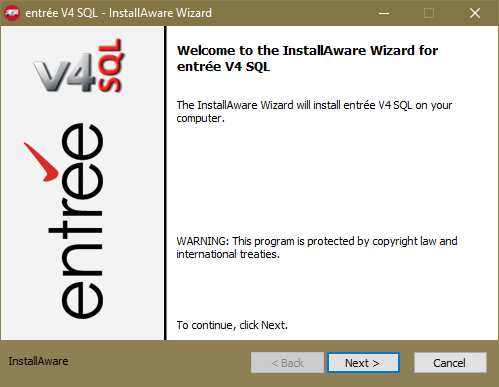
3. The InstallAware Wizard will run.

4a. Click Next.

4b. The previous version will be uninstalled.
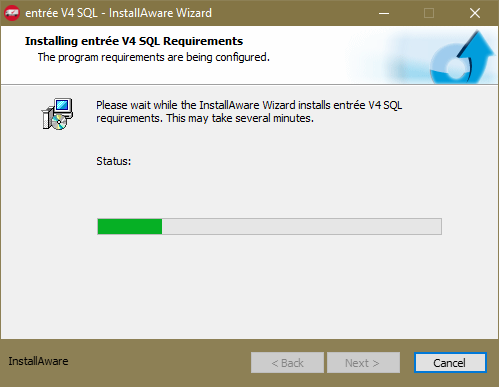
5. Click Next to install the updated version of entrée.
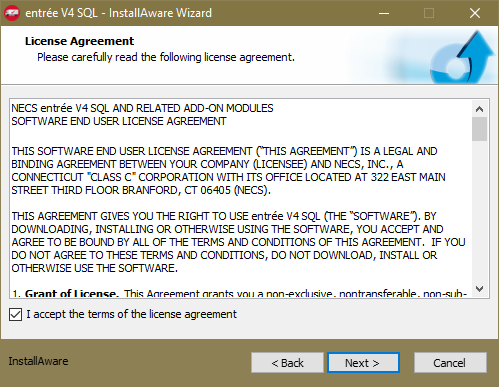
6. Check the I accept the terms of the license agreement option box and click Next.
7. Be sure to point to the correct Destination Folder location for the Update Utility and click Next.

8. Verify the Program Folder and the other options and click Next.

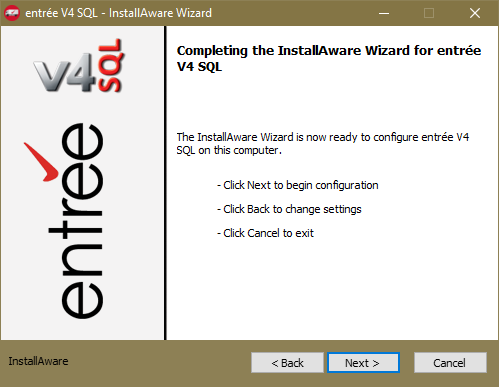
9. Click Next to configure and install the new version of entrée. |
|

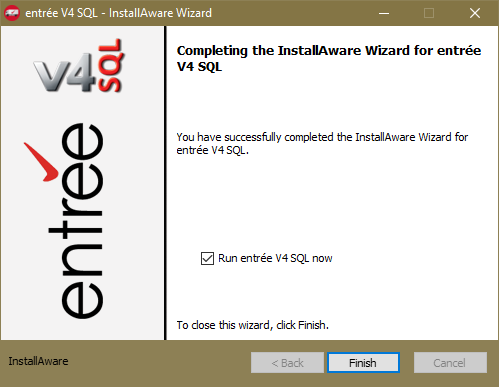
10. Once the installation of the updated version has completed successfully a message will be displayed. The Run entrée V4 SQL now option is checked by default. Click Finish |
|
11. The installation of the new version will continue as the updated entrée V4 SQL software runs. Then entrée V4 SQL will start.

12. The Help System checks for updates. By default all File Names are selected.
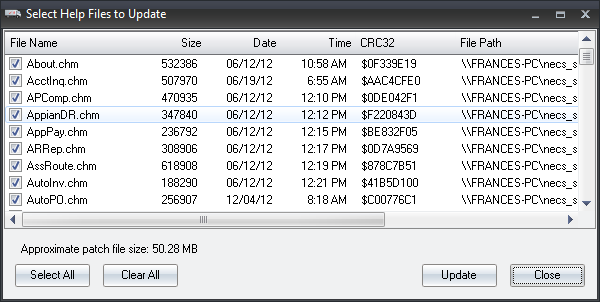
13. Click Update to run the Help System content updates. |
|
14. Once the Help system update has completed the entrée Login dialog will be displayed.
•Now is the time to reboot the workstation computer. Once reboot has completed each user can run entrée enter their Username and Password to use the updated system. |
|
entrée Version Rollback Feature
The entrée update detection process provides an "automatic rollback" capability. When you install an older version of the NECS Update Utility on the server and update the databases that action will trigger entrée to launch an update if the available "WSSetup.exe" file has the same Version ID as the databases.
If the Version IDs do not match you will get a warning message about the application / database version mismatch and entrée will shut down.

