Installing File Update Utility

Contents
Run the File Update Utility on your File Server.
The File Update utility is responsible for installing and maintaining all of the entrée program and data files. This utility is ONLY installed on the FILE SERVER.
1. Insert the 3.5" "Authorization Disk" into the file server's floppy drive. If you do not have a floppy drive please contact NECS Technical Support to email you the file.
| 2. | Place the CD in your CD-ROM drive |
| 3. | The installation program should start automatically. |
 If the installation program does not automatically start...
| 1. | Open the Windows Explorer. |
| 2. | Locate the file Setup.exe on the CD. |
| 3. | Double-click the Setup.exe file to begin the installation. |
entrée File Update Utility Installation
1. Insert your Authorization Disk and the Setup.exe begins to run. |
|
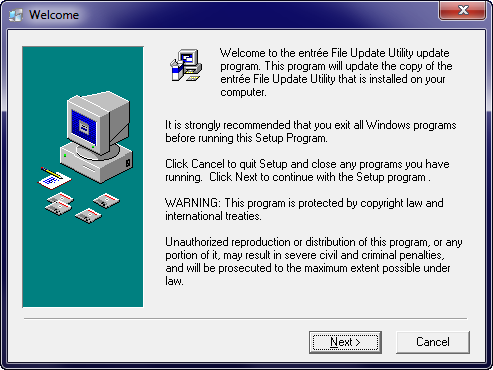
| 2. | When the welcome message appears click the Next button. |
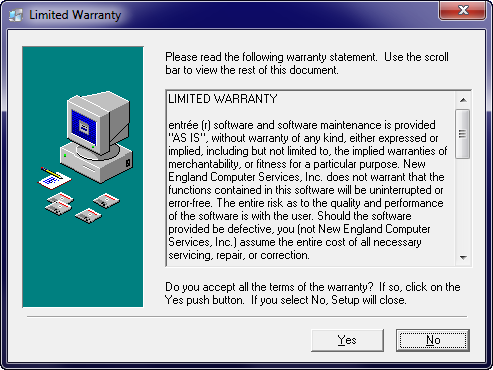
3. In the Limited Warranty window click the Yes button to accept the entrée licensing agreement.
|

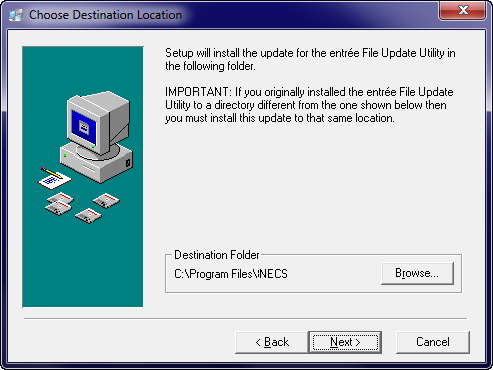
4. If you created the recommended directory for the FPUpdate Utility to be installed in click the Next button.
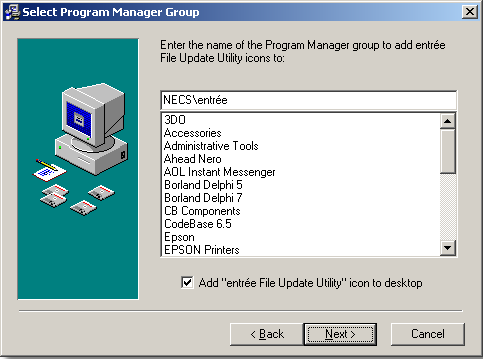
5. Accept the default Program Manager group by clicking the Next button.
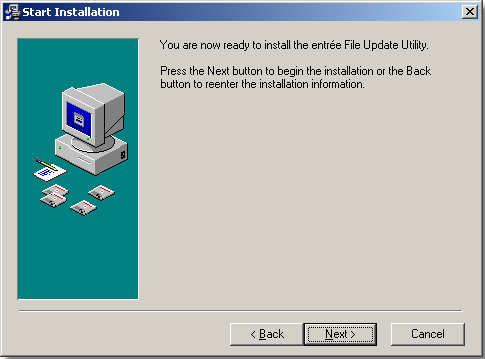
6. Click the Next button to start the installation process.
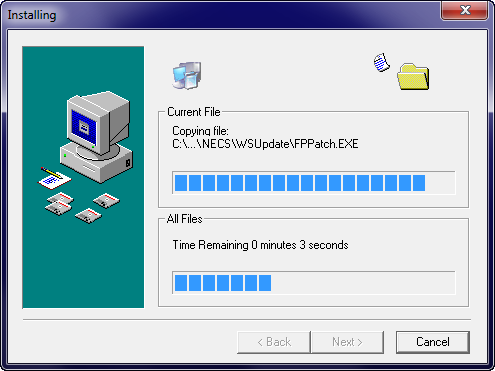
7. You will now see files being copied to the file server.
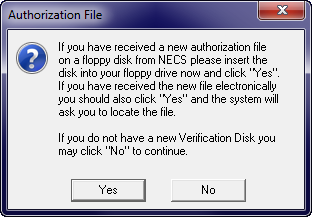
8. You will now be prompted for the Authorization File. (The authorization disk may already be inserted from step #1.)
• If you have received a new authorization disk insert it into your floppy drive now and click the Yes button.
•If you have received a authorization file via email from NECS, click the Yes button. Then point to the location where the file is saved on your computer. |
|
•If you have the Authorization File on another computer it can be copied to a portable flash drive and saved on a different computer to perform the installation/upgrade process.
•The Authorization File can also be saved on your file server and accessed via your network.
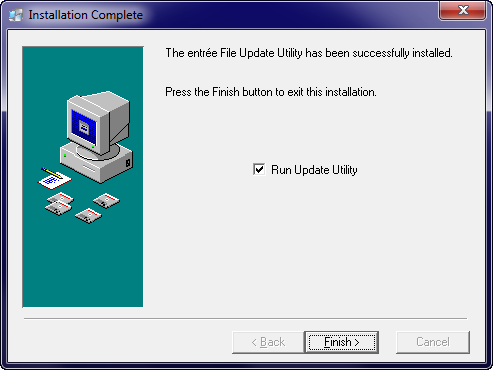
9. Click the Finish button to proceed to the entrée File Update process. Be sure to leave the Run Update Utility option checked.
Next you will perform either a Single Company or Multi-Company installation depending on the structure of your business.