
This section will cover a Single Company installation of the entrée system. If you are performing a Multi-Company installation go to the entrée Multi-Company Installation section of this chapter.
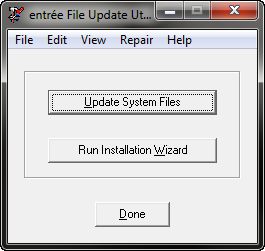
The File Update utility is installed and run for the first time the entrée Installation Wizard will be launched automatically. The installation wizard requires you to specify path information to various locations on your network so that the required data files to run the entrée system can be installed and or updated.
The number of steps required to complete the installation wizard will vary depending on which add-on modules need to be configured (AP and GL). This section will detail all of the possible steps of the installation wizard, but may ask you to disregard Step 3 if you have not purchased the related AP or GL add-on modules.
 If for some reason the installation wizard does not start follow these steps.
1. Click the Windows Start button.
2. Select the All Programs option.
3. Select the NECS option.
4. Select the entree option.
5. Click the entrée Update Utility program (FPUpdate).
|
|
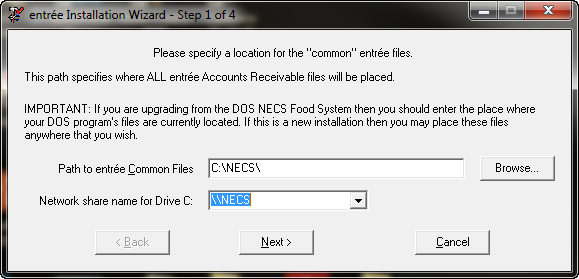
Enter the drive letter and path of the directory where the entrée common files will be located on your network.
•If you are upgrading from the DOS system, the specific file that the system searches for is the ARVERIFY.DAT file.
•Clicking the Browse button will open a dialog that will allow you to visually navigate to the directory.
•You should also specify the Network share name for the path entered.
In this step, you will enter the drive letter and path of the directory in which your accounting common files are located on your network.
•The specific file that the system searches for is the SYSDATA.DBF file.
•If this file is stored in the same directory as the ARVERIFY.DAT file, enter the same path that was entered for the Path to entrée common files from Step 1.
•You should also specify the Network share name for the path entered.
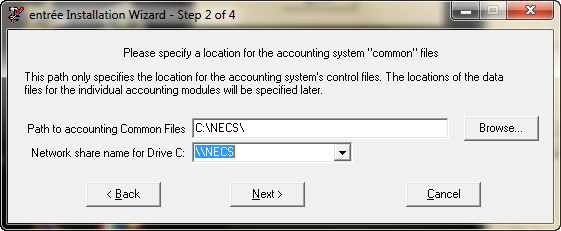
If you are not using the entrée or Linked accounting modules enter the same path that was entered for Path to entrée common files from Step 1.
Step 3 allows you to specify the location of the AP & GL data files. This step will only be displayed if you have purchased and installed the optional entrée.AP or entrée.GL add-on modules, without Multi-Company support.
•If you have not purchased the entrée.AP or entrée.GL add-on modules proceed to Step 4.
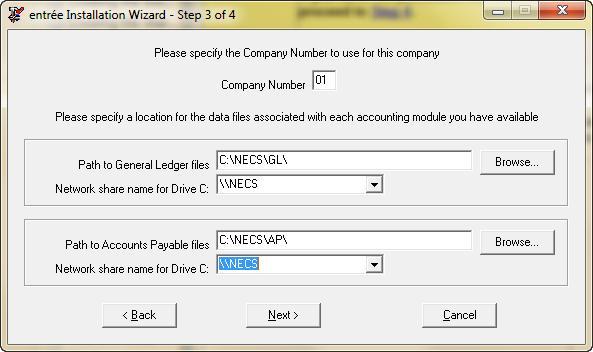
•The Company Number field allows you to specify a unique identifier, which is used internally to reference the data files. It must be a unique number between 01 and 99.
•Enter the path and network share name for the General Ledger data files, if you have purchased the entrée.GL add-on module.
•Enter the path and network share name for the Accounts Payable data files, if you have purchased the entrée.AP add-on module.
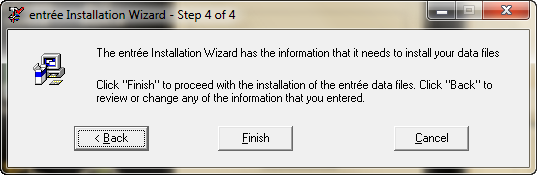
Click the Finish button to begin the file installation. At this point you will see a progress meter informing you of the installation progress.
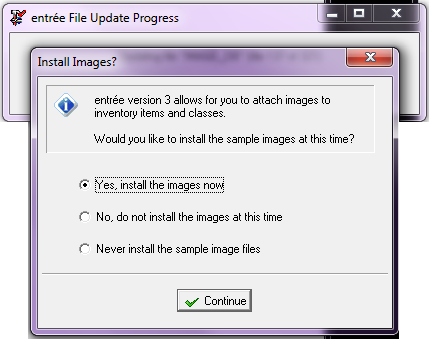
During the first time install process you will receive a prompt to install the sample image files.
•If you select Yes, install the images now, over 500 images of varied items will be available to assign to your classes, brands or items. Theses images may also be uploaded to the entrée.NET internet ordering system, where customers can see images of the products and brands you sell.
• If the No option is selected, the sample images will not be installed, but you will be prompted to install them the next time you run the FPUpdate utility.
• If the Never option is selected, the sample images will not be installed, and you will not be prompted to install the sample images again.
•Make your selection and click Continue.
•The entrée File Update Progress dialog will show when the installation of the data files has completed. |
|
Step 6
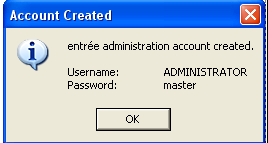
Once completed the Account Created message box will be displayed with the System Administrator's login information.
Click OK.
•When you log into the entrée system for the first time, you must use: Username: ADMINISTRATOR Password: master. |
|
What is next?
The File Server has now been updated with the latest version of entrée. Now you need to install entrée all on your workstations.
Go to the Workstation Installation and Update, First Time Install & Mapping section of this chapter to view instructions for updating your Workstations.