Prospects General Tab

Contents
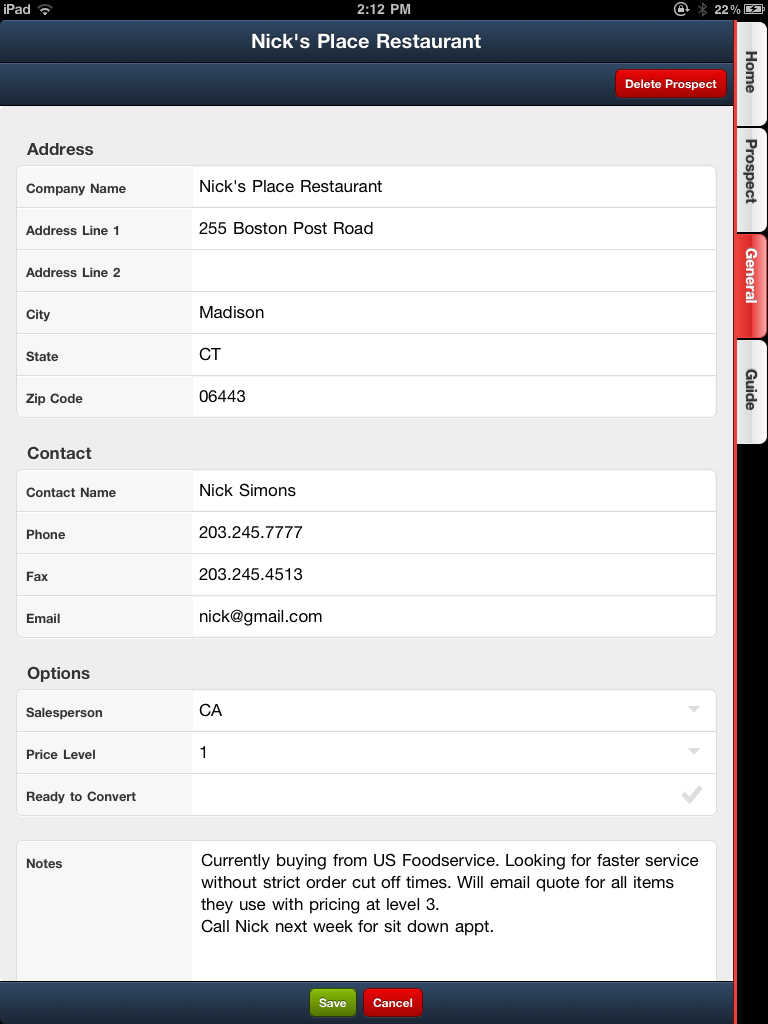
The General tab of the Prospects feature is where you will enter the information about the potential new customer and add the new prospect to your list. Remember, prospects are not included in your customer listing and orders cannot be placed for them.
The General screen information has 3 sections: Address, Contact and Options.
Address •Company Name •Address Line 1 & Address Line 2 •City - The city where the company is located. •State - The state where the company is located. •Zip Code - The company zip code.
Contact •Contact Name - Name of company contact. •Phone - Contact phone number. •Fax - Contact fax number. •Email - Contact email address.
|
|
Options
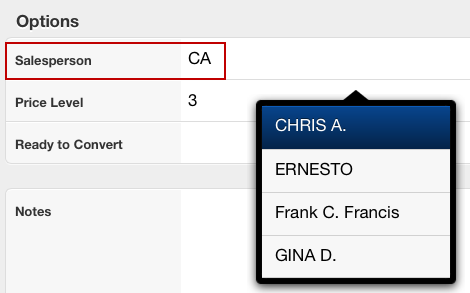
•Salesperson - Select the Salesperson assigned to the prospect from the drop down menu. |
|
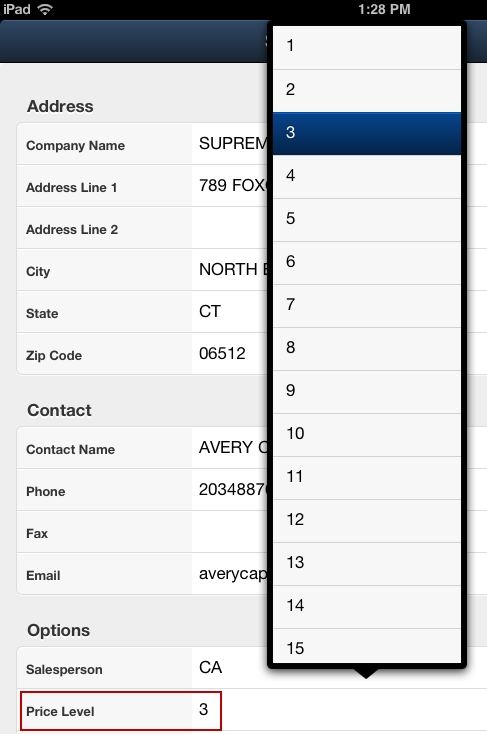
•Price Level - To be assigned for pricing and when defining quotes. |
|
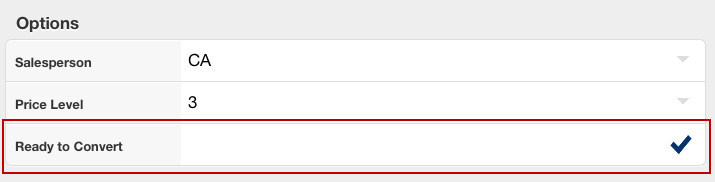
•Ready to Convert - This option should only be checked when you are ready to convert the prospect into a live customer.
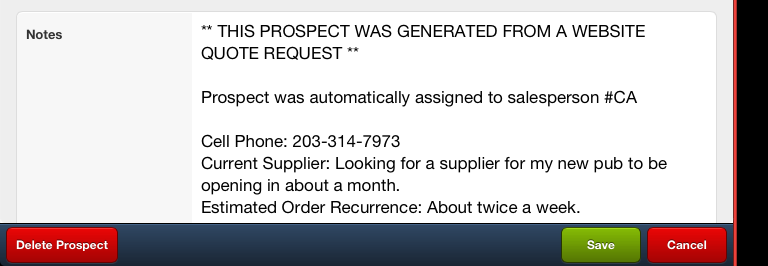
•Notes - Are entered in one of two ways:
1. If the prospect was generated from the Register web page in your website a message and any information from the prospect will be displayed in the Notes area. Shown in the image here.
2. When creating a prospect you can edit the Notes area. Enter any information about the prospect and their business needs here.
Creating a New Prospect
1. Tap the Create New Prospect button  at the bottom of the Prospects list screen. This list is displayed in the Home tab or Prospect tab on the right.
2. The General tab will display.
3. You will enter the Address and Contact information about the potential new customer using the keyboard.
4. For the Options section use the drop down menus to select Salesperson and Price Level values.
4. Tap the Save  button in the General tab to add the prospect to the Prospects list. The No. will increment and the prospect will be added to the end of the list.
5. Now create a Prospect Guide for the new prospect. See the Prospect Guide section for details.
6. When the prospect is ready tap the Ready to Convert check mark to begin the conversion process. See the Conversion to Customer section of this chapter for details.
Editing a Prospect
1. In the Home tab or Prospect tab find the desired prospect and tap them.
2. The General tab will display.
3. Make any updates or edits as needed.
4. Tap the Save button.
Deleting a Prospect
1.To delete a prospect from the Prospects list tap the desired prospect in the list.
2.The General tab will open displaying the prospect's general information.
3.Tap the Delete Prospect button  at the top of the screen.
4. The Delete Prospect confirmation dialog box will display, tap Yes to confirm the deletion.