Editing and Refreshing Data

Contents
Editing Route/Stop Assignments
•Drag and drop Invoices to a specific sequence in a route to change stop # .
•Drag and drop Invoices to a new route to change route # .
•Drag a truck to a route node and the truck number is automatically copied to each invoice.
•Drag a route node to another route node to merge routes. Merged invoices are added to the route’s end.
•You can move one invoice at a time or you can use standard Windows Shift-click and/or Ctrl-click operations to select multiple invoices and move them as a group.
•To make an invoice last on the route, drop them on the route instead of an invoice.
•Double-clicking an invoice allows you to view the entire invoice in a pop-up "Change Invoice" window, which is read-only.
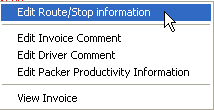
•Right-click on an invoice to display the edit menu below.
▪Edit Invoice Comments ▪Edit Driver Comments
▪View Invoices like the View Invoice button.
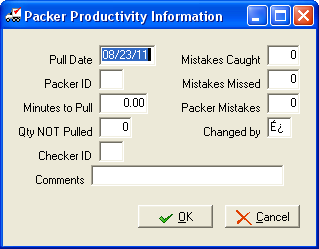
▪Edit Packer Productivity Information
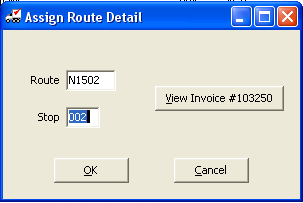
▪Edit Route/Stop Information will open the Assign Route Detail dialog box.
a.In the Assign Route Detail dialog you can use the keyboard to indicate the route and stop numbers for an invoice.
b.You also have access to view the invoice from this dialog like using the View Invoice button. |
|
Editing the Truck Number
You can add and manage multiple trucks in a route using the Edit Truck Number feature. Follows these steps to add your trucks:
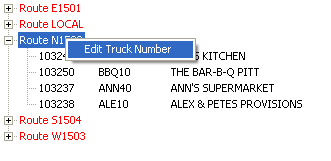
1.Highlight a route node and hit "Enter" or right-click on the route node to display the option to Edit Truck Number.
2.The Assign Route Detail dialog box will open.
3.Enter the new truck number in the text box provided.
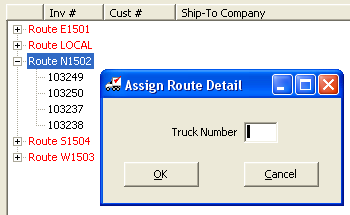
4.Click OK to save your change.
5.Click Apply in the Assign Routes screen to save your Truck Number change. The value assigned here is automatically copied to each individual invoice.
Adding a Second Truck to an Existing Route
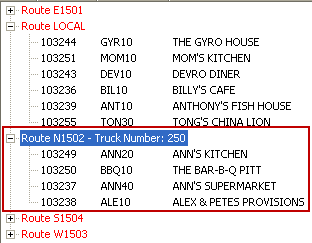
In this example a new truck needs to be assigned to the "N1502" route. This is the Assign Routes screen displaying Route "N1502" before the second truck is added.
Here is how you add a second truck to a route
1.Right-click on the "N1502" route node to display the option to Edit Truck Number. Follow the Edit Truck Number procedures on the previous page to assign a truck.Here truck "250" was assigned (see image above).
2.Use the Add Route button to add a new route to represent the second truck. Here we used "1502B" as the second route/truck within route "N1502".
3.Right-click on the "1502B" route node to display the option to Edit Truck Number. Follow the Edit Truck Number procedures on the previous page to assign a truck.
4.Enter the number for the second truck for the route. Here "350" was used.
5.Click Apply.
6.Now drag and drop the invoices that need to go onto the second truck "350" from route "N1502".
7.Click Apply.
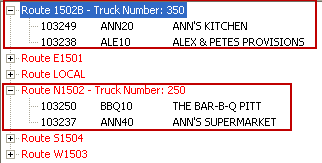
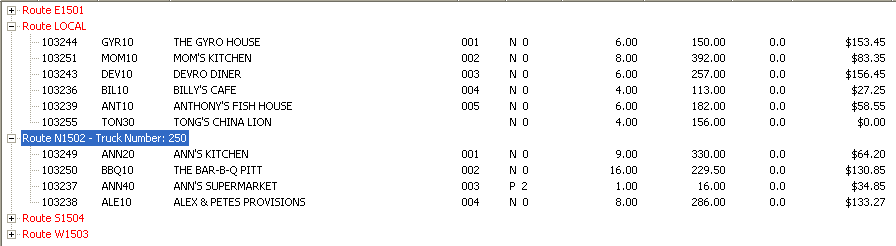
Here we see route "N1502" with truck "250" assigned and the second truck for the route "1502B" and truck "350". Invoices have been dragged and dropped into the second truck on the route.
Refreshing Assign Routes Data
The "Refresh Data" button has been modified so that when clicked, while there are pending changes on the screen, a Refresh Options dialog box will display.
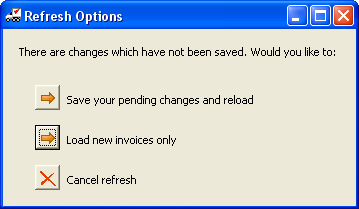
This dialog gives you four choices:
•Save your pending changes and reload: Will first save your pending changes then does a full reload of all the data.
•Load new invoices only: This is the original "refresh" behavior that simply adds or removes invoices from the list. will find new invoices created for the selected invoice date waiting for delivery while you are in the Assign Routes utility. It will update all of the data it has on invoices that it already knows about with the exception of the Route, Stop and Truck Number information.
•Cancel refresh: Takes you back to the edit process without taking any further action.
•The Apply button has been changed so that, once your local changes have been saved, a full reload of all the data will run automatically.
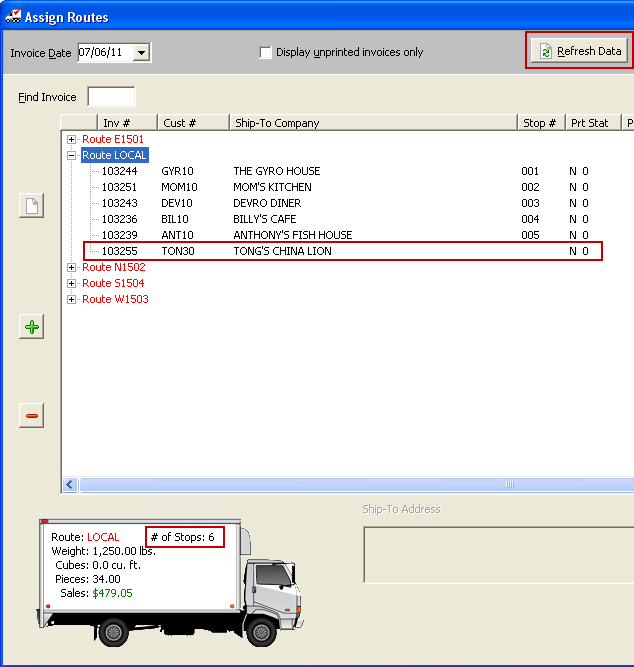
 If "Auto sequence" is on then any Stop Number assignments on the new invoices from the refresh process are discarded and the new invoices appear at the end of the appropriate Route with a blank Stop Number.
The Route Summary in the truck image is updated to show the correct number of stops for that route. (see image below).
Updating Blank Stop Numbers after Refreshing Data
To assign a Stop Number to an invoice with a blank Stop Number after the Refresh Data procedure you have two options:
1.You can right-click on the invoice to display the edit menu. Then use the Edit Route/Stop Information option. In the Assign Route Detail dialog assign a Stop Number to the invoice (see example below).
2.Drag and drop the invoice to a new spot in the route and the Stop Number will be automatically assigned.
3.Click Apply after assigning the Stop Number.
![]()